 I recently shared a post of 10 adorable crochet Christmas ornaments all with free patterns. But for those of you that do not crochet but still like to craft and create, I have gathered a collection of lovely ideas for easy-to-make, non-yarn related Christmas ornaments.Continue Reading
Refinished Cedar Chest
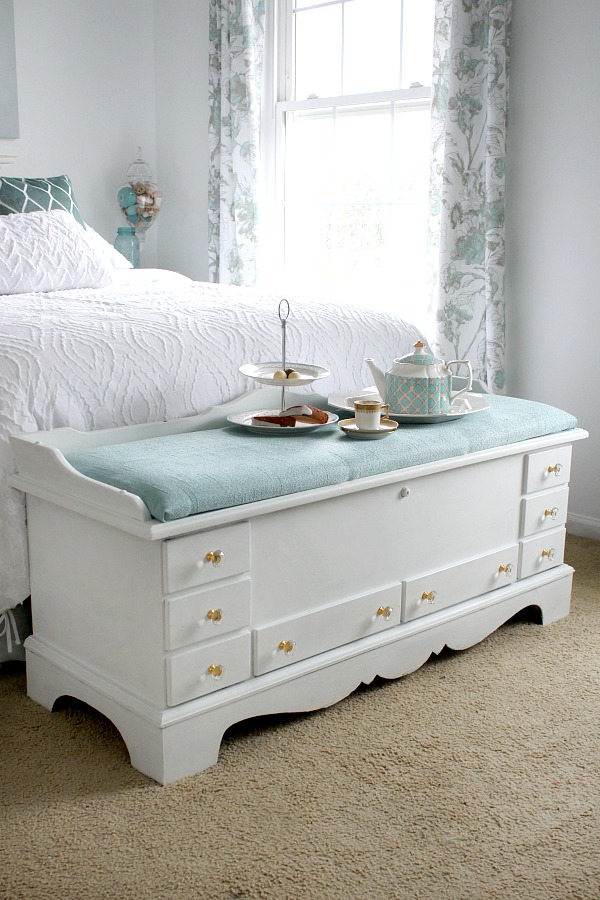 I admit, I didn’t give much thought to building a collection of dowry items or trousseau when I began dating my husband. We met while I was in high school and, more because it was a useful piece of furniture, my parents gave me a ceder hope chest as a graduation gift.
I just refinished this vintage chest with chalk paint and I am really pleased with the results.Continue Reading
French Country Bedroom Makeover
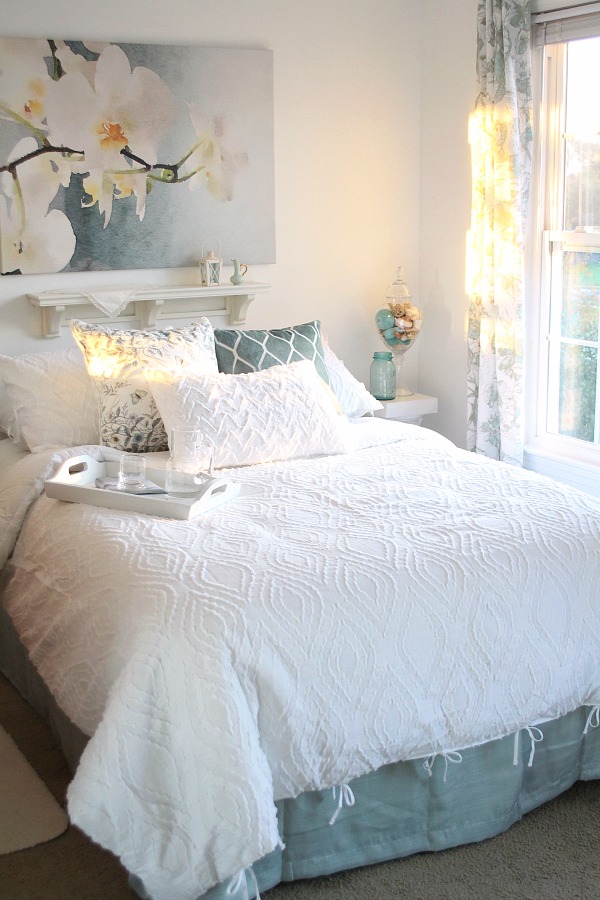 When our youngest daughter moved into a place of her own, she left her bedroom a wee bit of a disaster. This creative girl had enough stuff to fill two bedrooms whilst working on her digital animation projects for college. It was full of computers, lighting, video and camera apparatus with room darkening curtains and nail holes in the walls too numerous to count.
It took days and lots of trash bags just to empty the room. But I was determined to reclaim the space and create something lovely. A DIY Bedroom makeover from messy teen room to Mom’s French Country retreat. A bright and beautiful place for reading, resting and relaxing and all done on a budget. Continue Reading
Christmas Tree Fire Retardant
 A Christmas tree is a traditional part of our holiday decor and many people cherish a live tree. Artificial trees are lovely, convenient and can be used year-after-year. But, they do not compare to a real tree to bring the outdoor beauty and fragrance into our homes. Keeping a real tree healthy, green and above all safe is of major concern. This recipe for a live Christmas tree fire retardant along with other safety measures will help make the holiday season a happy and safe one.Continue Reading
Making Memories and GIANT Bubbles with Kids

Kids, big and small, never outgrow a fascination with bubbles. How many of those little plastic bottles of bubble solution have you bought through the years. Yes, me too. There is just something delightful in blowing little iridescent globes of various shapes that float effortlessly through the air and then suddenly POP! Imagine the FUN you and your kids will have making super GIANT bubbles. Continue Reading
Propagate Rosemary

Do you have an herb garden or grow herbs on your windowsill? Do you have a favorite herb for cooking? I have a smallish, 4-foot by 8-foot raised bed where I grow herbs and some annuals. Just the ones I use most often in the kitchen. The aromatic evergreen, rosemary, does really well needing little attention. This perennial herb is super easy to propagate from stem cuttings to make more plants. Rosemary infuses lots of flavor in cooking but it also is a lovely ingredient in this light and clean-smelling, simmering potpourri.
Easy Tutorial How-to-Make a Cool Text Mask using PicMonkey

I’ve got to tell you, I am so excited about this new discovery. Maybe you have seen these really cool visuals where a background shows through the letters. It is called Text Masking and these graphics are so eye-catching. Projects created using this technique appear technical and complicated. But they’re aren’t and I’ll show you the easy, how-to steps to make a text mask.Continue Reading
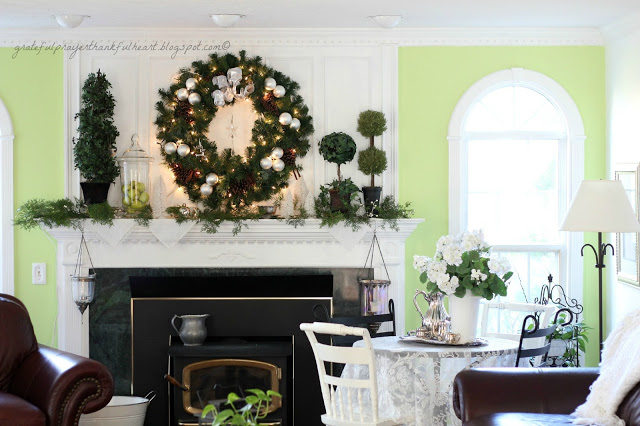
A Decision of Mantle Proportions
no more lime green. ever.

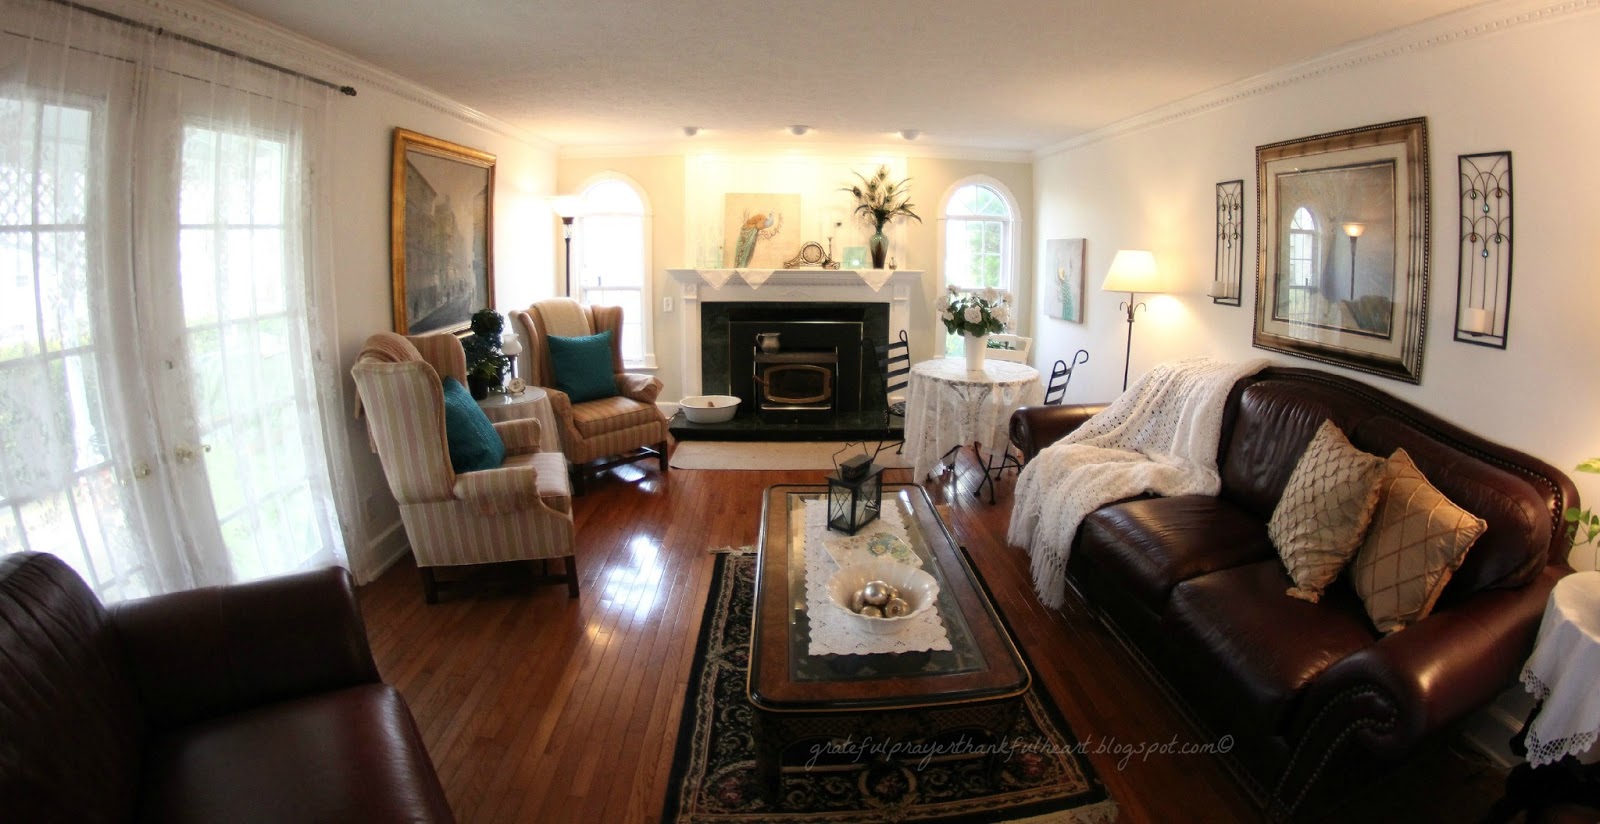
Back to a color I can live with.

It all started with a desire to lighten the family room.

I had a plan to add wood trim above the mantle and paint it all a white semi-gloss to match the rest of the fireplace.

After telling John what I envisioned, he did the measuring, calculations and…
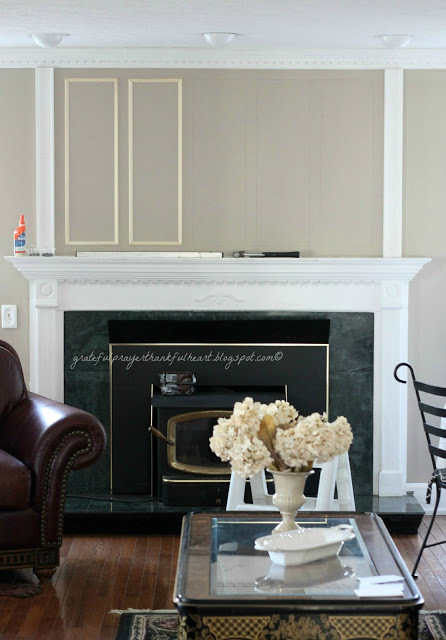
building. I did the nail-hole filling, spackling, sanding, priming and painting.
That part of the job went as planned.

Next came the careful and thoughtful color choice. I thought I nailed it. I did not.
The wall color looked bright and cheerful…
for a few minutes each morning.
It looked dreadful and gaudy for all the rest of the minutes of the day and night, especially with the lights turned on.
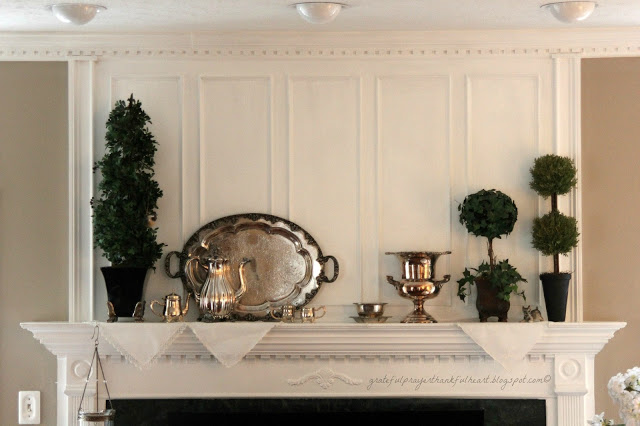
My confidence to now choose a pleasing color was shot and I daily contemplated a remedy.
I thought about using the pale aqua blue I have in my dining room that I will be forever pleased with. I thought of another bold statement-color like a deep, rich turquoise but quickly dismissed it in fear of another disaster in both wasted time and cost. Feeling uncertain about a color to correct, I rummaged through the assortment of paint cans in the garage and found one with enough paint to cover the eye-sore and return a soothing calmness to my soul.

During our visit with Jill, we went to a Kirkland’s store near her and I was delighted to find this beautiful Peacock picture. Not only did I love it but it was also on sale. Very on sale! The final price was an unbelievable $28! When the cashier told me the total, I asked if she got everything.
John picked the sconces and I also bought a pair of canvas peacock pieces.


A pretty vase filled with peacock feathers, and plate given to me last year from my cousin and a tiny oil jar Jill gave me when she was first married along with a few aqua colored wine bottles from Erin decorate the mantle. 
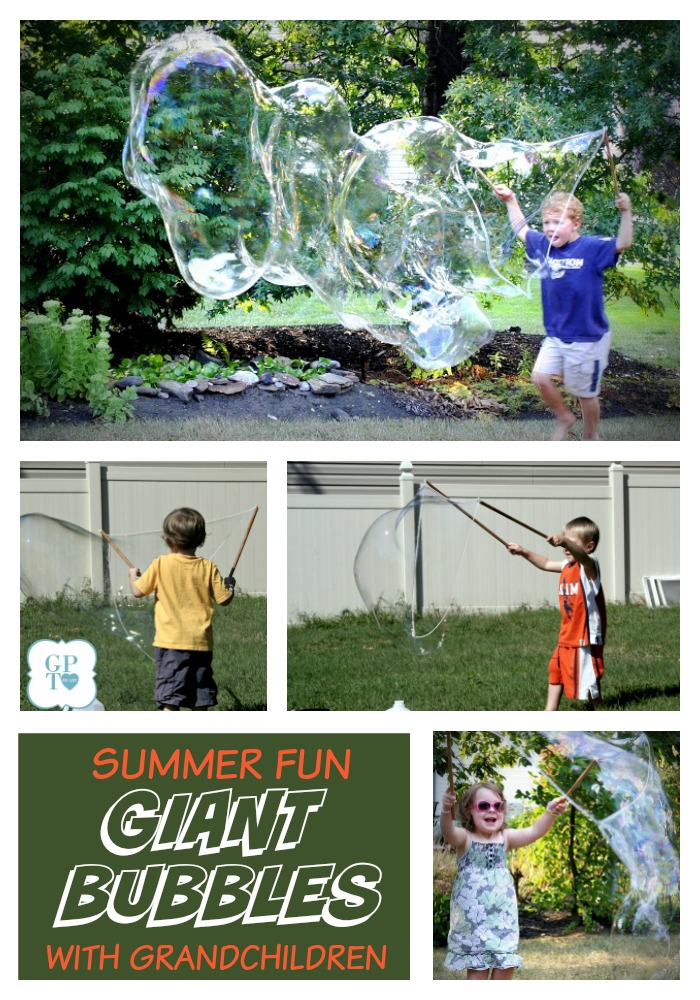
Giant Bubbles Fun Summer Activity with Grandchildren

Time with grandchildren is some of the very best moments of all. They are even more precious when those grandchildren live a distance away. As our daughter Jill and husband, Brad’s visit was nearing an end, we had one last activity we wanted to do with the kids before they head back to up-state New York. Making bubbles. GIANT bubbles. Bubbles they could almost climb into. And it was so much fun! If you are looking for a great activity to do with kids, grand kids, your own kids, neighborhood kids, youth group kids and even big kids, make a batch of bubble solution together and see who can make the biggest one!
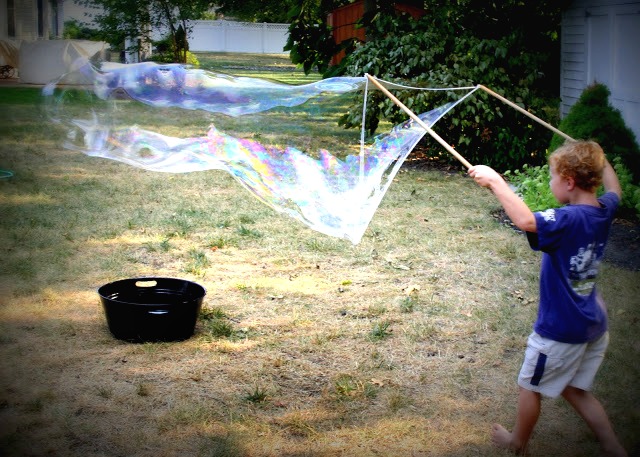
Ryan caught on quickly and was making some pretty impressive bubbles in no time.

Shaela needed a little help at first from PopPop
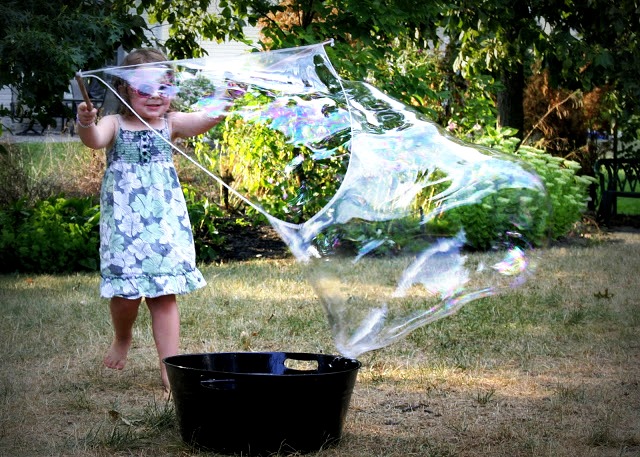
She soon caught on and was making some amazing bubbles all by herself.

And, pretty thrilled about it.
How To Make GIANT Bubbles
For convenience, supplies can be purchased from Amazon through links below.
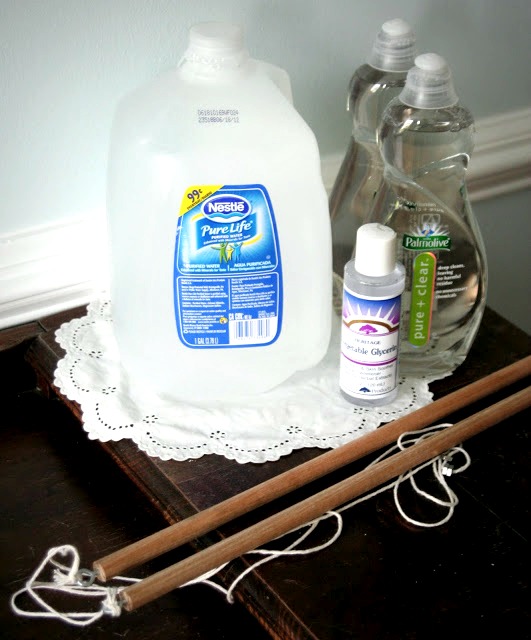
Supplies to make the bubble solution:
1 Gallon Purified Water
5 cups Unscented and uncolored Dish-washing Soap
1/2 cup Glycerin
Directions:
Pour the water into a bucket. I used a clean plastic container.
Pour the dish-washing soap into the water. Then mix it gently with a wooden spoon.
Pour the glycerin in. Mix gently again. You don’t want ANY bubbles.
NOTE: Humidity has a lot to do with good bubble making so you might want to add a little more or less water to get a good consistency. Since it is so humid here in August, a little thinner was better.
Supplies for making the wand
2 Wooden or Poly Dowels, we cut them 16 to 24-inch
2 Eye screws
3 to 4 1/4 inch nuts (to weigh the line down)
Cotton String (we used kitchen twine)
Directions: The photos will be a help in making the wand
- Drill a small hole in the end of each dowel.
- Screw the Eye Hooks into the holes you just drilled until they are secure.
- Cut a 70-inch piece of cotton string. Cut another piece of string that measures 30-inches. You can make the string as long or short as you like just as long as one string is longer than the other.
- Put the 3 to 4 nuts through the 70 inch string.
- Put the ends of both pieces of string through one of the eye hooks and tie a knot. Do the same thing on the other eye hook. Now you should have a long string and a shorter one that runs from one dowel to the other.

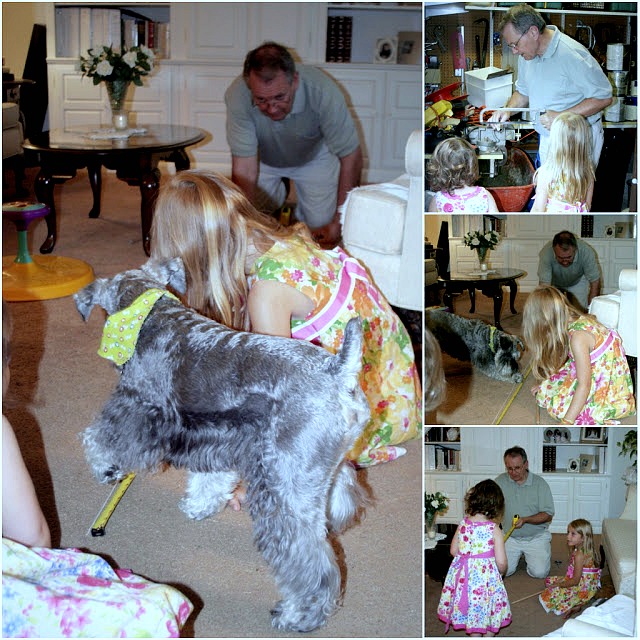
Even our pup lent a paw in the process of measuring the string and making the wand!
Now for the Fun part:
Making Giant Bubbles
- Head outside with your bucket of solution
- Put the end of the dowels in the bucket so the string is submerged in the bubble solution.
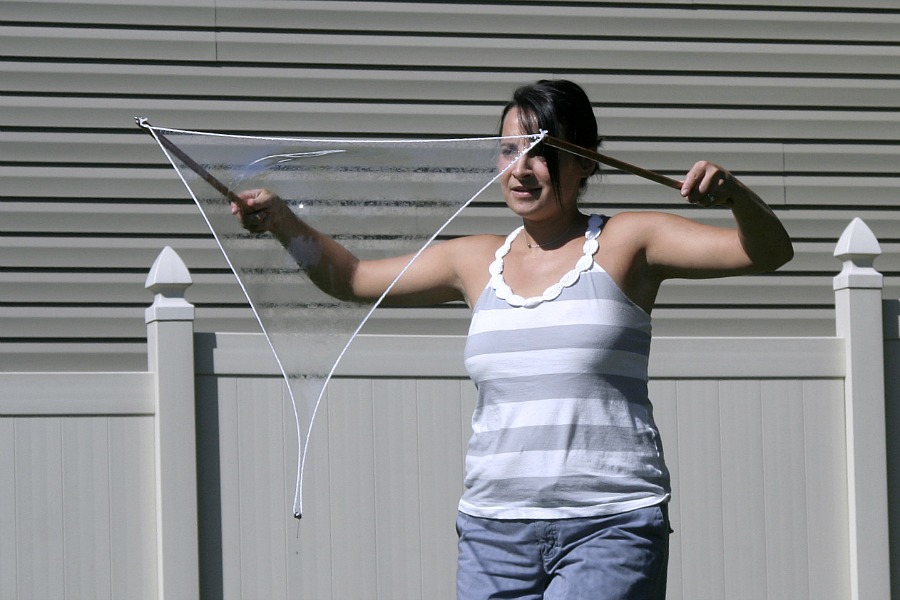
- Bring the ends of the dowels up from the bubble solution, together until about chest high.
- Then separate the dowels by pulling them outward so the string makes a triangle that points down. The washers will weigh the center of the bottom string down. see photo below.
- Step backward quickly so that the air goes through the bubble solution between the dowels and makes a bubble.
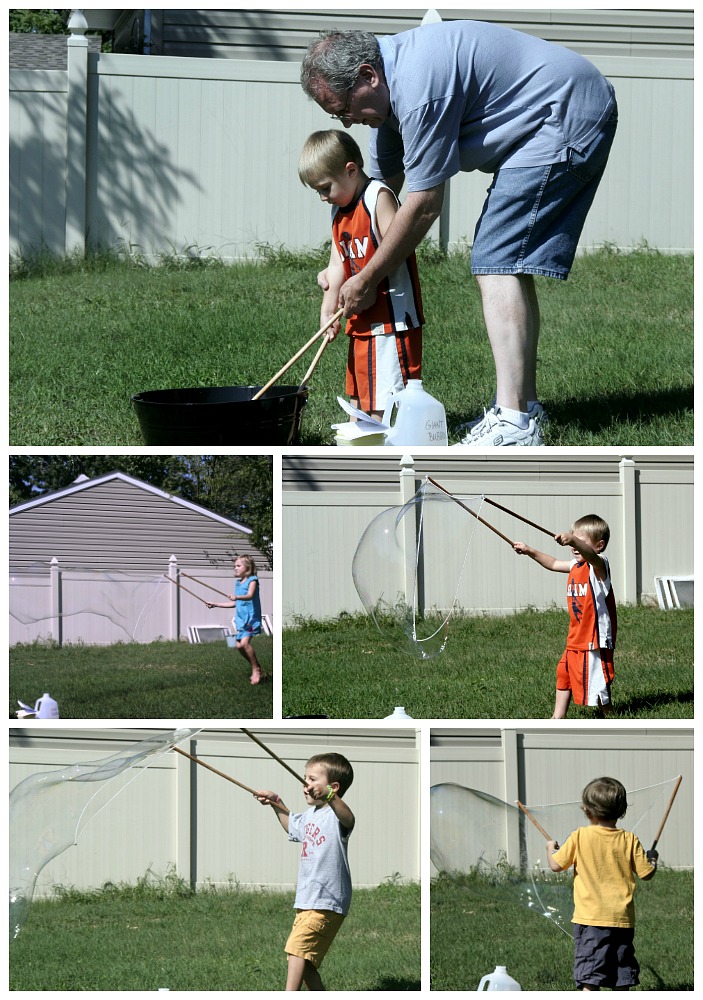
We had to give it a few tries before getting the hang of making the bubbles but as you can see, even little kids were quickly able to master it.
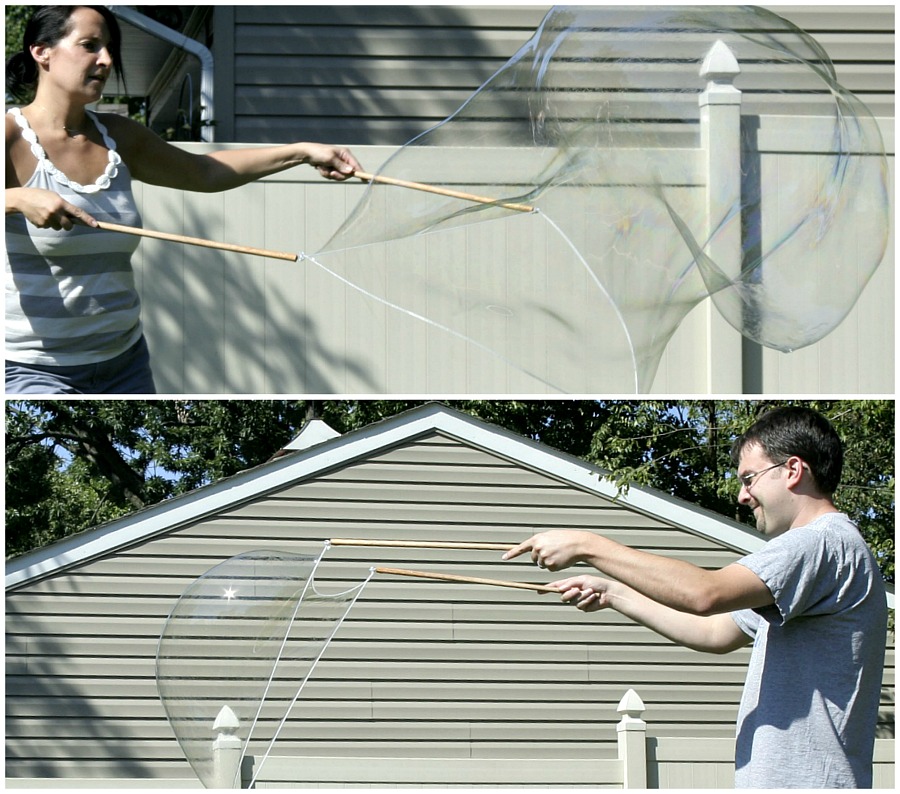
And the big kids couldn’t resist a try 🙂
There are affiliate links in this post. That
means if you buy something from that link, I will earn a small commission, but
it won’t cost you anything additional.
means if you buy something from that link, I will earn a small commission, but
it won’t cost you anything additional.
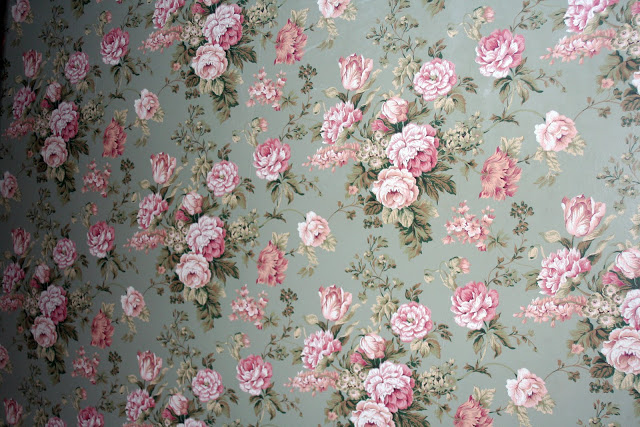
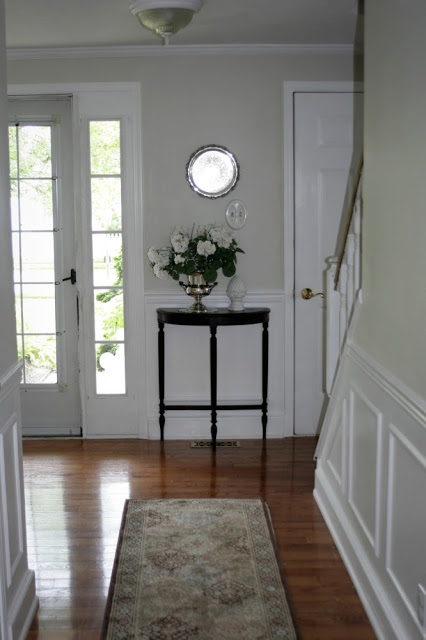
Foyer Re-Do
I really loved it…
It was beautiful and looked just like the day I hung it…
 …but it was time.
 I wanted a new look.
(It is the last area of the house I hadn’t re-done.)

I was hesitant because it’s really high up there.

I wanted to do this for so long.
How happy I was that most of it came off like this.
Abbey and I removed (almost) all of the paper in less than two hours!
 | |
| Fourteen years ago I had no problem climbing ladders and standing on scaffolding to hang this wallpaper way up in the stairwell. |
Today, I’m not so brave. 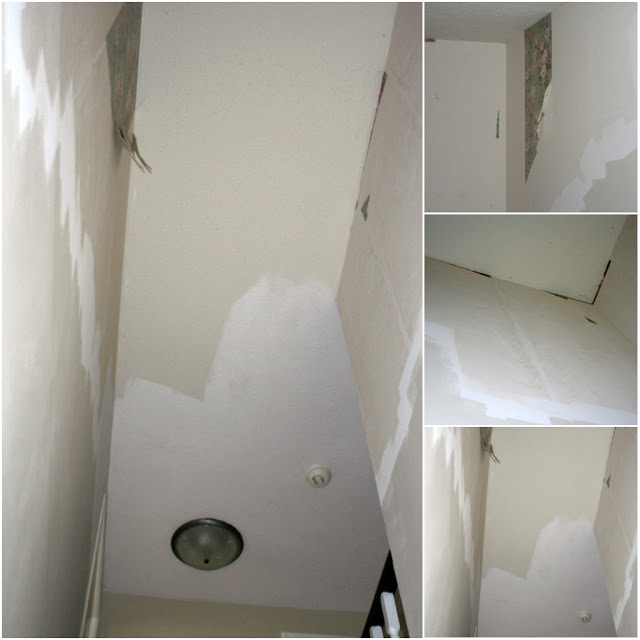

I still have to tackle this lofty mess,
but look how much I have accomplished!

After stripping the wallpaper and scrubbing the walls, I have spackled and primed the walls, painted the walls and given all of the trim two fresh coats of paint.


A few years ago, we pulled off very worn and yucky carpet and hired someone to do the difficult job of removing the builders paint from the step treads.
We thought of replacing the steps with new treads but the way
this staircase was constructed it was not possible.
John added some molding and I planned on filling all of the
gaps and nail holes and painting them.
I had a vision of what I wanted the foyer to look like but had to wait until
the wallpaper could be removed.
Now I could proceed!
I spackled, I primed and I painted with a white semi-gloss to make them look like new.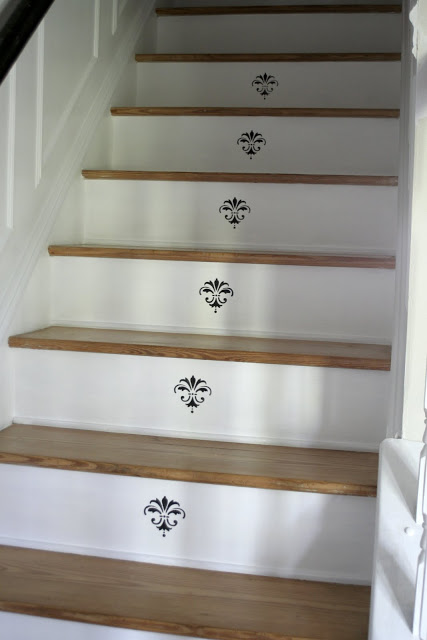

At first I wanted numerals but made the decision to stencil a motif on each riser.
But something troubled me with this design.
But something troubled me with this design.
It reminded me of…
a peering man with a mustache!
Yup… there goes my crazy imagination again.
I couldn’t live with twelve angry men looking at me each
time I went up the steps.
So…

I covered this sinister fellow with primer and two more coats of semi-gloss paint. Waited for it to dry, re-measured center and stamped this…
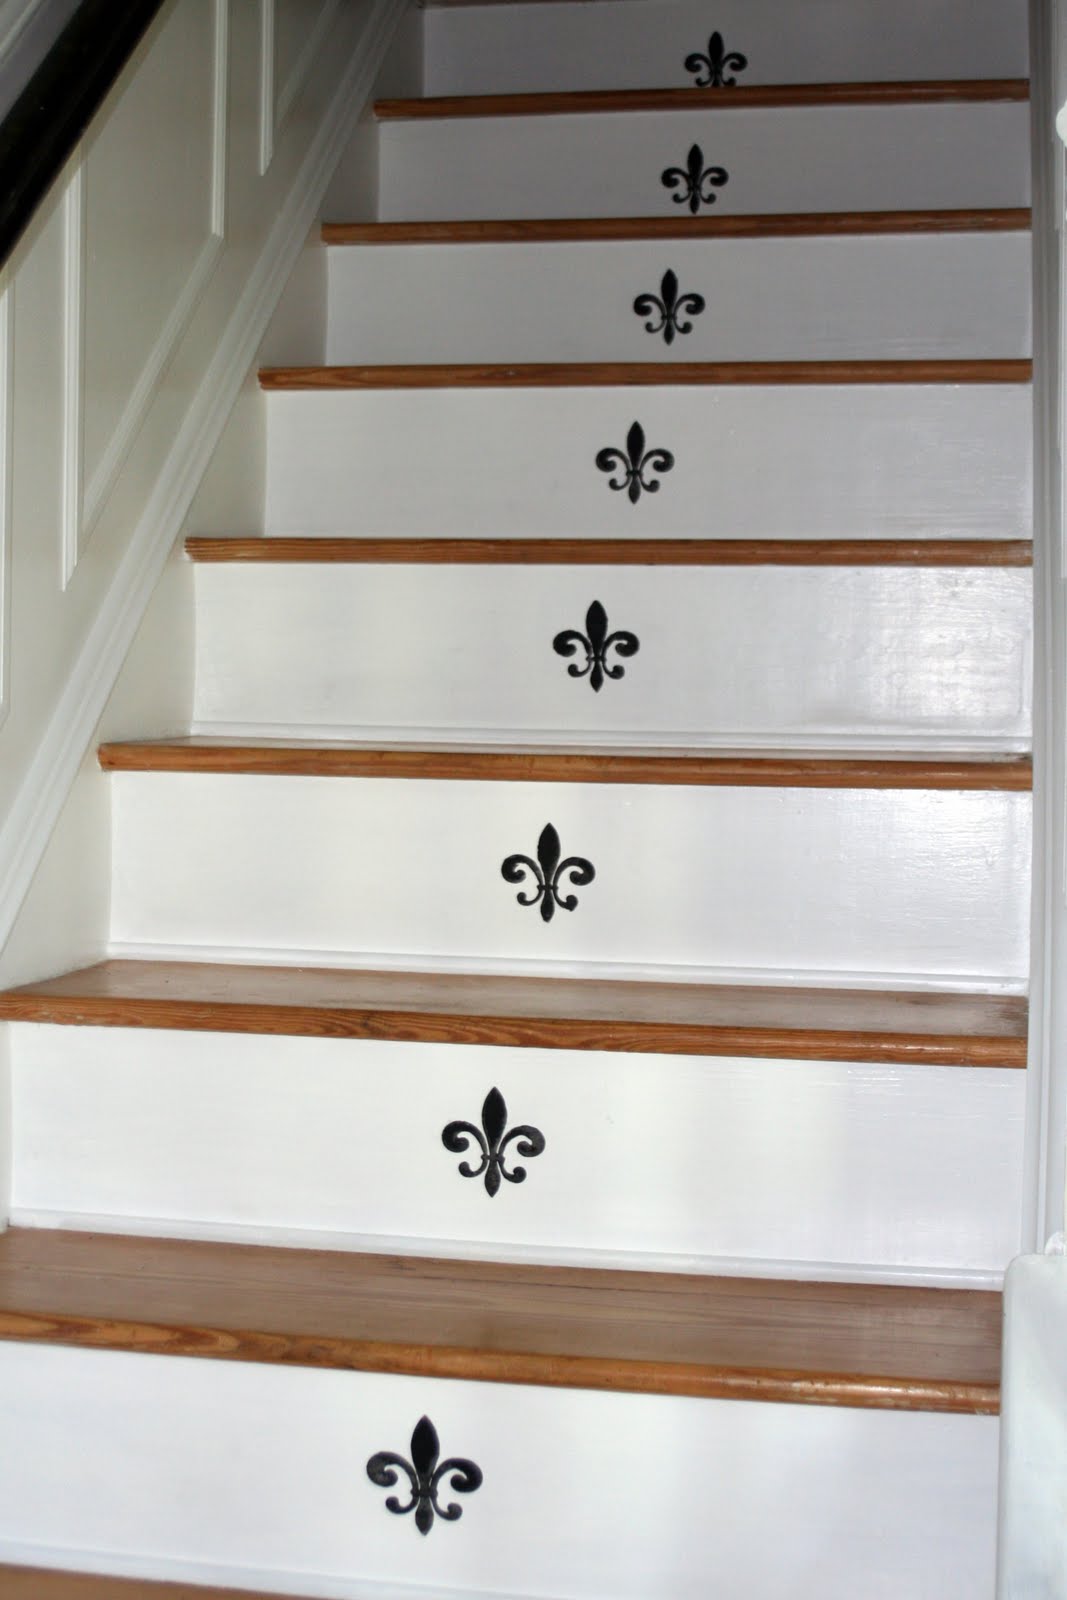
Much better!
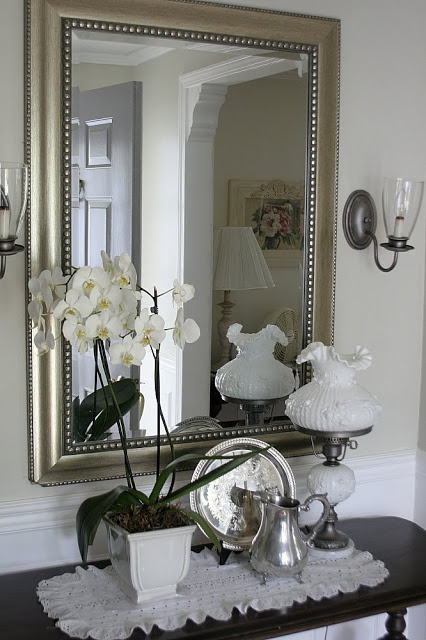
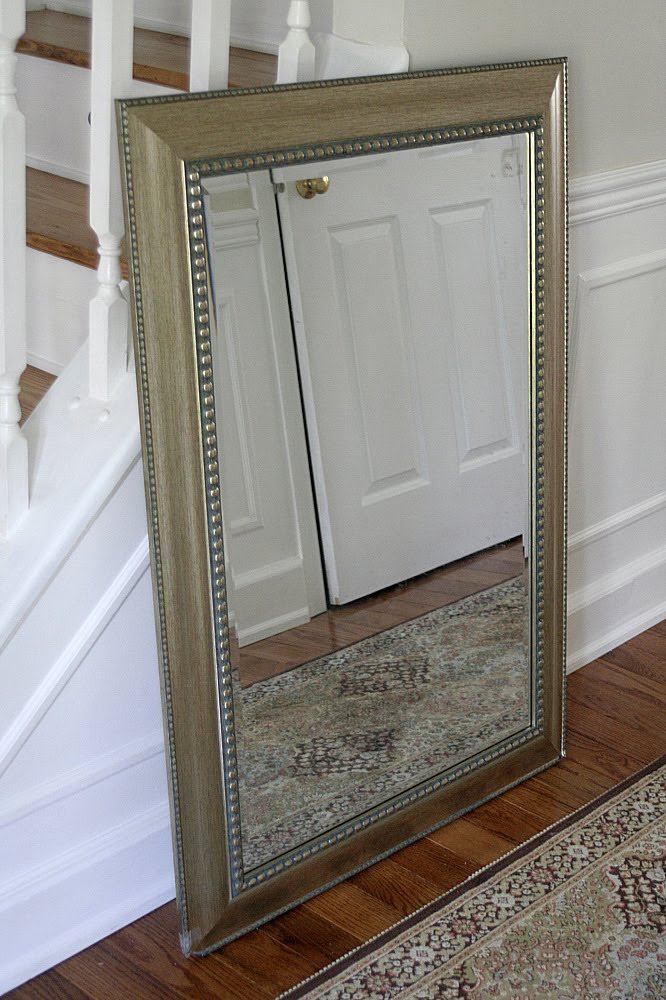 I mentioned to my daughter, Jamie that I wanted to replace the foyer mirror with a larger one that had a silver-ish frame. She said she had a brand new one she bought for a new house that they decided not to purchase and that I could have it. She got it from Home Goods for a whopping $15.00 because two of the corners are damaged. It measures 41.5-inches x 31-inches. Which means…
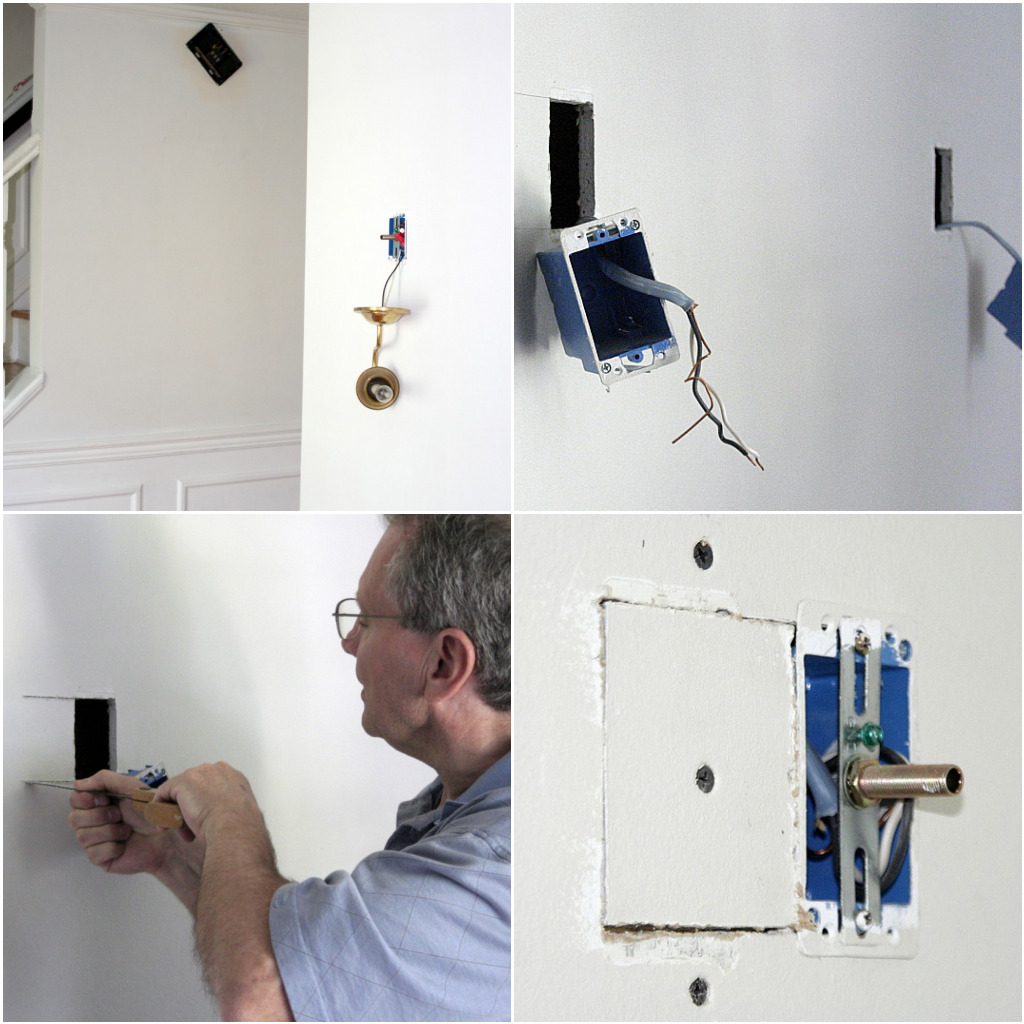
the sconces on the wall had to be moved further apart.
John did the electrical part and I did
more
priming, spackling and painting!

Originally we had a large vent covering the cold-air in-take right in the foyer,
A few years ago John sealed it off and opened one in the family room where our fireplace insert is used.
He left the vent and now was the time to correct it.
He purchased a piece of wall board and filled the area and I did
more
spackling, priming and painting!
~*~
Now, we all know those bright gold sconces dangling there just don’t work any longer.
So…

I found some pewter color Liquid Leaf by Plaid and painted them!

Along with a lamp that I have had on the foyer table for ages. 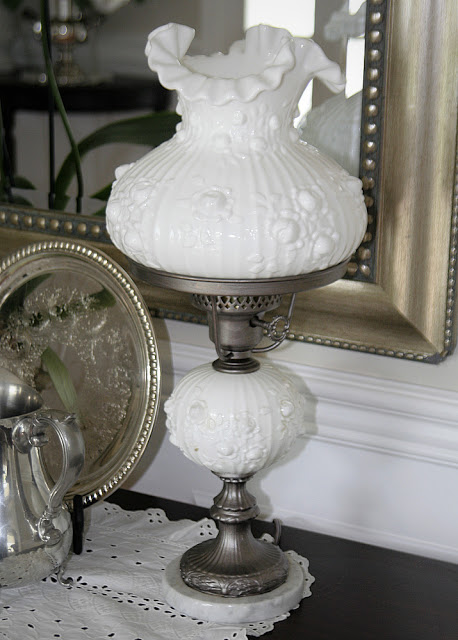

This works!

When we moved into the house, the original banister was all a very dark pine. A couple of years ago I sanded and painted the whole thing semi-gloss white. But, it wasn’t long before it looked like this…


So, I have been scraping and sanding and scraping and sanding and scraping and…
well, I’m getting there.
Here is how it looks so far. 
well, I’m getting there.
Here is how it looks so far.
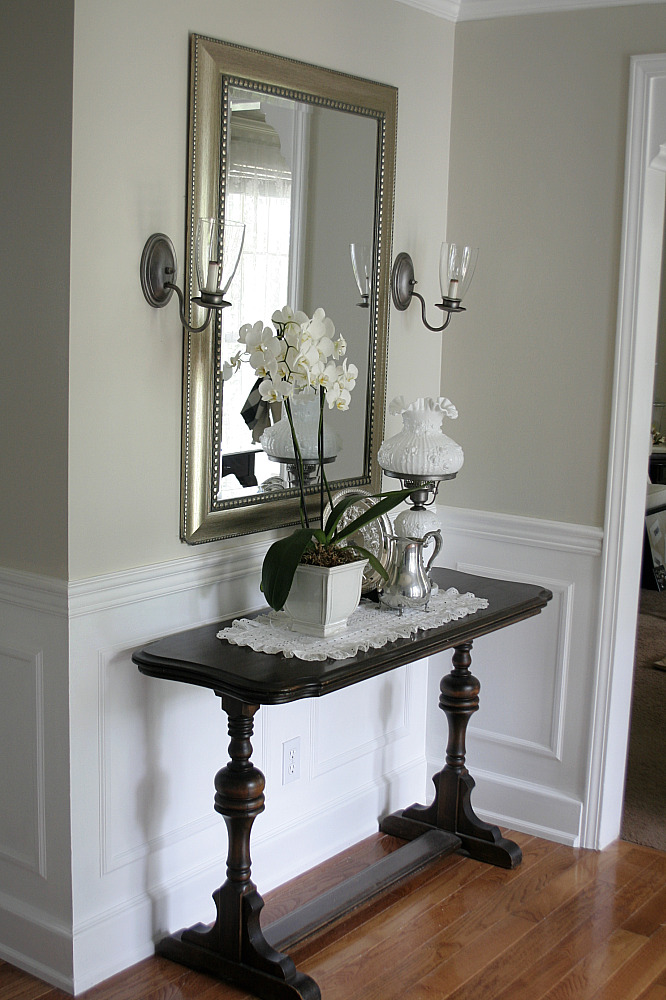

This beautiful orchid was a table centerpiece at the wedding of my dear friends daughter.
She was so kind to give one to me!

There are a few more projects I am working on for this area and will share them soon.
But now I have to try and repair my fingernails and hands, get ready for a two week visit from my daughter, Jill and her family arriving Thursday night, Erin’s birthday on Friday, a high school graduation party for Abbey on Saturday, and all of our August family birthdays!
♥
Note: upper Wall color Woodrow Wilson Putty from Valspar
Six Years Old & a How-to Re-purposed Frame Chalkboard
We’re celebration someone’s birthday today! Our sweet Keri Jill is turning SIX!
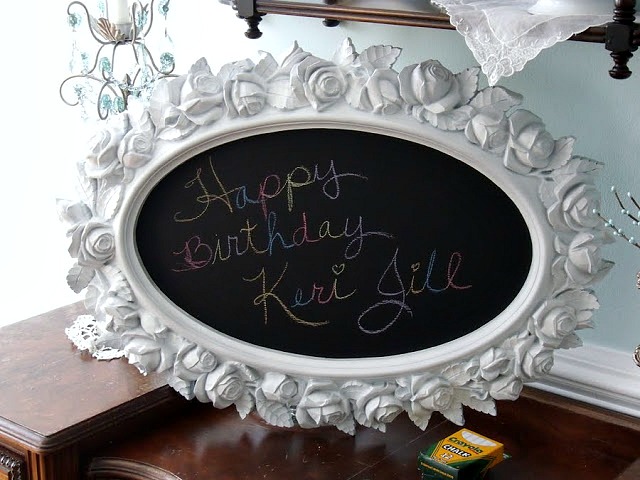
Keri likes twirling and singing and being creative. Drawing, painting and poetry too. And, girly things. So, I made her a pretty chalkboard for her bedroom. A recycled and re-purposed garage sale framed mirror became a chalkboard birthday gift for this little girl turning six years old. It is an easy DIY project.
Dining Room Decorating on a Budget
Decorating my home has always been about working with hand-me-down pieces, antique shops finds, garage sale items and even items found curb-side. I have amazed myself on how inexpensively I have been able to spruce up and give new life to many pieces to create attractive spaces. It has taken many years and I am often switching pieces from one room to another and using things for many different purposes.

THE DINING ROOM
Robin’s Egg Blue/Aqua Wall Paint from Lowes
Curtains were one sheer panel pulled up with satin ribbon for each window.
Robin’s Egg Blue/Aqua Wall Paint from Lowes
Curtains were one sheer panel pulled up with satin ribbon for each window.

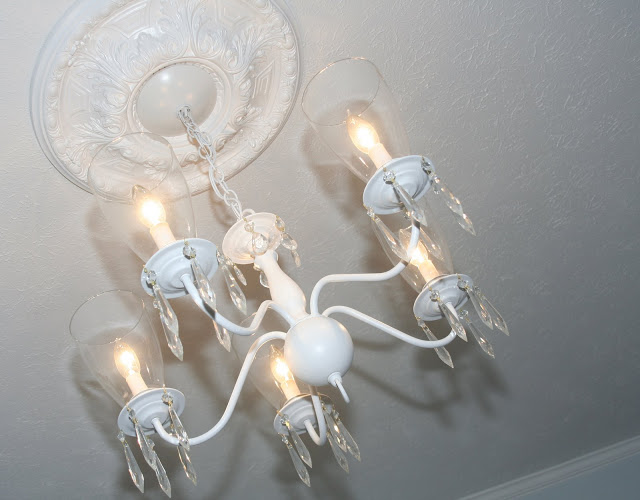
This was the original chandelier that came with the house… builders most inexpensive gold, basic, no frills version that had long tarnished into a not-so attractive light. Although I still dream of one day having a gorgeous crystal chandelier sparkling above the table this one will do for now. I spray painted it first with primer and then top coat and hung glass prisms (from Home Depot) and added the glass globes.
I found the ceiling medallion in a clearance bin long ago and after painting it white attached it to the ceiling.
I found the ceiling medallion in a clearance bin long ago and after painting it white attached it to the ceiling.
 We added brass sconces to either side of the china cabinet when we first moved into our home 25 years ago. As with the chandelier, I painted and added the prisms and found the globes on Ebay.
 This pretty pie edge table was found at a local antique shop ages ago. The pitcher and cakes plates are from Home Goods. The lamp was probably found there as well.
 My current table centerpiece is a silver urn filled with simple aqua berries. The sweet candlesticks were another Ebay purchase.
 The hard wood floor was purchased from Home Depot 5 years ago. My husband installed it in the dining room, kitchen, eating area, foyer, laundry area and powder room.
 A ceramic column stands in the corner with a vase of cattails and dried hydrangeas from last years garden.
 This cabinet is also from our early years and was purchased unfinished. Made of pine, we stained it with a cherry finish. It is such a useful piece and holds my cherished linens, doilies and hankies as well as Christening outfits and other sweet items.
 Our dining room table, chairs and china cabinet were gifts from my husbands parents early in our marriage. This room is used frequently and the pieces have some scratches here and there, but still a beautiful set.
 As previously mentioned on my blog, this is my newest acquisition. I love how it looks in this spot and works well as a sideboard. The shelf on the wall above has found a home on many different walls throughout the house. I think it was a garage sale find.
 I was not able to find just the right piece of fabric to cover the dining room chairs until I came across this perfect pattern on a shower curtain from Ebay. It is a heavy weave and just what I was looking for. It just covered six chairs with little fabric left over.
Refinished Half-Circle Table
Remember this little table in need of a makeover? The one my husband got for $5.00 at a garage sale? A little sanding… a little stain… and a few coats of urethane and… a lovely refinished half-circle table. Continue Reading
Front Porch Living
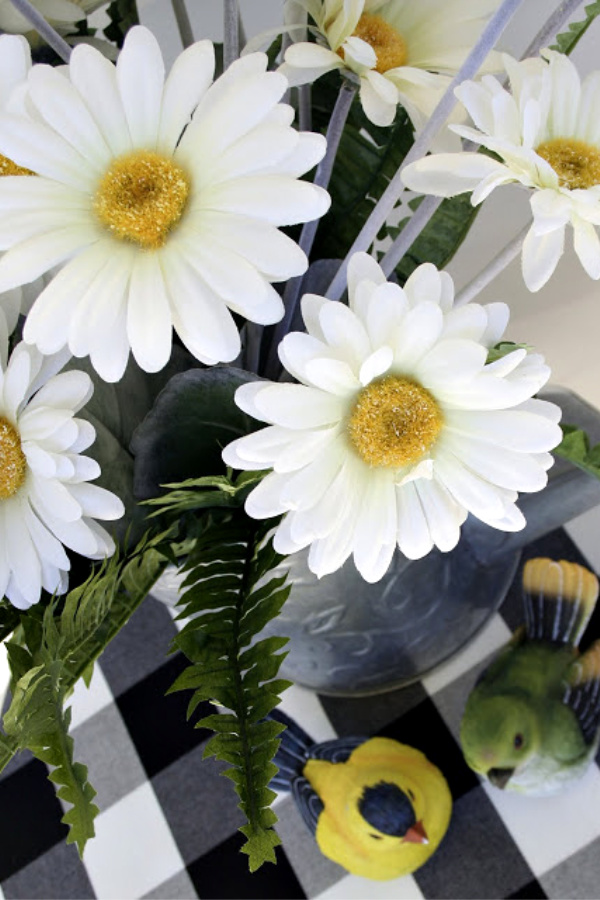 At last, the air has warmed and the birds have returned and again the front porch has become a very enjoyable place to rest. A welcoming place to sit a spell. Front porch living includes pretty daisies in a sprinkling can sitting atop a little round wicker table.Continue Reading