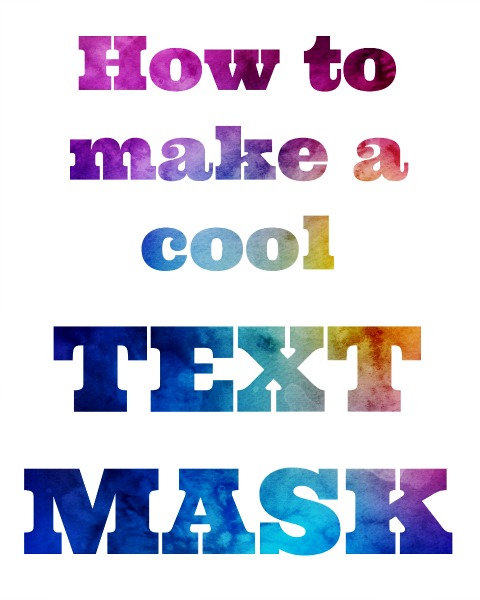
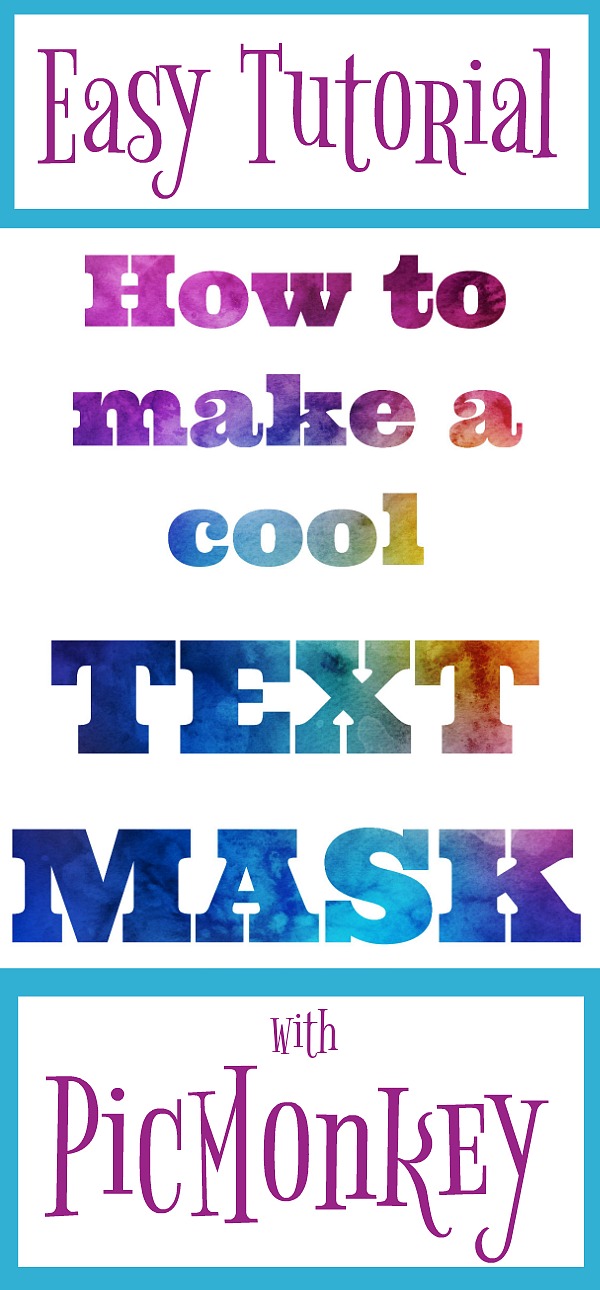
I’ve got to tell you, I am so excited about this new discovery. Maybe you have seen these really cool visuals where a background shows through the letters. It is called Text Masking and these graphics are so eye-catching. Projects created using this technique appear technical and complicated. But they’re aren’t and I’ll show you the easy, how-to steps to make a text mask.
There are affiliate links in this post. That means if you buy something from that link, I will earn a commission, but it won’t cost you anything additional.
I’ve been using PicMonkey for many years now. When I wanted to edit photos in the past, I went to Photoshop. I learned my way around okay but there were a lot of steps and a lot of trial and error. Then I learned of PicMonkey and I was amazed how EASY it is to create really great photos. Every photo you see on my blog from the past so many years, I can’t even remember, was edited using PicMonkey.

Not familiar with PicMonkey? It is a an online photo editor that is great for people who have a ton of creativity but no time or desire for learning software. It allows you to use features like touching up a pic, trying a new effect, access to a collage maker and lots more.(click Monkey button for more info)
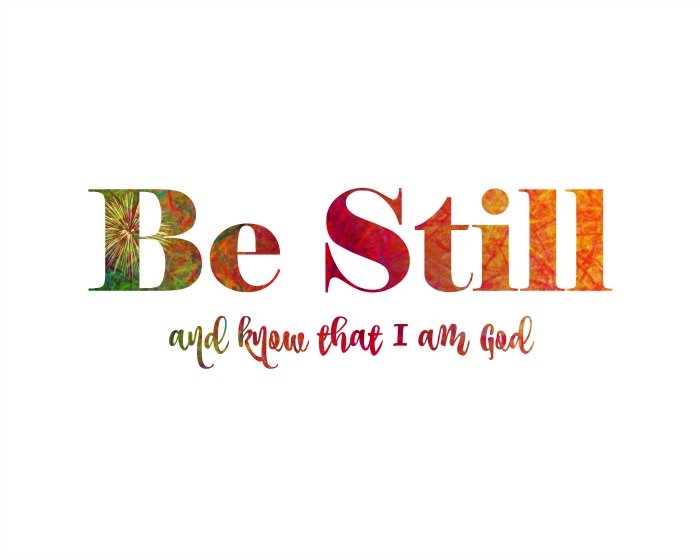
Seriously, once you get these few steps down, you will come up with many fabulous ways to use it. The possibilities are endless. Here is one with a favorite bible verse.

Sign up for a FREE PicMonkey 7 Day Trial.
Membership unlocks a treasure trove of exclusive photo filters, design templates, touch up tools, fonts, overlays, and free storage—plus ads-free editing. Choose from a monthly or annual plan to start your free 7-day trial.
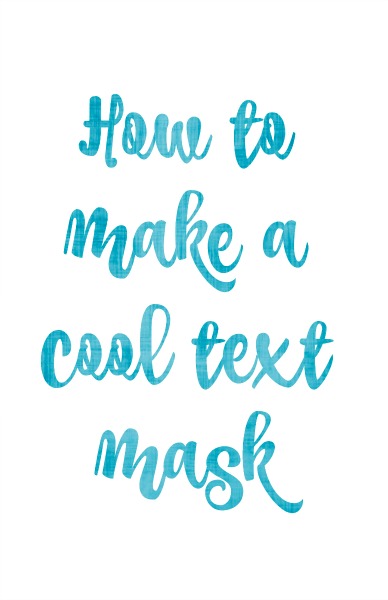
I can’t believe all these years I’ve used PicMonkey and I didn’t know this technique was so easy to do. The image above almost looks like it was hand lettered in watercolor.
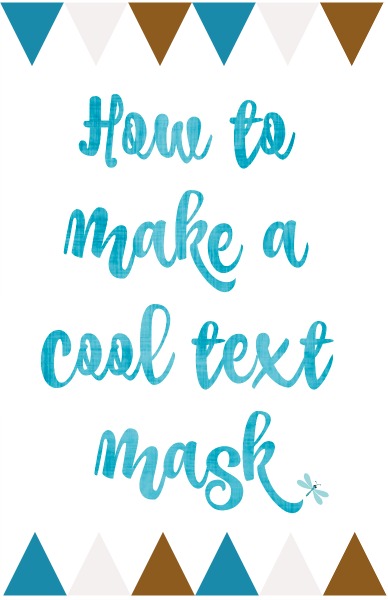
Here is same image with a banner added.
Look at this one…

My favorite is this LONDON image. The background photo was taken of Big Ben from the Westminster Bridge during our London visit in the fall of 2015.
See what I mean when I tell you I am so excited! I could make these all day 🙂 Your creative juices are probably already flowing with projects you’d like to create.

I had to make this one as a tribute to my sweet schnauzer boy who died last year.
So are you ready? Let’s get started!

If you don’t already have a PicMonkey account, you can click the above banner to sign up.

Log in to your PicMonkey. Open a Blank canvas in whatever size you want. These examples were 8 x 10 size.
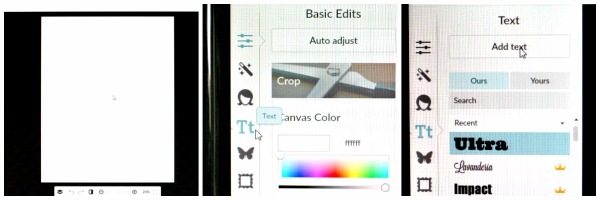
- Now you have your blank canvas. You can rotate it to vertical or horizontal so think how you want the finished image to look.
- It is time to add your text. Click the Tt icon on the left sidebar.
- Click Add Text. Then click your desired font. Bigger, bolder fonts work best for this technique.
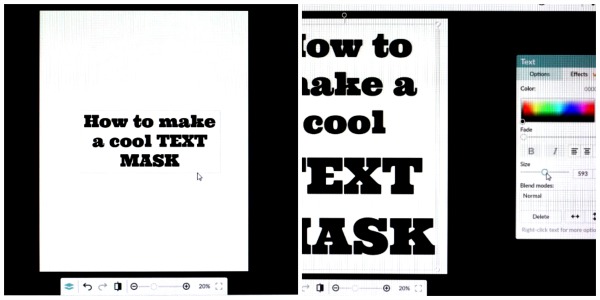
- With your text showing, you can play around by making some words in capitals, larger or smaller. Use the slider in the text box until you get it how you like.
- Make the text as large as you can so there is lots of space for the background image to show through.
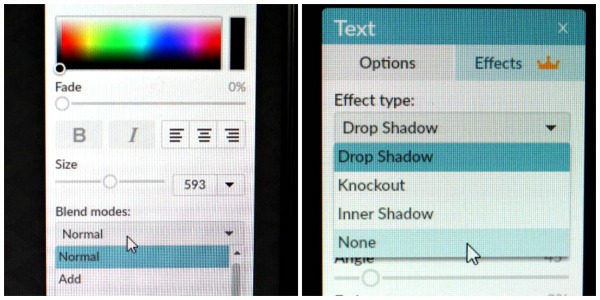
- In Text Options, under Blend modes: click Normal
- Under Text Effects type: click None

Now it is time to bring in your background photo
- Look for the Overlays butterfly icon on the left and click.
- At the top, click Add Your Own, then My Computer. This will take you to your photo files where you can choose one to use as the background to your text.
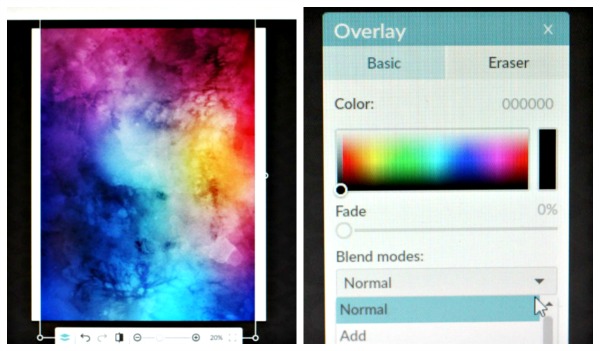
- Your photo will appear over your canvas. You may have to adjust the size so that it covers all of the text.
- In the Overlay box, under Basic Blend modes: Add (the photo above looks like it is set to normal, but you need to set it to Add) When you click Add, this is what happens….
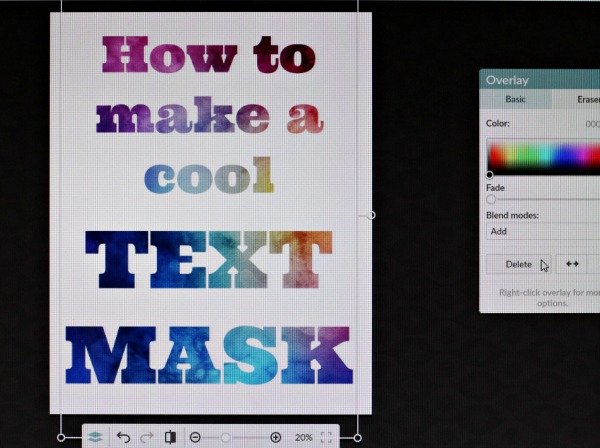
Cool, right!
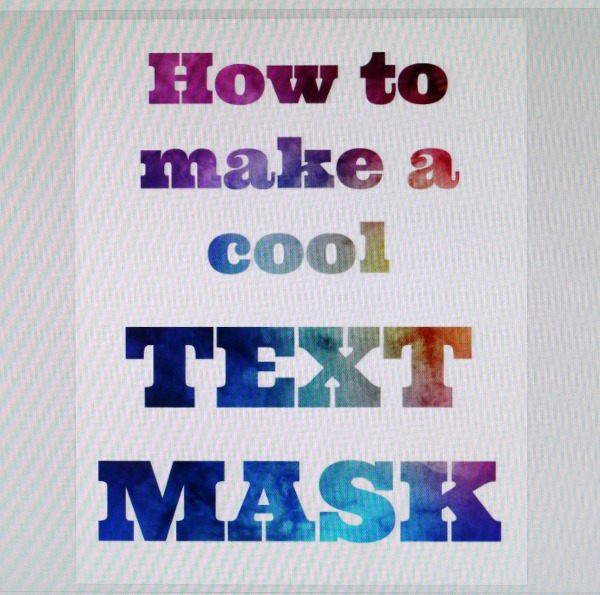
You just created a Text Mask!
So here are the step-by-step instructions again:
- Open a blank canvas of desired size and leave white.
- Add text
- Click OPTIONS
- Move the slide bar to desired size (larger fonts work better)
- Then click BLEND MODES: choose NORMAL
- NEXT Click EFFECTS:
- Under EFFECT TYPE: choose NONE
- NEXT (on left of screen) Go to OVERRLAYS (the little butterfly)
- Click: ADD YOUR OWN
- Click MY COMPUTER
- Choose a photo from your files
- Click PHOTO
- Under BASIC TAB find BLEND MONES
- Click ADD
- MAGIC! Isn’t it great!
- Click the bottom of the LAYERS BOX to merge layers
- Save your creation!
There you have it. I do hope you give this a try. It’s really fun!

You might also like…
FREE Printable Lunch Box Notes and Cards


FREE gift for subscribers!
If you enjoyed this post, you’ll love my email. Subscribe to have updates delivered to your inbox (about every three weeks) and receive FREE gifts available exclusively for subscribers. Don’t miss new content with recipes and ideas to inspire & encourage you. We would love for you to join our community. Just click the subscribe button below.

These are awesome. I didn't know you could do that with pic monkey. Ive been using photoshop elements forever and Ive done something similar to this in the past
That's awesome. I had no idea you could do all that on picmonkey. I've used it before but only for making collages. I've seen this effect before on Canva which I use quite a bit. Photoshop is fun too but yes it is complicated. Thanks for the cool tutorial. It's nice to have many options for our creativity. 🙂
xx Beca