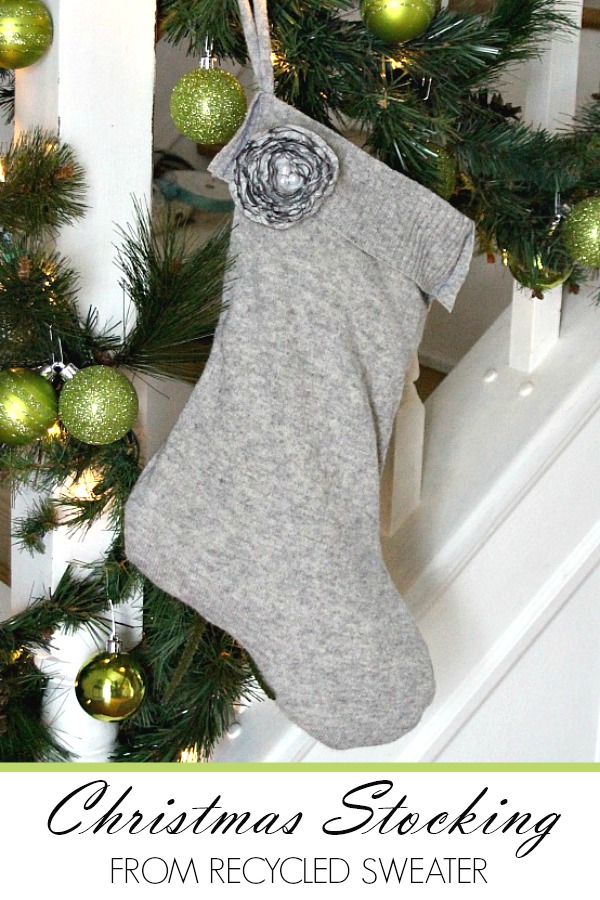
 I found a sweater in a hand-me-down bag of clothes that was looking less than lovely. It had some pilling, I still couldn’t toss it away. Much of the beautiful cashmere was still in great condition and so soft and luxurious. With a little cutting and sewing I made recycled, cashmere sweater Christmas stocking and gift bags from it. The stocking is decorative and the gift bags are useful, so pretty and can be used over and over.
Recycled Cashmere Sweater Christmas Stocking & Gift Bags
 I found a sweater in a hand-me-down bag of clothes that was looking less than lovely. It had some pilling, I still couldn’t toss it away. Much of the beautiful cashmere was still in great condition and so soft and luxurious. With a little cutting and sewing I made recycled, cashmere sweater Christmas stocking and gift bags from it. The stocking is decorative and the gift bags are useful, so pretty and can be used over and over.