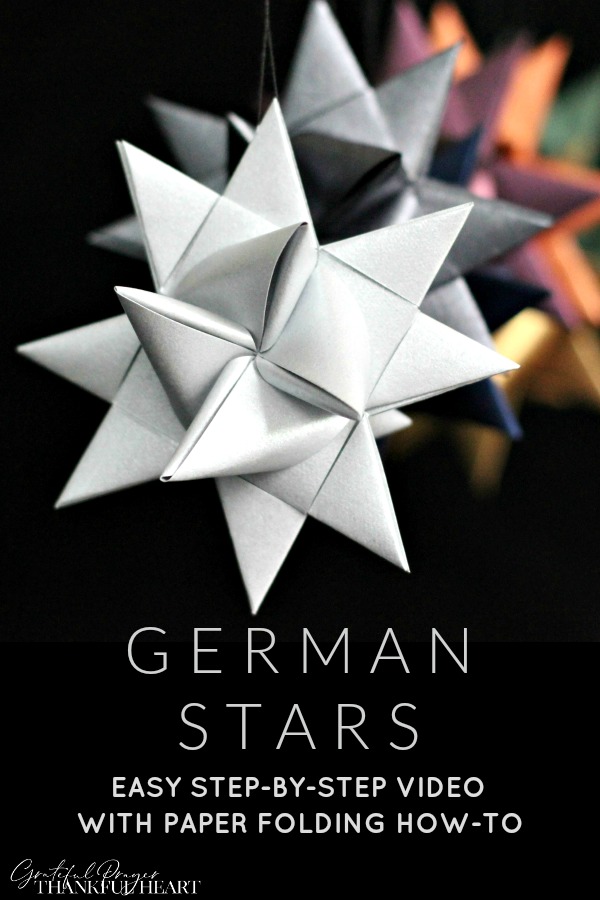
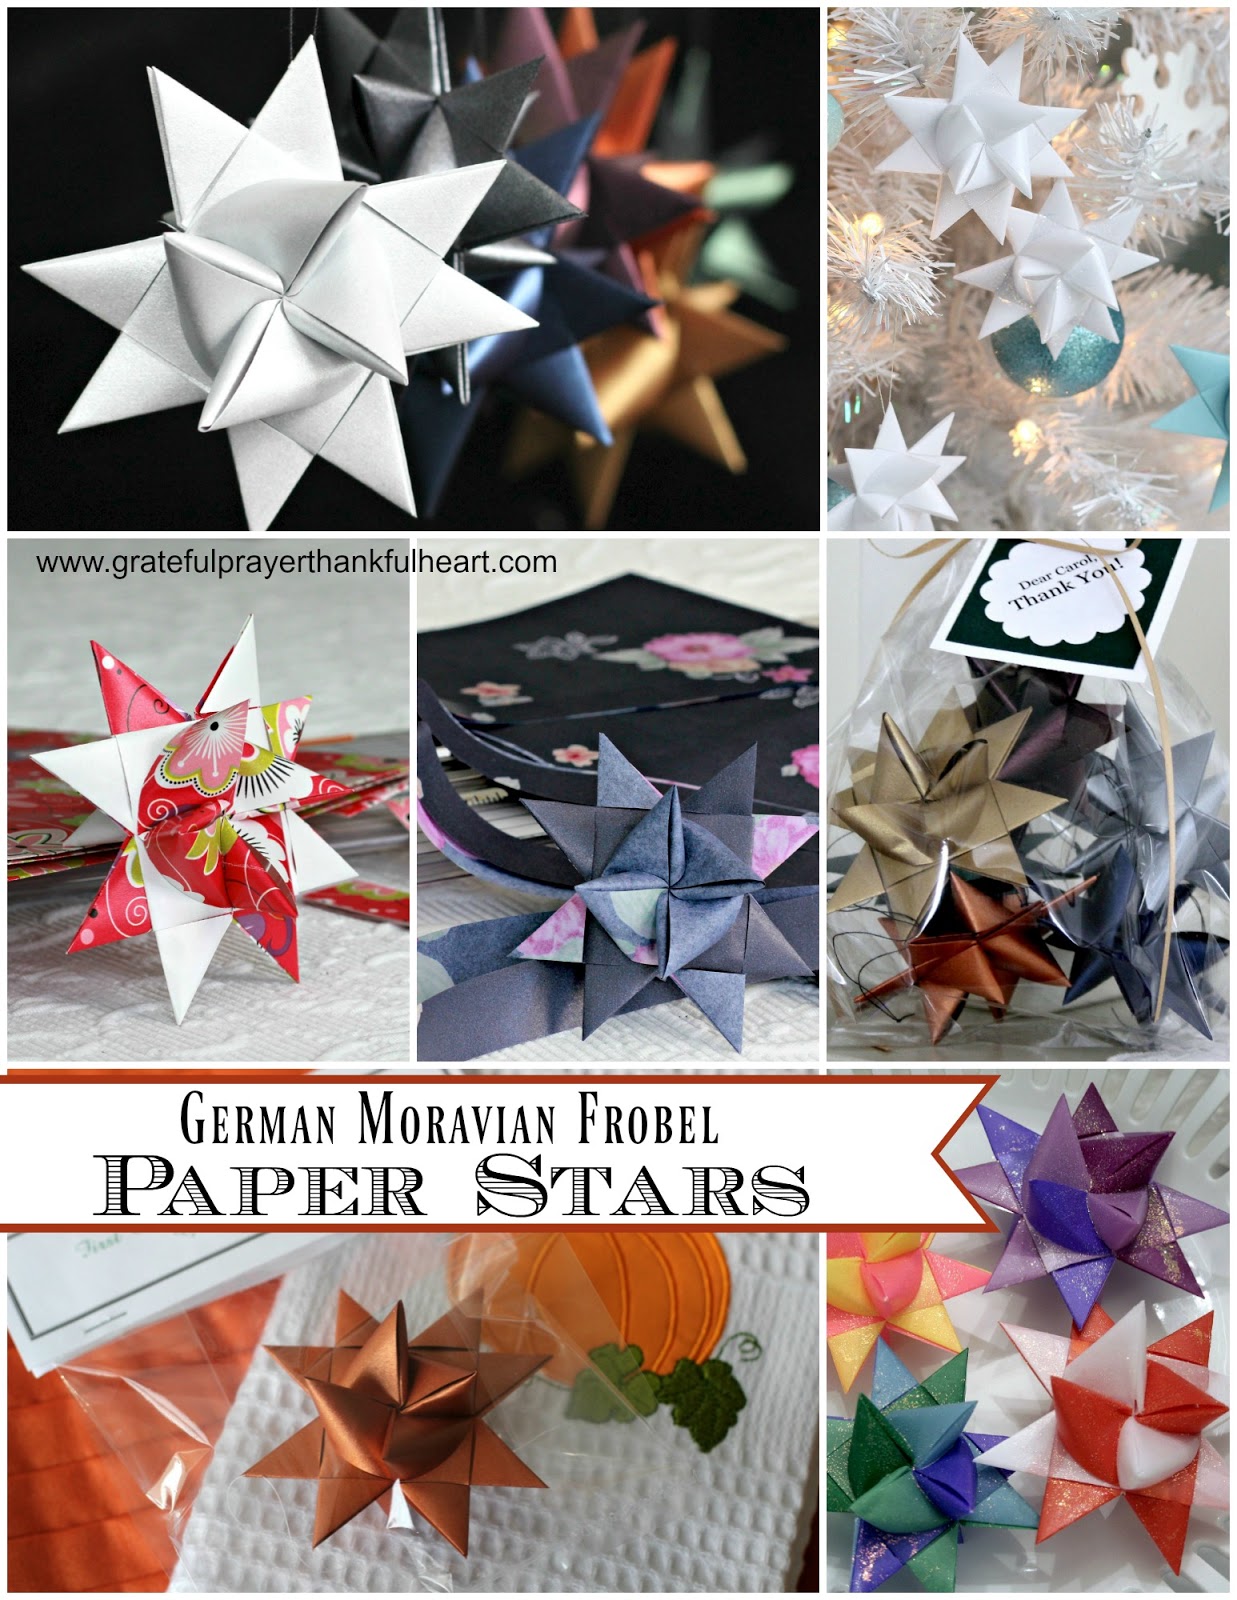
 Betcha can’t make just one paper German Star. I only needed to make one star to include with a bridal shower gift and look what happened. I am making German stars again and if you ever wanted to make these pretty folded paper ornaments or just need a refresher, I have an easy to follow, step-by-step video tutorial that will have you on your way.
Grateful Prayer Thankful Heart is a participant in the Amazon Services LLC Associates Program, an affiliate advertising program designed to provide a means for us to earn fees by linking to Amazon.com and affiliated sites. We will only recommend products we use, love or think are informative and helpful.
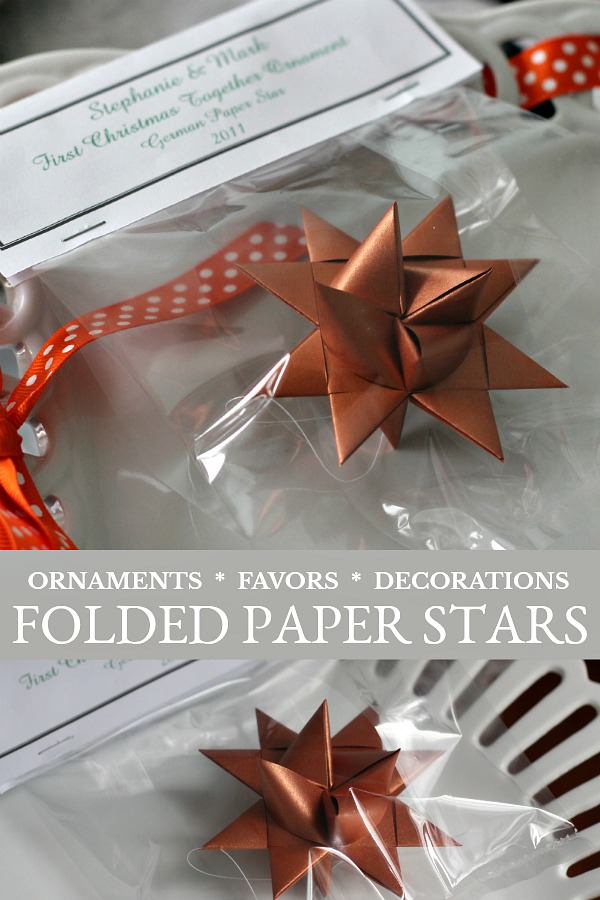 Making these beautiful paper stars is almost addicting. Before I knew it, I had made a star in each color of the wedding party. Packaged in clear, cellophane bags and tied closed with a ribbon looks pretty used as a bow on a present. And it doubles as a “1st Christmas Together” ornament keepsake.
Many ideas for German stars
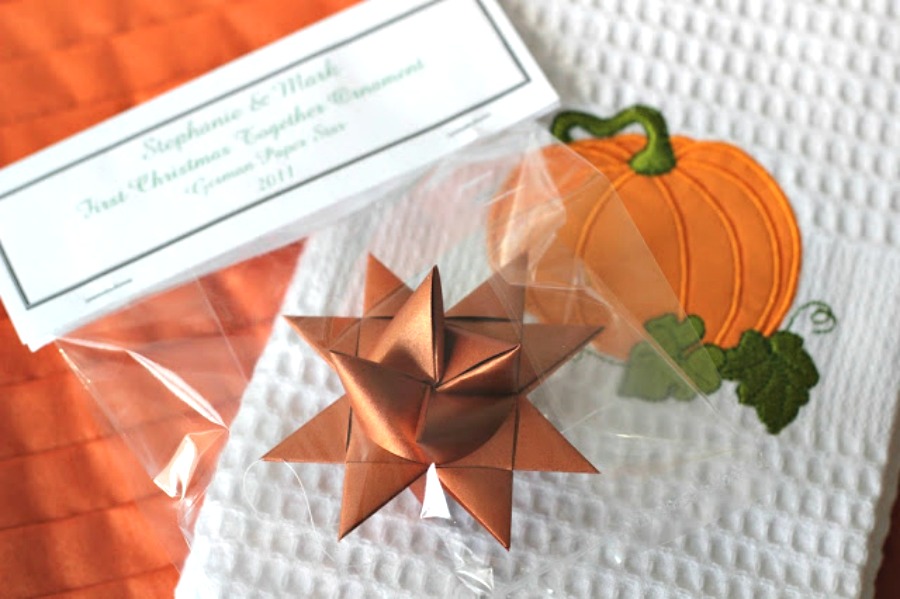 For ages, paper stars were made around the holidays to hang from the Christmas tree. But they are also unique as shower and wedding favors. A decorative and a lasting memento for guests to take home. Paper strips are available in many colors to coordinate with the occasion.
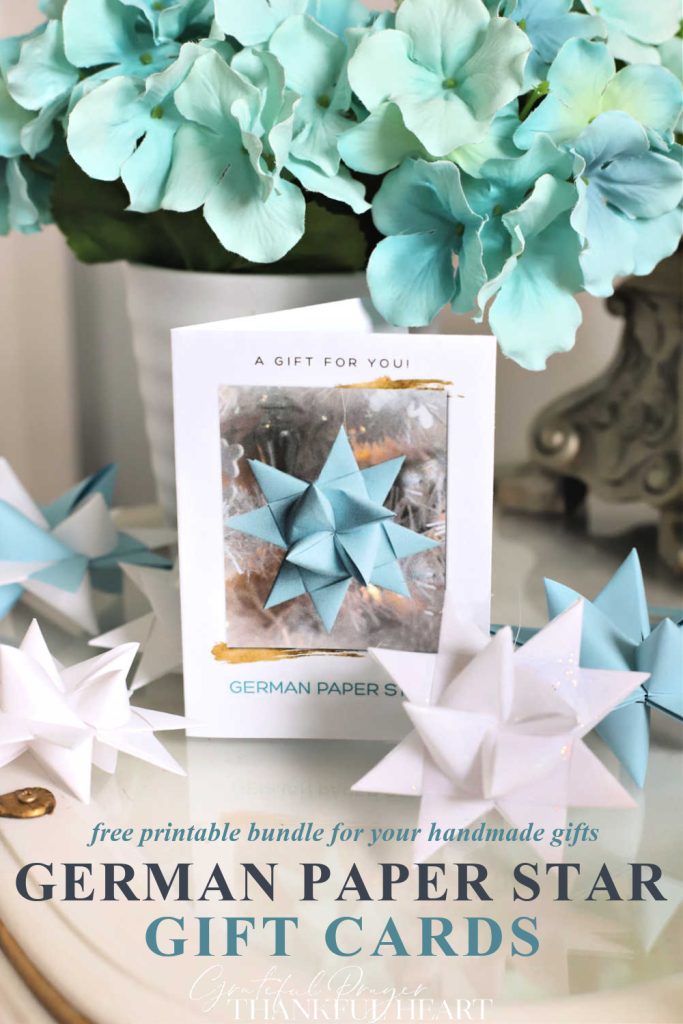
Holiday German star card
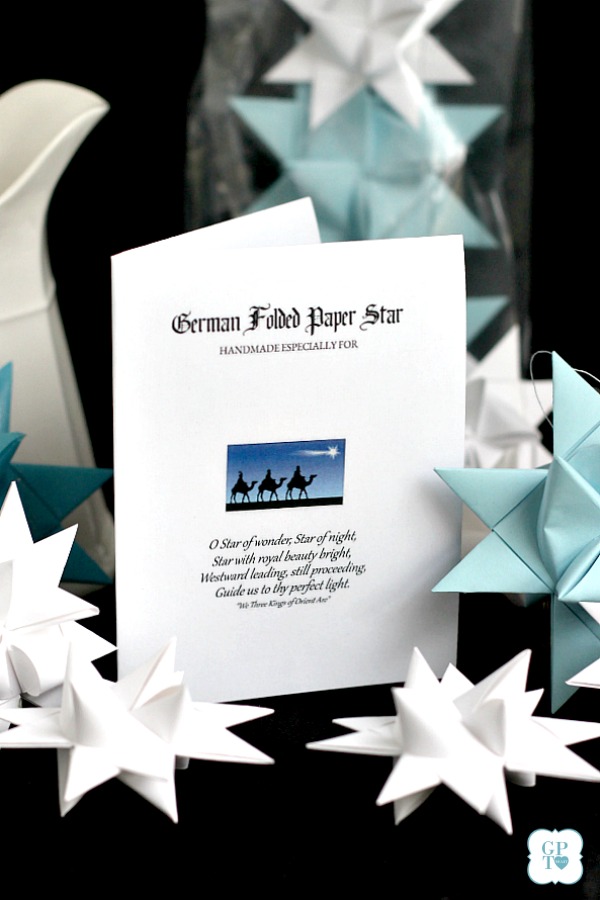
For holiday gift-giving, I created a printable card to include with your stars. If you are giving stars as gifts, you can include a card with a place for the recipient’s name on the front, a little history about the stars on the inside and storage suggestions on the back. Get your printable by clicking German Folded Paper Stars Gift Card.
Maybe you have made these stars before but forgot a few steps. If it has been a while since I made German Stars, I need a quick refresher myself and refer to the videos.
The stars aren’t hard to make at all but the folds have to be done correctly and in order. This video tutorial with step-by-step folds and turns will clearly show you how. Fill your Christmas tree with them or give as gifts. They really are beautiful.
German Stars
Video Tutorial
The how-to video is in two parts. It is step-by-step making it easy for you to create your stars. I show you every fold so you can work right along with me. Remember, you can pause the video if you need to, or go back a little until you thoroughly understand each fold and turn. After a few stars you might not even need the video! Have fun!
German Star Video Tutorial for Making Stars
Part 1
Part 2
Note: In my original tutorial post, I suggest waxing the paper stars. I would continue to do this especially for the stars used outside for holiday decorating. I do not plan waxing the metallic stars because they are lovely as is but I won’t be using them outside.
How to Wax Paper German Stars
The tutorial for Waxing and glitter your stars can be found by clicking How to Wax German Stars.
German Star Paper Source
Try Amazon Prime 30-Day Free Trial
Various size stars
Paper width and length
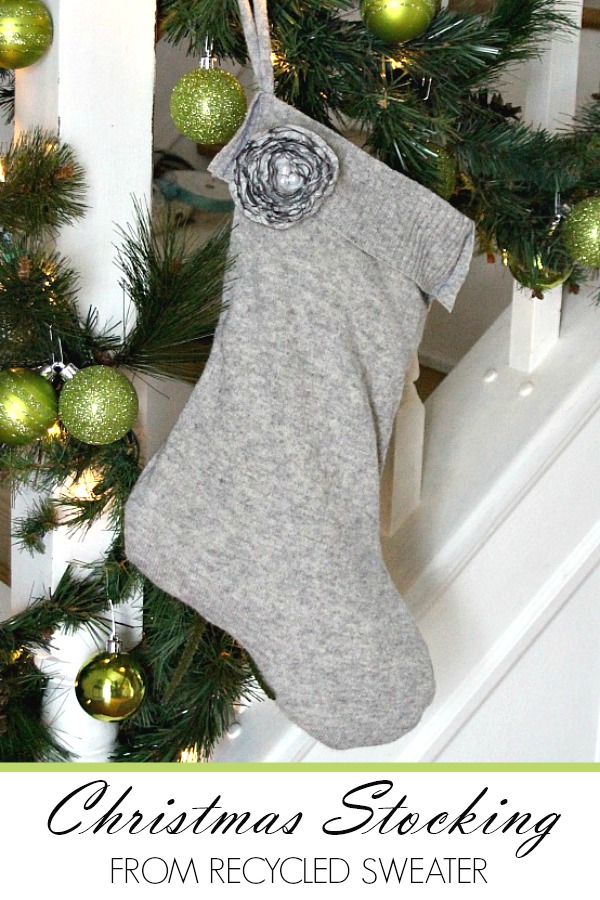
You may also like…
 Here is the link to your FREE Handmade Holiday Craft Project Planner.
 Our Newsletter is published once every three weeks. Each issue is timely and helpful, jam-packed with food, crafts, occasional DIY, gardening and faith resources. Relevant and seasonal posts to inspire and guide you with current trends. Available only to those who request it, so please accept our invitation to stay connected and join the Grateful Prayer Thankful Heart community. Just click the subscribe button below.

We had a lovely woman in our church who made bags and bags of these. Sadly, she has since passed away, leaving her beautiful, intricate stars for our annual Fall Festival. I purchased several bags of them not knowing they were called German Stars. They go on my Christmas tree every year. ❤️
We had 2 of these on our Christmas tree when I was little (1950s). I loved them. They were facinating and I wondered how they were made. Thank you so much for the instructions. Will for sure try to make some for my tree.
Try using the last bit of strip most people cut off to create one last layer – as shown here!! https://www.youtube.com/watch?v=egkYycCELhg
I used to make these back in the 60s but I had forgotten how. Thanks you for the wonderful tutorial. I'll now try again.
Where do I get the long paper to use? Is there a special weight?
Oh wow, I have so much paper I could do this with! Thanks for sharing!
Hi the links don't seem to work for me? Can you send me a download, these look so pretty and my husband is from Germany, I'd like to make them for Christmas now before the crazy s start…thank you
I can see how these would be addicting. Thanks for sharing at Christmas in July. Pinning this one:-)
I LOVE these stars Lorraine….and every time I see them I think "maybe this is the year I'll make them"!
Maybe this is……
🙂
I love these!!! And love that you can make them to fit with any decor or theme!
Thanks for sharing!
Hugs,
( the Queen of Explanation points )
SUzan
Oops – I just saw your "photo terms" – do you want me to remove the pin from my Pinterest board and FB page?
Thanks so much for sharing this at the Christmas in July party – 2013! I'm pinning this to my Christmas board!
~Angie @ Knick of Time
my aunt made these when she was in high school and gave them to my mother. For 25 years they were the only ornaments we had on our tree. She recently taught my daughter how to make them – she made them for a 4-H project! so happy to find a site for the paper – and thanks for the link on how to wax them!
so simple, but brilliant! these might even get a repost, thanks for the inspiration x
Those stars are so pretty! Thanks for sharing the tutorial – I've got this linked to my stars post as well today, for inspiration!
vbohrer@att.net
I made these many years ago and had lost the instructions. Thank you so much for the tutorial! I need to know what type of paper you use. I tried card stock and regular printer paper this morning and neither seemed right. I would appreciate this information. Thanks again!
Thanks for linking up to Take-A-Look Tuesday over at http://www.SugarBeeCrafts.com — you were featured today!!
FINALLY I managed to make these stars! Thanks to your GREAT tutorial.
Thank you ♥
Your tutorials for the Froebel Stars don't seem to be on your blogpost any longer – just blank spaces. Are they available elsewhere? Thanks so much. You do lovely work!
Nancy
nakerly@charter.net
Those stars are so beautiful and your great video tutorial makes me think that I can actually tackle making some!
Thanks so much for linking up to my Holiday party! I know this will inspire many people to give this a try.
Beautiful. I would never have thought to use the "duller" colours but the brown one is lovely. Definitely going to have to make some of these for Christmas. Thanks again for sharing
I keep saying every year that I am going to make them but….. Maybe this will be the year!!! Happy Late Birthday a month late!
I love doing these stars and I like to do them with the ribbons used for gift wrapping – you know the plastic/paper type that you can curl after you tied the gift?
Makes for lovely cute small stars and indeed I never do just one ;-9
They're gorgeous! I had eyed some of these on Etsy last xmas and always wondered how to make them. Thanks for the tutorial. I will definately have to give it a try!
looks really pretty….I always mess up with weaves n stars…i hope I atleast get this right
absolutely pinning this into my next project https://meijosjoy.blogspot.com
My goodness these are beautiful! I can't wait to try this out, thank you so much!
Those are so beautiful. For some odd reason, I just have no skill for paperfolding. jan
I love the German paper stars. I have some several years old that my DIL made for me before she was my DIL. 🙂 I use mine on our Christmas tree and they are treasures because she made them. Thanks for sharing your tutorial.
Babs
Love it. Thanks for sharing
I need to show this to my hubby. He loves to work with origami and I think this might be something we can work on together. I remember when you first showed how to make these stars a few years ago. They look pretty and I'm sure the star was the "hit" of the gift!
Beautiful!! I would definitely like to make these and am so grateful for the tutorial.
Thank you so much for your sweet comment on my blog. It blessed me beyond measure!
God bless you – Julie
They are beautiful. Your instructions are great.I may even get the courage to try them and I am not very crafty.
I think the first German star post is what led me to your blog! They are beautiful. I still have not tried to make them….hopefully soon! Thanks for sharing!
Oh! my! so beautiful, thanks for the link, and video.
Sue
I love your stars! I actually printed out a tutorial for something similar last year but never gave it a go. Maybe I will have to put it on my list of things to try again this season. Thanks for sharing. Glad to see you are keeping busy. Happy hands, happy heart. Take care! Best wishes, Tammy
What an incredible gift for the newlyweds! The colors are magnificent.
Someone will be getting an extra special gift! Do you use them to decorate the package?