
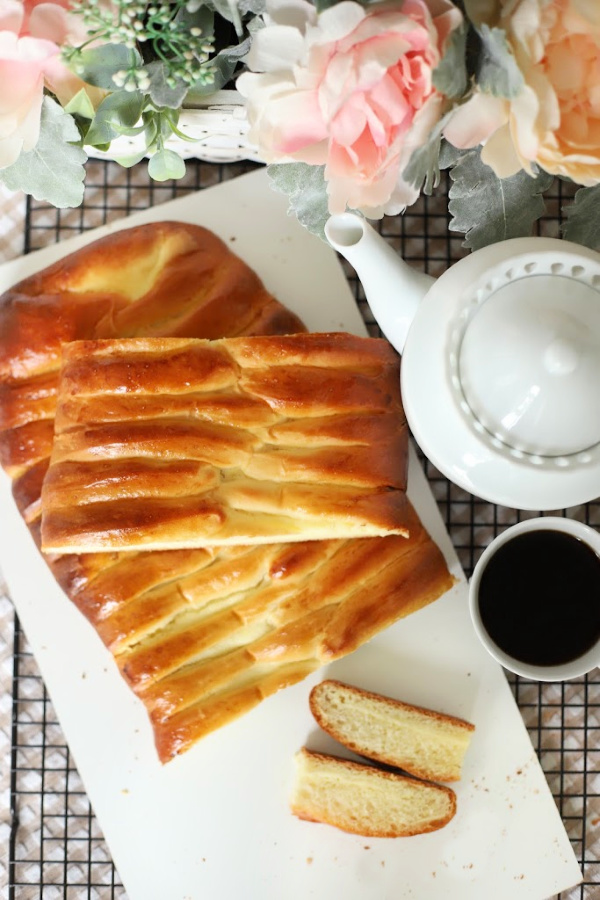
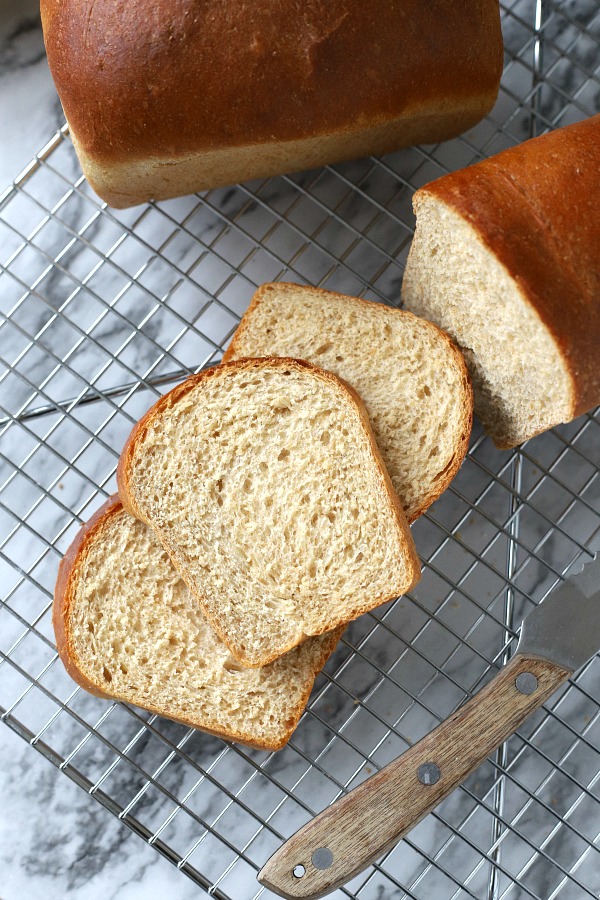
 The bread looks as good as it tastes and the braiding is easy. If you don’t gobble it all up, you can gift one of the loaves or freeze it. Wrapped well, it can be stored in the refrigerator for up to 3 days, or in the freeze for up to 3 months.
Making the dough
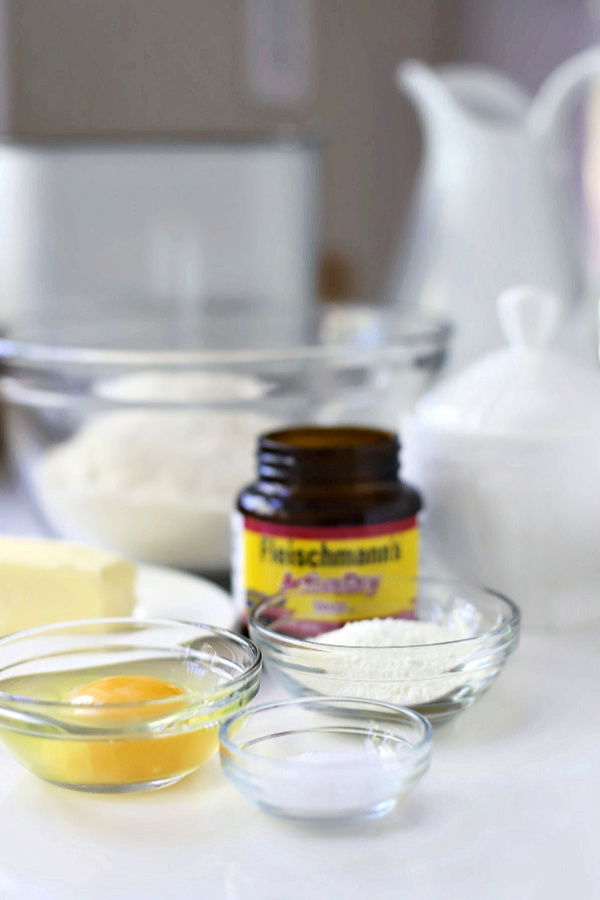
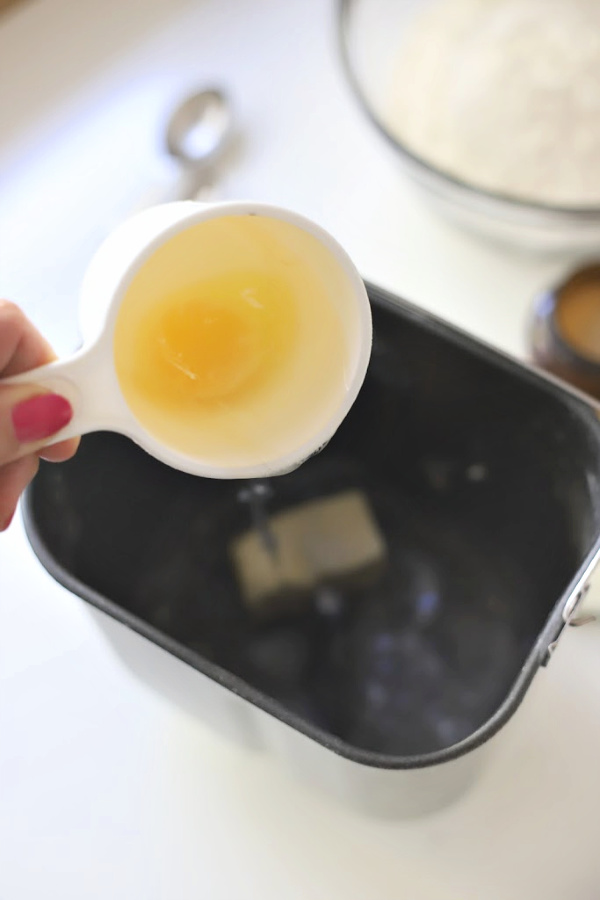 Add the egg to a one-cup measuring cup and add hot tap water to fill to the top. Pour into the bread machine baking pan. Add the softened butter, salt, followed by the bread flour, non-fat dry milk and sugar.
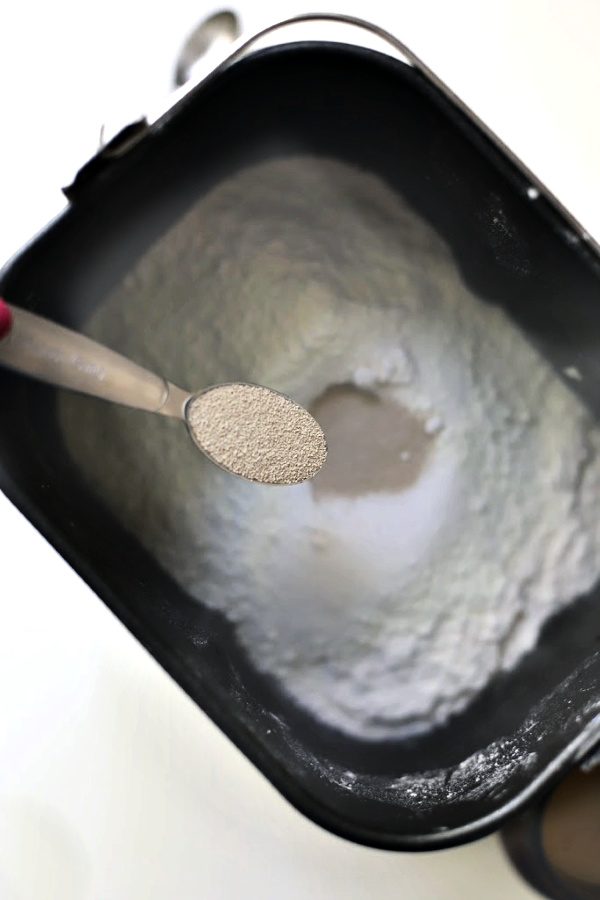 Make a small well in the dry ingredients and add the yeast.
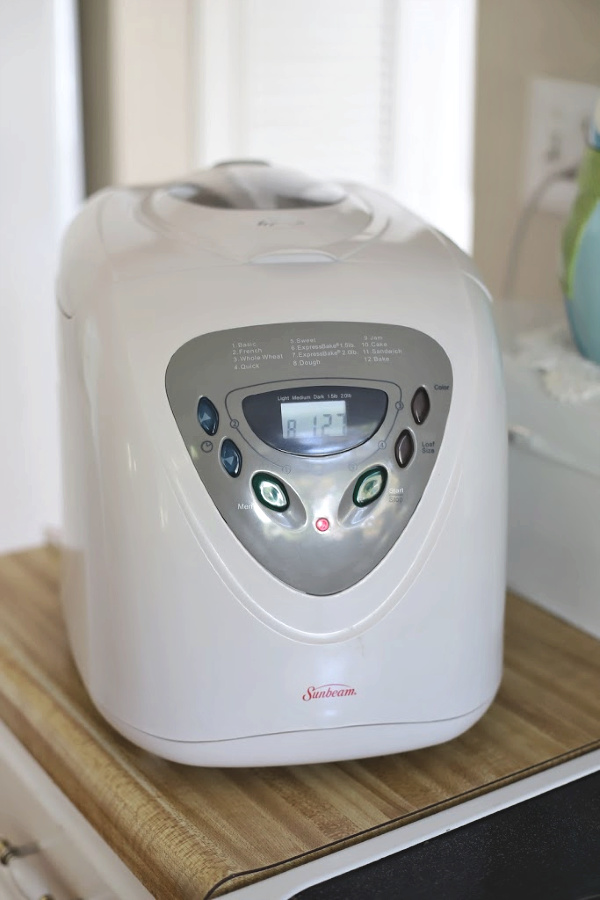 That’s it! Secure the baking pan into the machine and press the bread dough cycle. It is not necessary, but I like to take a quick peek after about 3-4 minutes to be sure the flour is incorporated and a nice ball is forming. Do a quick scrap down of the sides of the pan with a silicone spatula if there seems to be a need.
 Preparing the cream cheese filling
 While the dough is in the machine, begin the making the filling. Using a microplane or zester, grate the lemon peel. You want 1 teaspoonful.
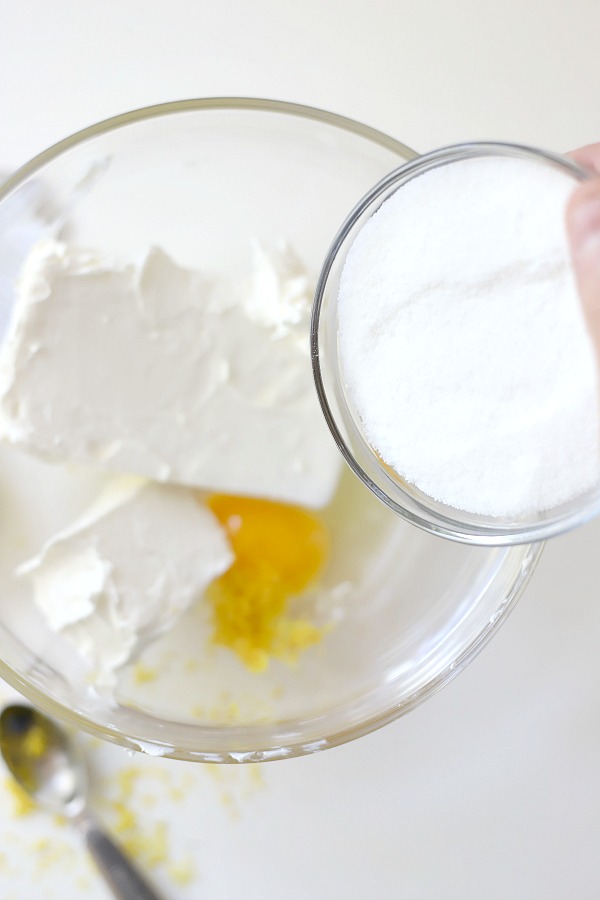 Add the softened cream cheese, sugar, egg and lemon peel to a mixing bowl.
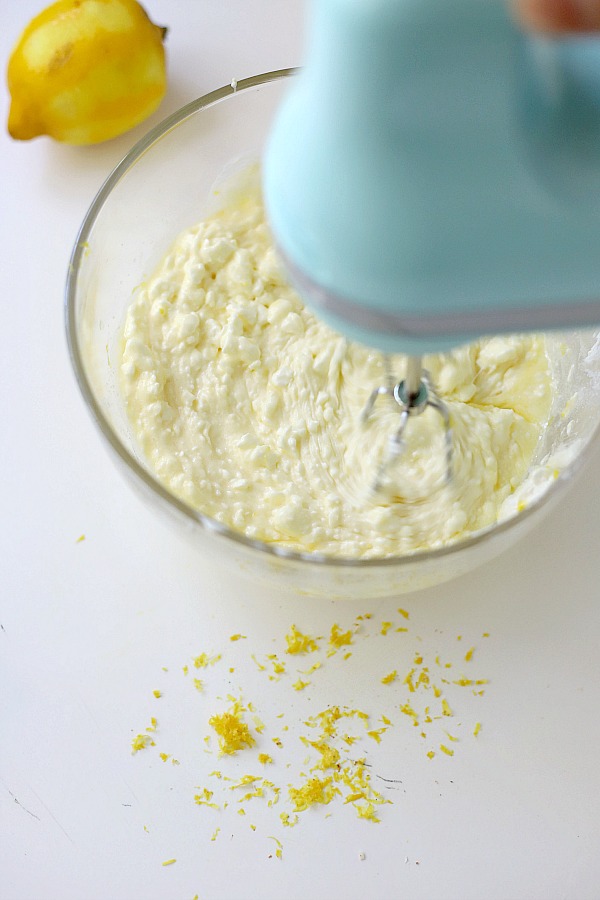 Beat the mixture until creamy and smooth.
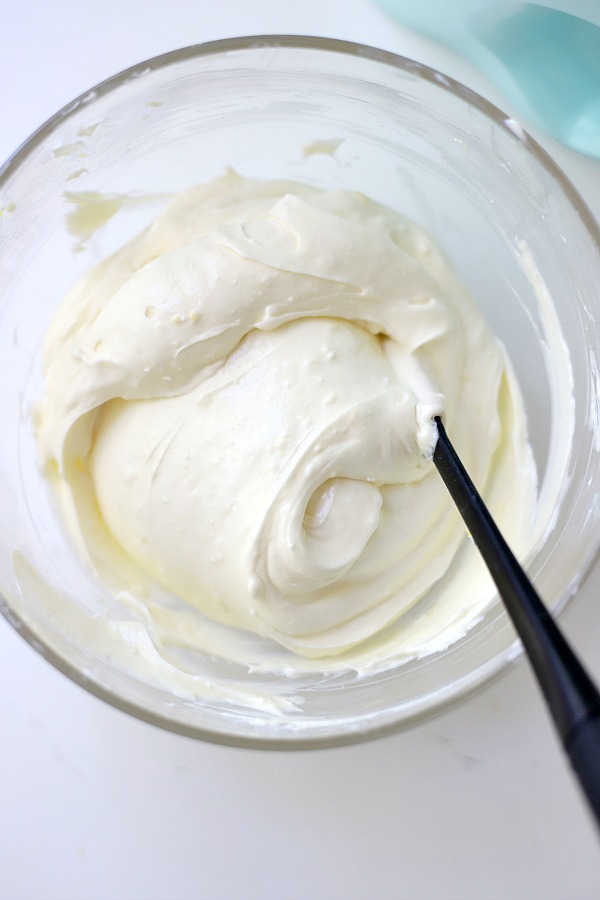 Looking good 🙂
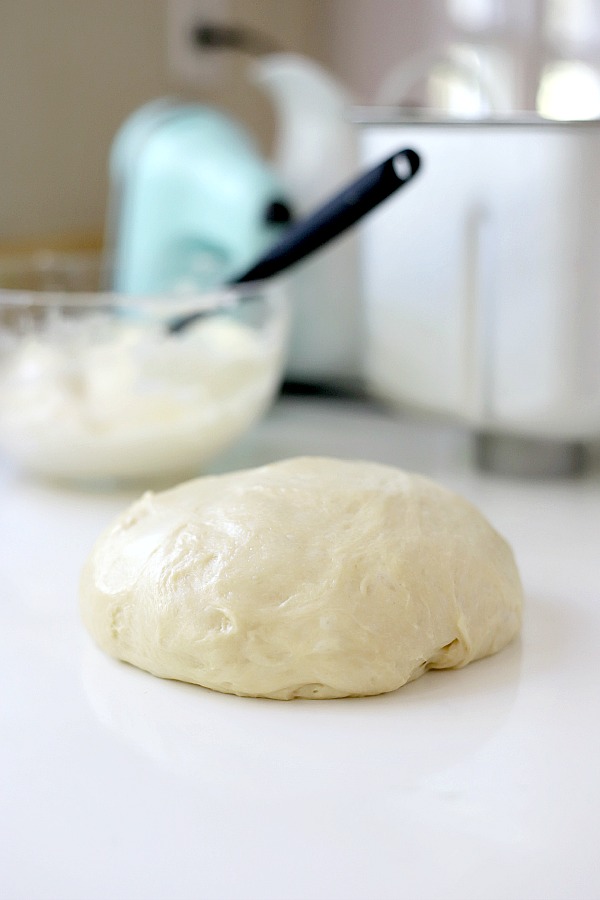 When the dough cycle is complete, remove from the bread machine, cover lightly with a clean towel and allow to rest for 5 minutes.
 The cream cheese bread dough
Also, I love silicone mats because they’re awesome. If you don’t have silicone mats, you can place the dough on your lightly oiled work surface and proceed to roll, transferring to parchment lined baking sheets for baking.
Rolling the dough
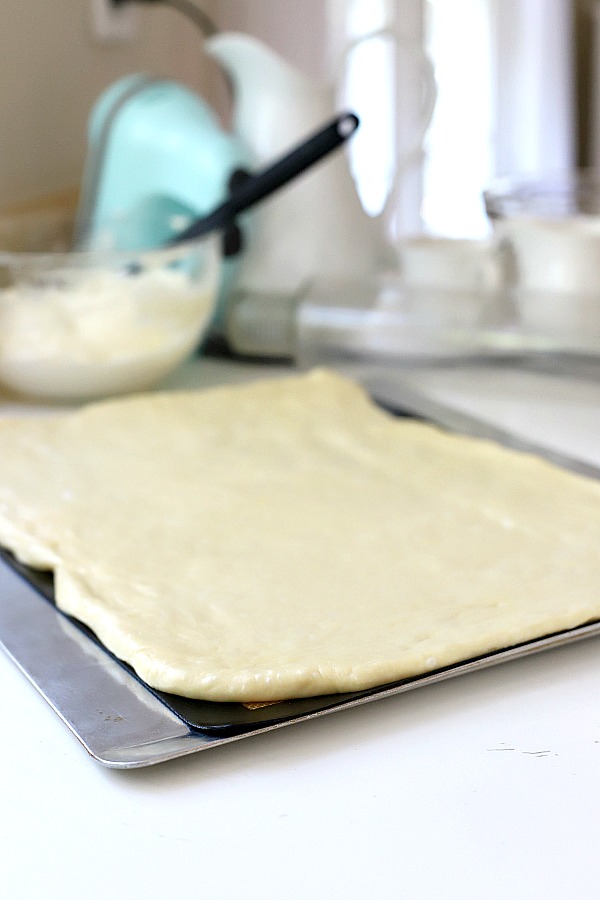 Roll each dough half into a 12″ x 8″ rectangle.
 Spreading on the filling
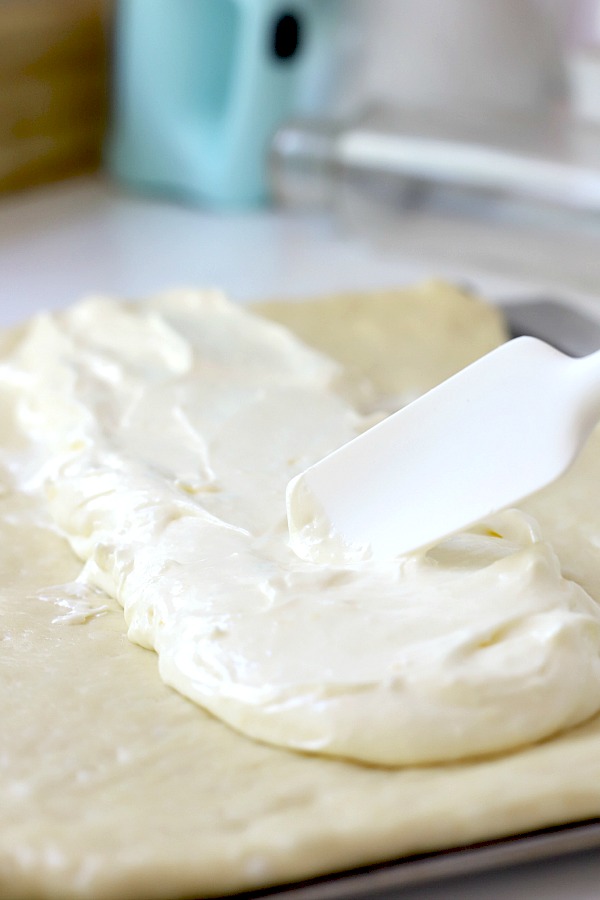 Spread half of the filling lengthwise down the center third of each rectangle.
 Cut 1″ wide strips from each side of the filling out to the edges of the dough. I like to use a pastry cutter so I don’t cut the silicone mat. If the dough is a little sticky, dipping the edge of the cutter into flour between cuts is helpful.
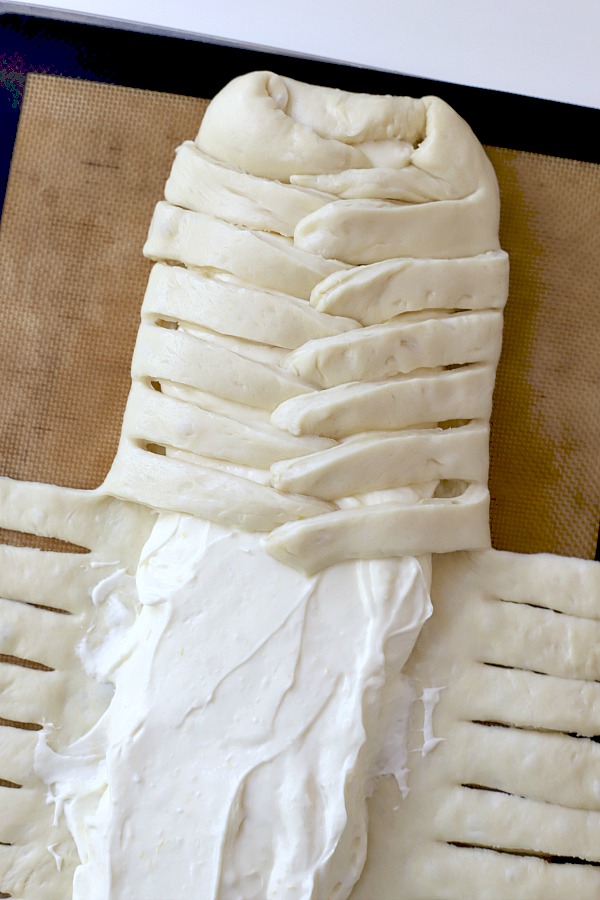 Starting at one end, fold alternating strips at an angle across filling. Seal the ends so the filling is contained.
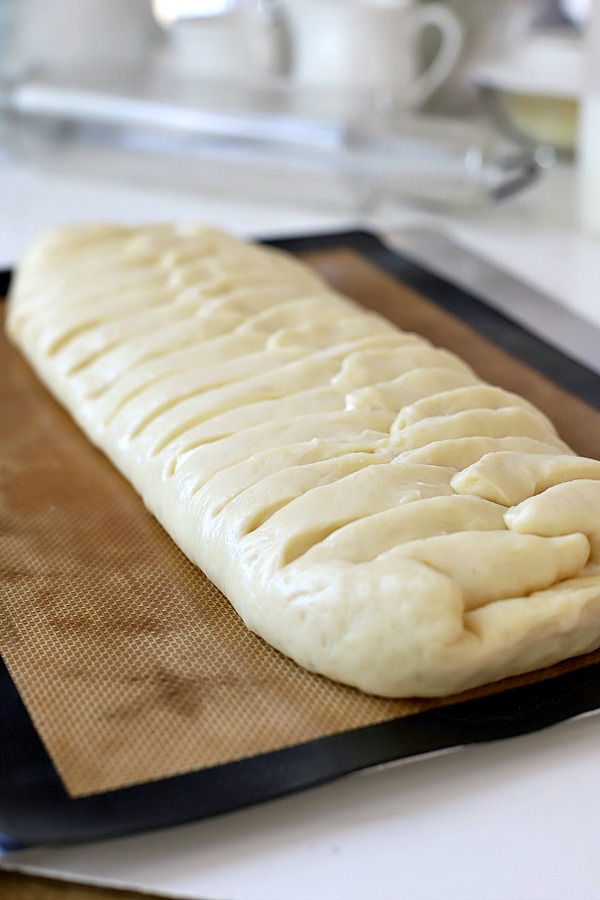 If you haven’t worked on a silicone mat, transfer the braids to 2 parchment-lined baking sheets. For a deep golden brown surface, gently brush the loaves with a beaten egg just before placing in the oven.
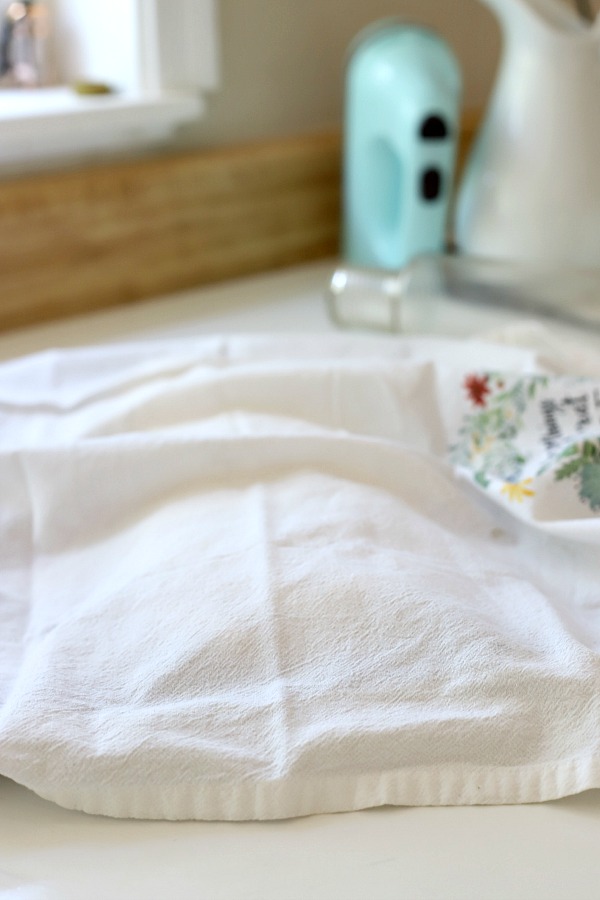 Cover lightly with a towel and allow the dough to rise in a warm place until almost doubled, about 30 minutes. Just before baking, gently brush the top of the braids with an egg wash.
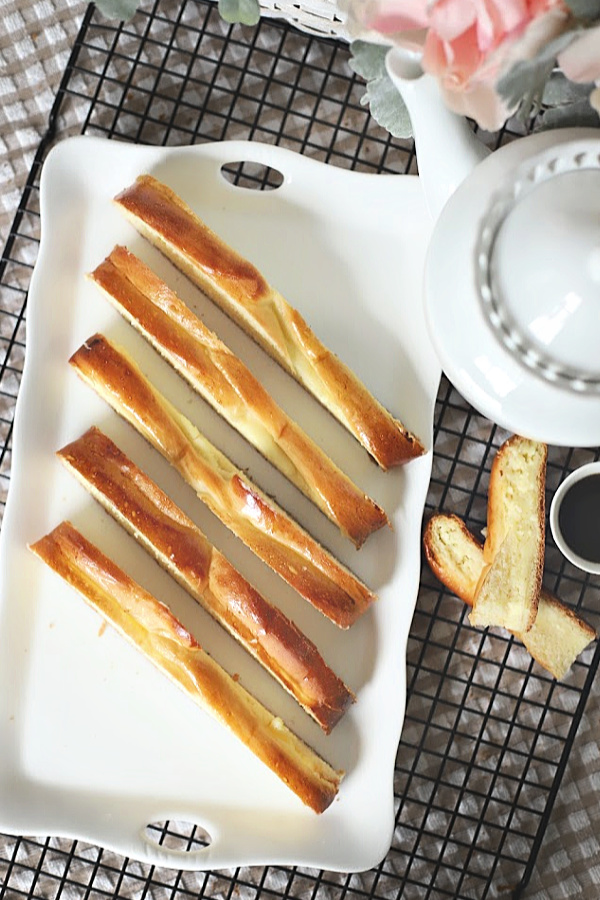 After baking at 375° for 25-30 minutes you will have a gorgeously golden brown sweet bread with a layer of creamy cheese inside.
Try Amazon Prime 30-Day Free Trial
Cream Cheese Bread
- 1 large egg plus enough water to measure 1 cup
- 1/4 cup butter, softened
- 1 1/2 tsp. salt
- 3 cups bread flour
- 3 Tbs. Nonfat dry Milk
- 3 Tbs. sugar
- 2 tsp. Bread Machine Yeast Also called Rapid Rise
- 1 egg, beaten for an egg wash to brushing on the risen braid
Filling
- 2 packages (one 8 ounces, one 3 ounces) cream cheese, softened
- 1/2 cup sugar
- 1 egg
- 1 teaspoon grated lemon peel
- 1/2 cup confectioners’ sugar
- 1/4 teaspoon vanilla
- 2 to 3 teaspoons milk
Rolling out the dough
Cream Cheese Bread Recipe Notes
- If bread is browning too quickly, tent with foil.
- Here is a little trick I use to create a warm place for the bread to rise: I have an electric oven but I think this will work in any oven. I set the oven to preheat to 350 degrees for just 2 minutes. I use the timer so I can immediately cancel the preheat. This is just enough time to warm the oven slightly. Then I place the covered bread in, close the door and allow it to rise. Works like a charm.
Making dough without a bread maker
I keep appliances to a minimum because of storage needs but having a breadmaker is so worth the space it takes up. I keep it above the refrigerator because I use it so frequently. I do not bake in it, however, preferring to shape and bake in the oven. I find it to be so convenient for making perfect dough for so many recipes including yeast breads, cinnamon rolls, dinner rolls and pizza to name just a few. If you do not have a breadmaker, you can follow the instructions below.
- Combine yeast, water, and sugar in a bowl. Let it sit for 5-10 minutes until foamy.
- Add the rest of the dough ingredients and knead for 8-10 minutes. You can knead by hand or in a stand mixer.
- Cover dough with a dishtowel and allow the dough to rise in a warm place until doubled in size, 1 to 1 ½ hours.
- Turn out dough out to an oiled surface and gently knead a few times to remove air bubbles.
- Now you are ready to proceed with the recipe.
How to measure flour
The correct amount of flour is so important for successful baking and you would be surprised how much different can be. Using a measuring cup to scoop out the flour can compact it resulting in too much for the recipe.
Here is the best way to measure flour:
- Begin by fluffing the flour. I transfer the flour from the paper bag it comes in to a rectangular storage container. I have an ancient metal pancake turner that I leave right in the container. Before measuring, I use the turner and flip over scoops of flour several times, fluffing it up a bit. It is a little messier but you can also do this in the bag is comes in.
- Lightly fill the measuring cup to overfilling.
- Using the straightedge of the same turner (or you can use a straight edge knife), level off
 Our Newsletter is published once every three weeks. Each issue is timely and helpful, jam-packed with food, crafts, occasional DIY, gardening and faith resources. Relevant and seasonal posts to inspire and guide you with current trends. Available only to those who request it, so please accept our invitation to stay connected and join the Grateful Prayer Thankful Heart community. Just click the subscribe button below.

Lorraine, that looks tantalizingly good!! Can I come for coffee?
I would be super thrilled if you would come for coffee, sweet lady! 🙂