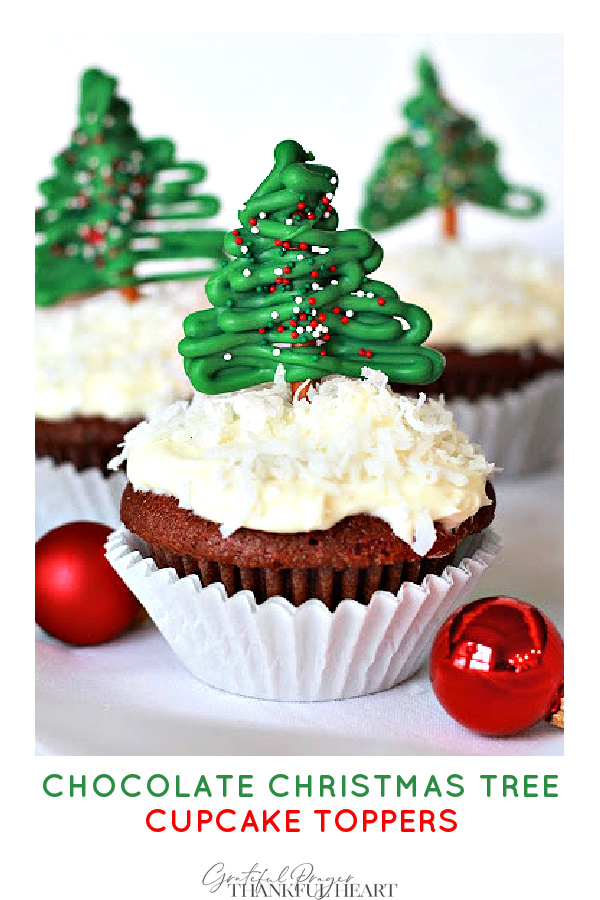
 Aren’t these the cutest, most festive cupcakes ever! Christmas tree cupcake toppers were inspired by a pinterest find from Just a Taste. They are super easy to make and a fun project to do with kids too.
Grateful Prayer Thankful Heart is a participant in the Amazon Services LLC Associates Program, an affiliate advertising program designed to provide a means for us to earn fees by linking to Amazon.com and affiliated sites. We will only recommend products we use, love or think are informative and helpful.

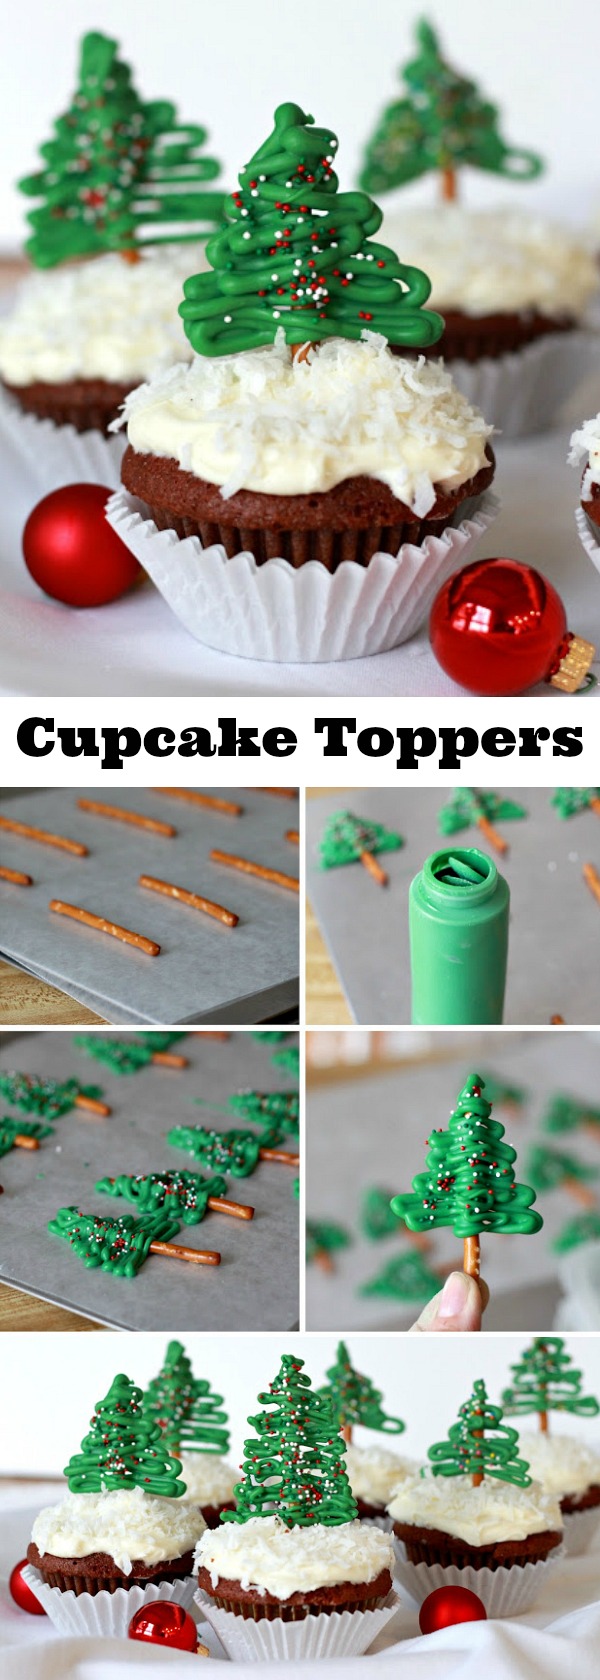
Here is the easy step-by-step how-to for making chocolate Christmas tree cupcake toppers
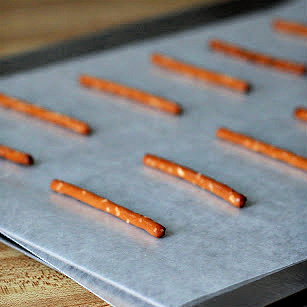
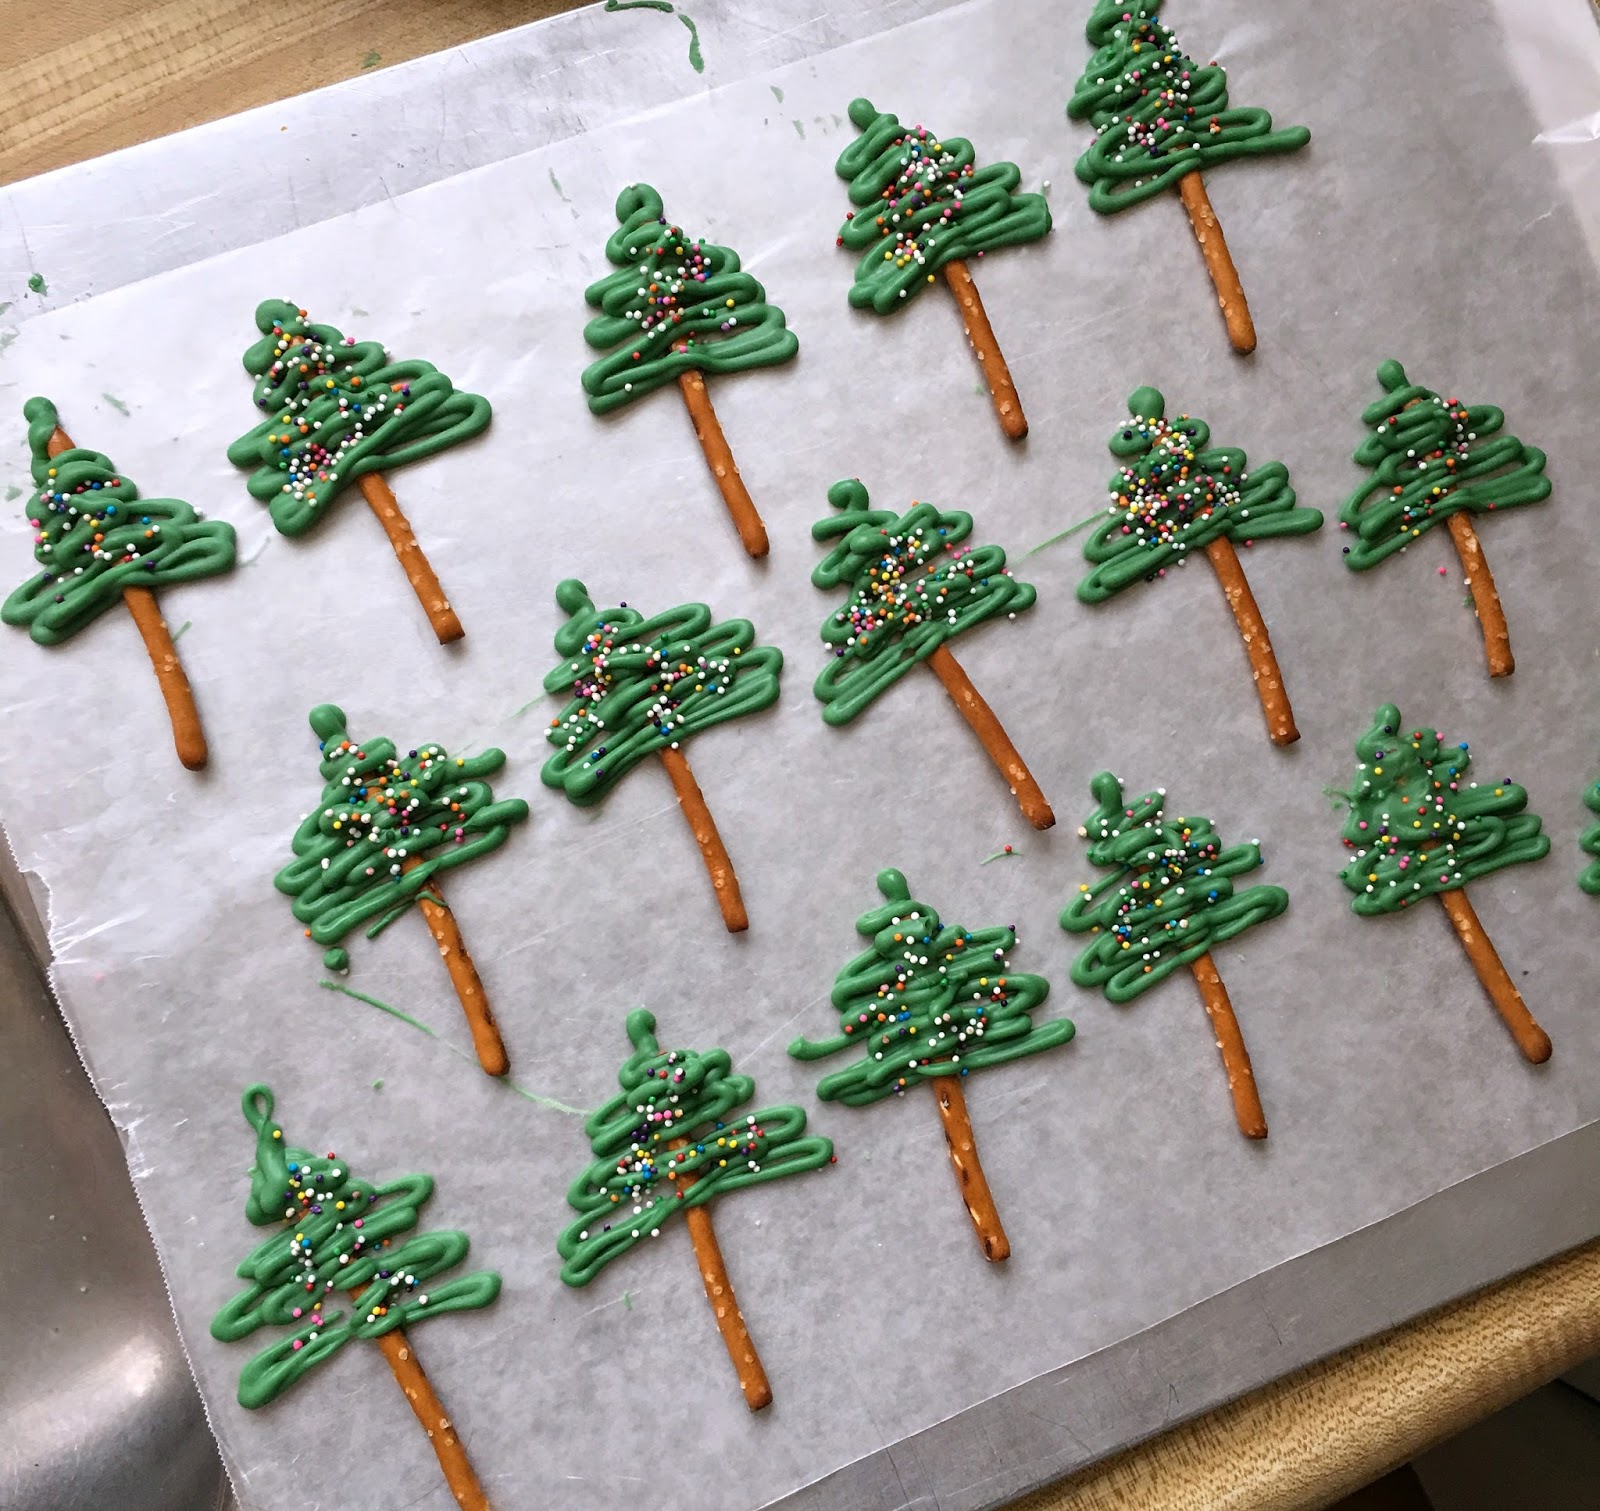
Prepare a baking sheet by covering with a silicone mat or waxed paper so the toppers won’t stick. Line the pretzel sticks on the baking sheet, spacing them about 2 to 3 inches apart.
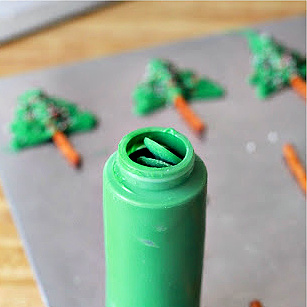
Melt green candy melts according to the directions on the package. This can be done in a double boiler or the microwave. I like to use the microwave for this, heating and stirring until completely melted. A plastic bottle is convenient and less messy but you can use a piping bag too. If using a bottle, just melt the chocolate disks in the bottle with the lid removed, stirring with a skewer after each heating time.
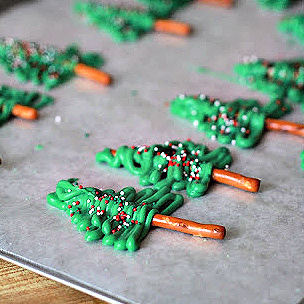 Squeeze or pipe the melted candy melts, back and forth, over the pretzel stick in the shape of a tree then immediately top the tree with sprinkles. Make the trees thick with fewer “branches” or thinner with more “branches” depending how fast you move the bottle. After a few tries, you’ll find your groove and favorite look. Be sure to add the colorful sprinkles while the chocolate is still soft as they will not adhere and just roll off once it has hardened.
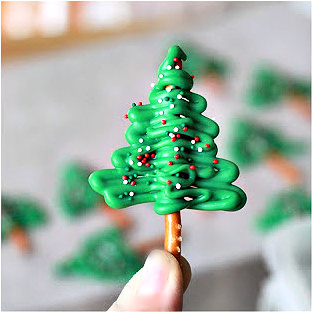 The trees aren’t as fragile as they appear even after lifting them from the waxed paper-lined pan. If you aren’t using them immediately, place between sheets of waxed paper and place in a lidded plastic container or cookie tin.

Making Chocolate Pretzel Christmas Tree Cupcake Toppers
- Pretzel sticks
- Green candy melts (1 bag made at least 25 trees)
- Holiday sprinkles
- Flaked coconut
- After the cupcakes are baked and cooled, frost and sprinkle with flaked coconut.
- Melt green candy melts according to package directions. I like to use a plastic bottle for less mess but you can use a piping bag if you prefer. Using the microwave, just melt in bottle with lid removed, stirring with a skewer after each heating time.
- I find it helps to tap the spout of the inverted bottle on the counter so the melted candy melts flow easily as you create each tree.
- Cover a baking sheet with silicone mat or waxed paper. Place pretzel sticks on baking sheet, spacing them 2 to 3 inches apart.
- Squeeze or pipe the melted candy melts over the pretzel stick in the shape of a tree then immediately top the tree with sprinkles. Make the trees thick with fewer “branches” or thinner with more “branches” depending how fast you move the bottle. After a few tries, you’ll find your groove and favorite look. The trees aren’t as fragile as they appear even after lifting them from the waxed paper lined pan and storing.
The cupcakes recipe
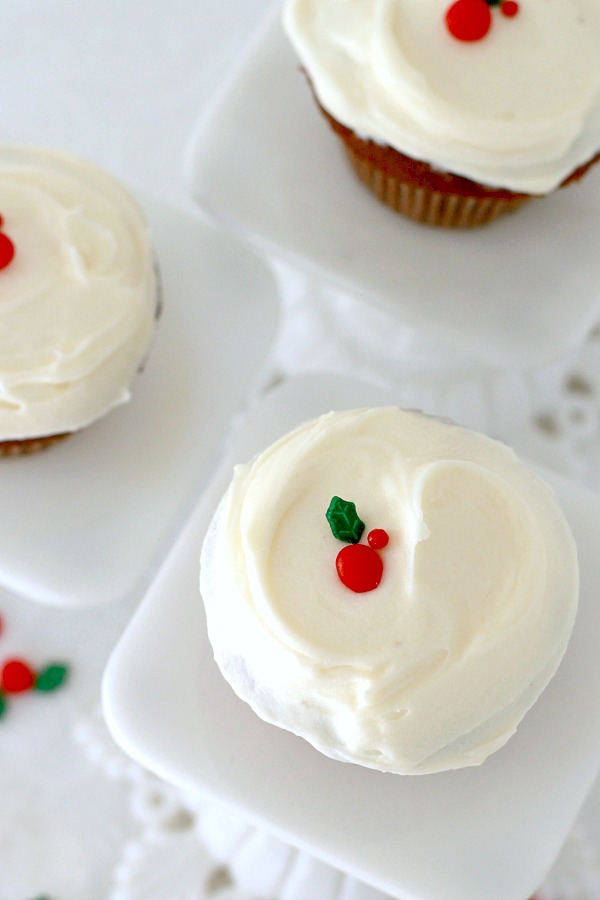 One of my favorite cupcake recipes is from The Sprinkles cookbook. This is the one I use. A delicious Red Velvet Cupcake with a lovely cream cheese frosting. Just a sprinkle of “snowy” coconut on a drift of frosting is perfect base for a festive, edible Christmas tree!
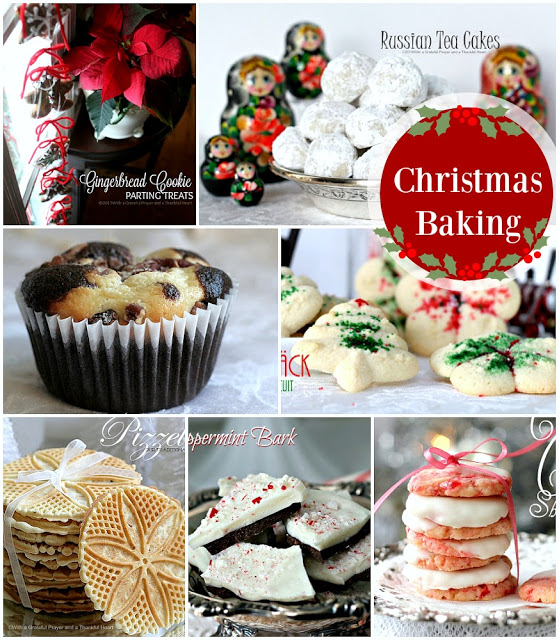
More holiday posts you might enjoy…
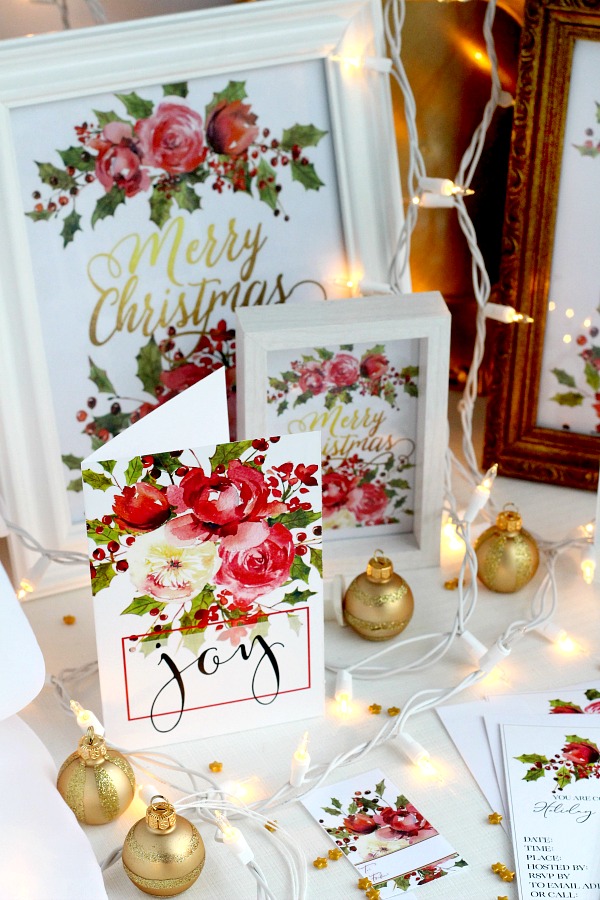
FREE Craft & Project Planner
 Here is the link to your FREE Handmade Holiday Craft Project Planner.
 Our Newsletter is published once every three weeks. Each issue is timely and helpful, jam-packed with food, crafts, occasional DIY, gardening and faith resources. Relevant and seasonal posts to inspire and guide you with current trends. Available only to those who request it, so please accept our invitation to stay connected and join the Grateful Prayer Thankful Heart community. Just click the subscribe button below.

These are beautiful, Lorraine!
These are darling! I am inspired to try this…
These are so cute!
Great job!
such a pretty idea!
These are adorable. Great for a party!
They turned out great:@)