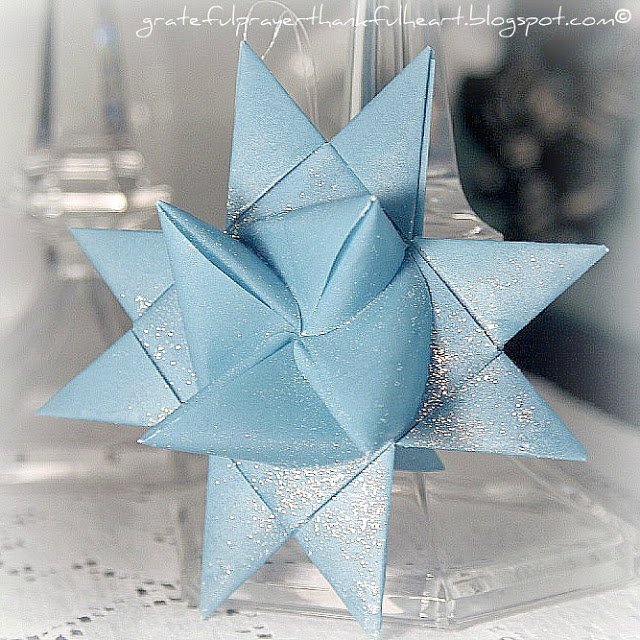
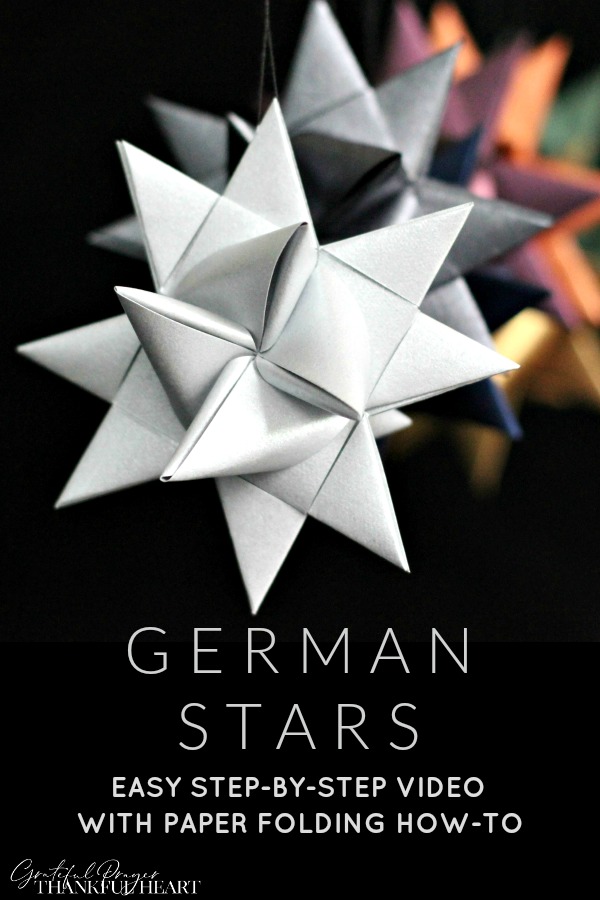
 Betcha can’t make just one paper German Star. I only needed to make one star to include with a bridal shower gift and look what happened. I am making German stars again and if you ever wanted to make these pretty folded paper ornaments or just need a refresher, I have an easy to follow, step-by-step video tutorial that will have you on your way.Continue Reading
Making German Stars
 Betcha can’t make just one paper German Star. I only needed to make one star to include with a bridal shower gift and look what happened. I am making German stars again and if you ever wanted to make these pretty folded paper ornaments or just need a refresher, I have an easy to follow, step-by-step video tutorial that will have you on your way.Continue Reading