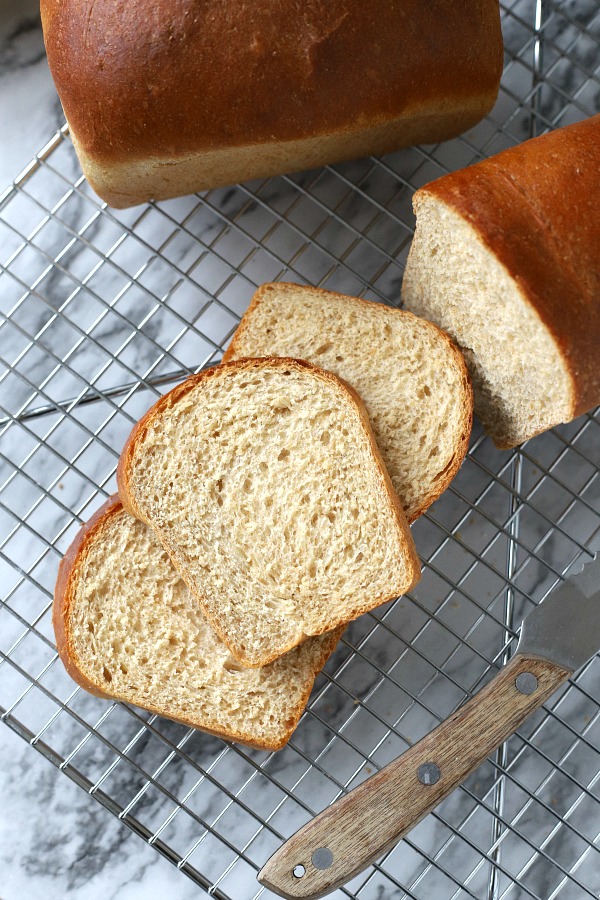
 Our Grandson, Jethro, was coming for a sleepover and trip to the aquarium. It was his birthday gift and he was super excited. Jet loves bread so I baked honey whole wheat bread to make his belated birthday dinner extra special.
Grateful Prayer Thankful Heart is a participant in the Amazon Services LLC Associates Program, an affiliate advertising program designed to provide a means for us to earn fees by linking to Amazon.com and affiliated sites. We will only recommend products we use, love or think are informative and helpful.
 Jet turned 5 a couple months ago but the weather, illness and other activities caused lots of postponements. We finally were able to go to the Camden Aquarium for a lovely time together.
The evening before our outing, I made dinner for him with a belated birthday cake. He thought it was fun to be celebrating his birthday again. Jet’s favorite part of dinner was the homemade bread.
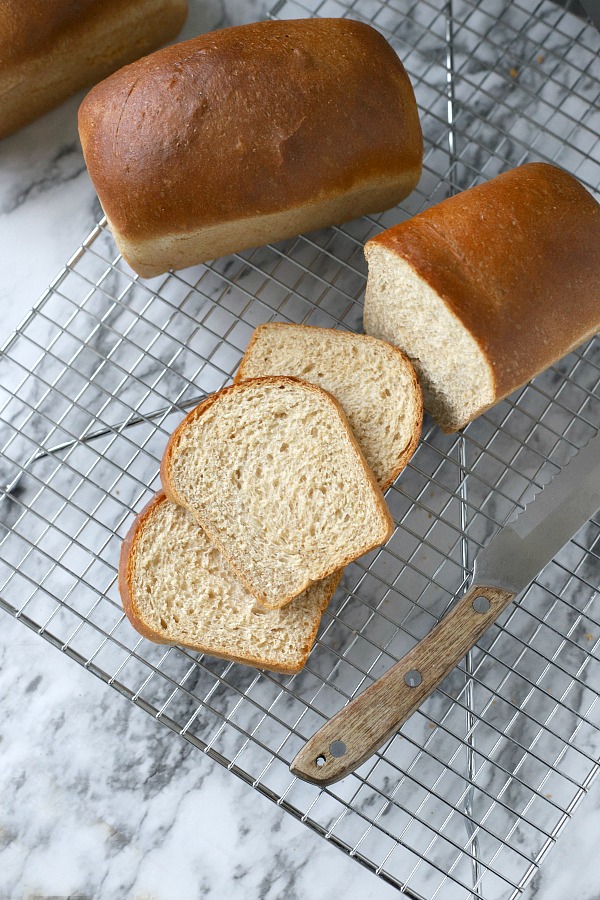 This easy recipe for delicious homemade honey whole wheat bread uses a bread machine to make the dough. It is delicious with softened butter and it is great for sandwiches or toasting. I like to make mini loaves because they are just right for little ones and serving with a meal. I also like making smaller lunchtime sandwiches.
Preparing the dough
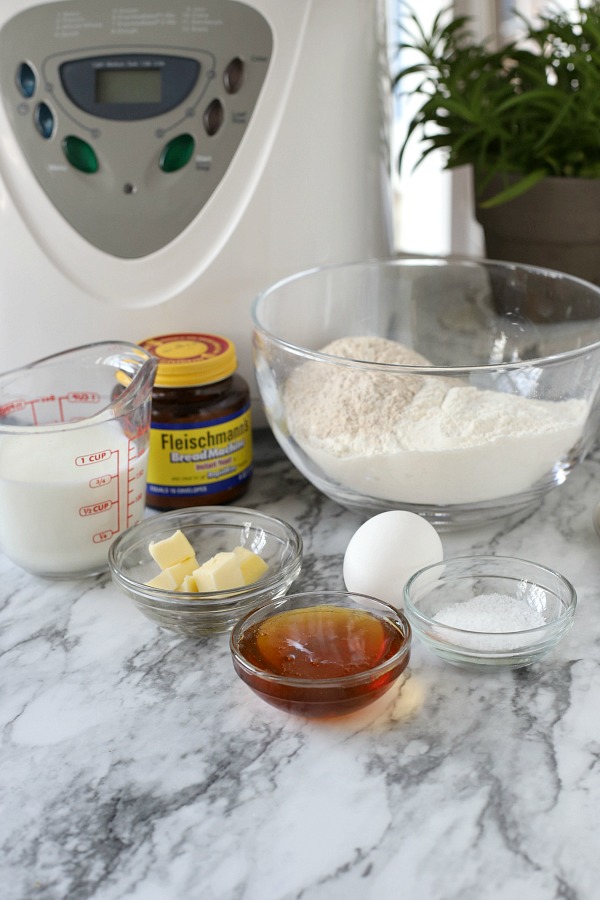 Measure the ingredients carefully and add to bread machine pan in order specified by owner’s manual.
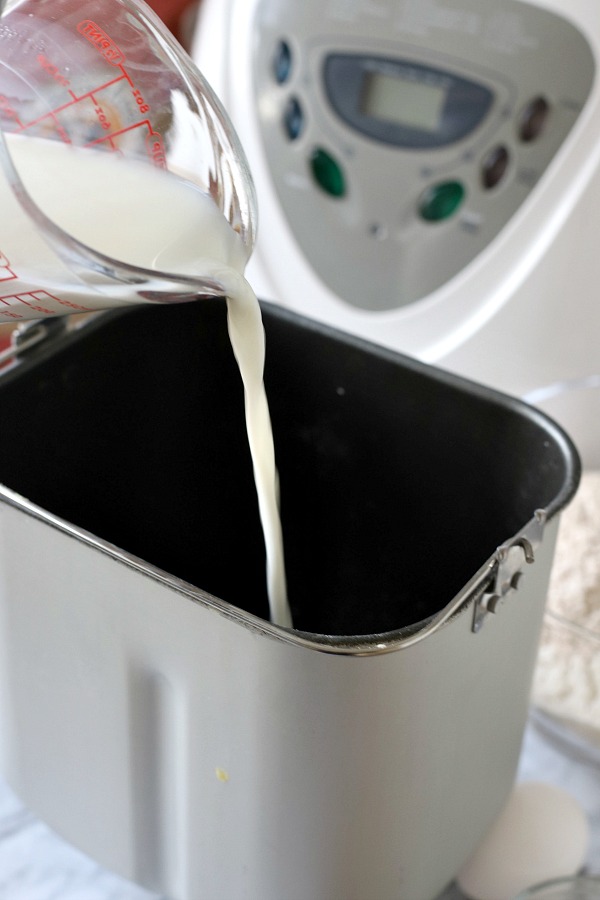 Usually the liquid and butter are added to the bread machine pan first.
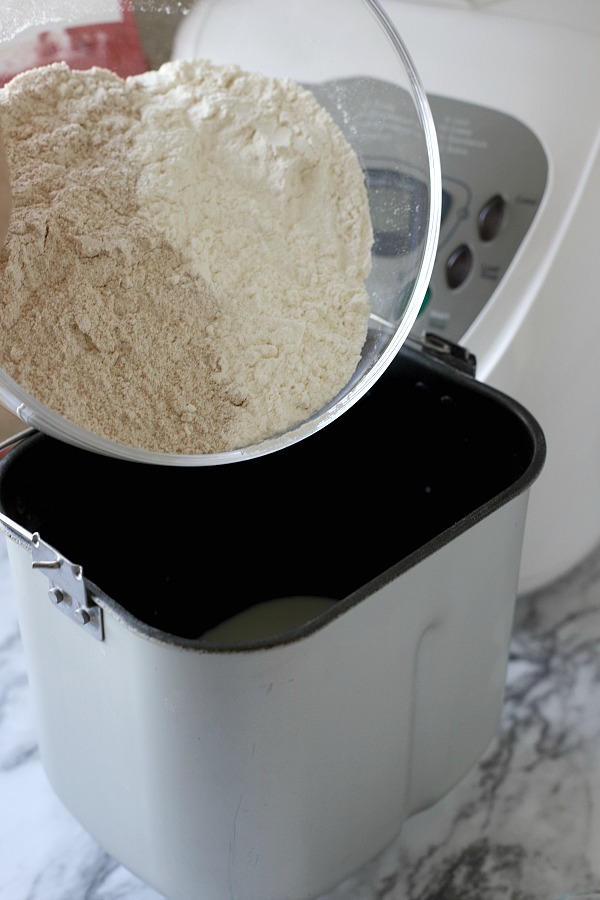 Then the dry ingredients are added.
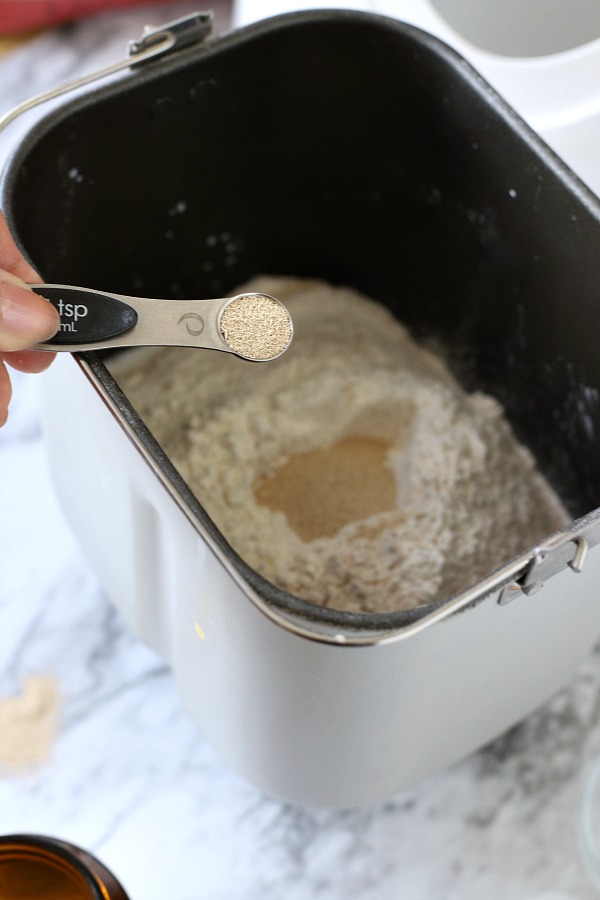 And lastly, the yeast is added to the pan.
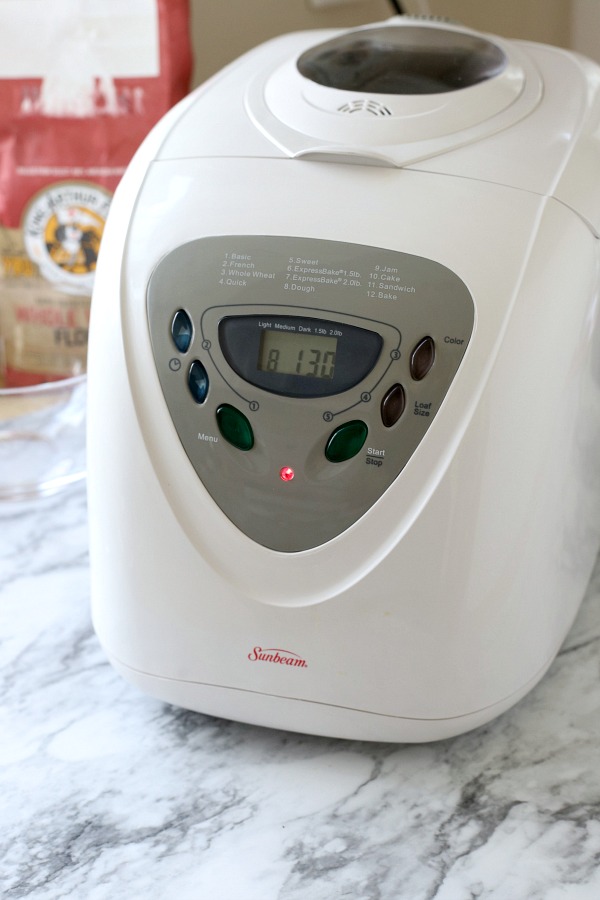 Choose the dough setting on the machine; press start.
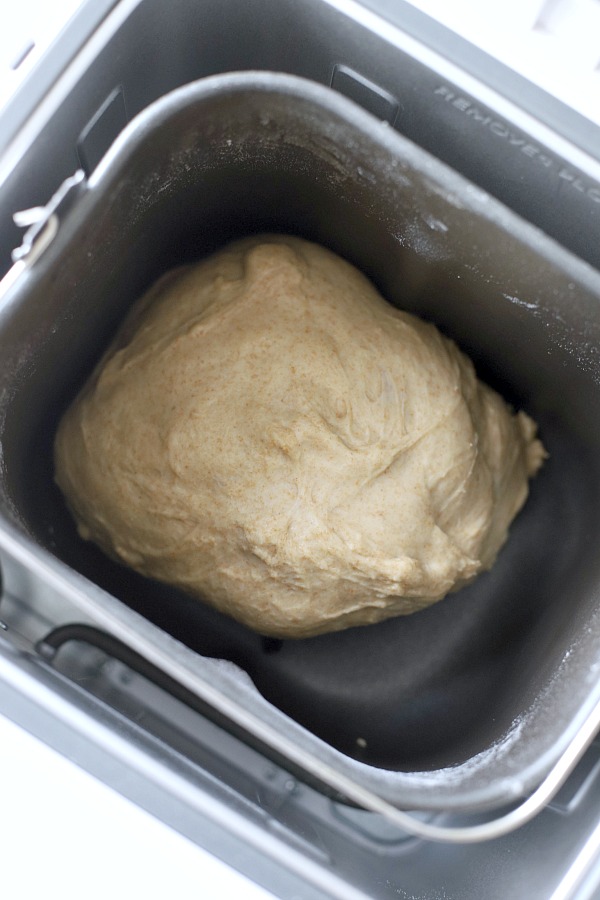 A few minutes into the cycle, I like to lift the lid and using a silicone spatula, scrape down the sides of flour, if needed.
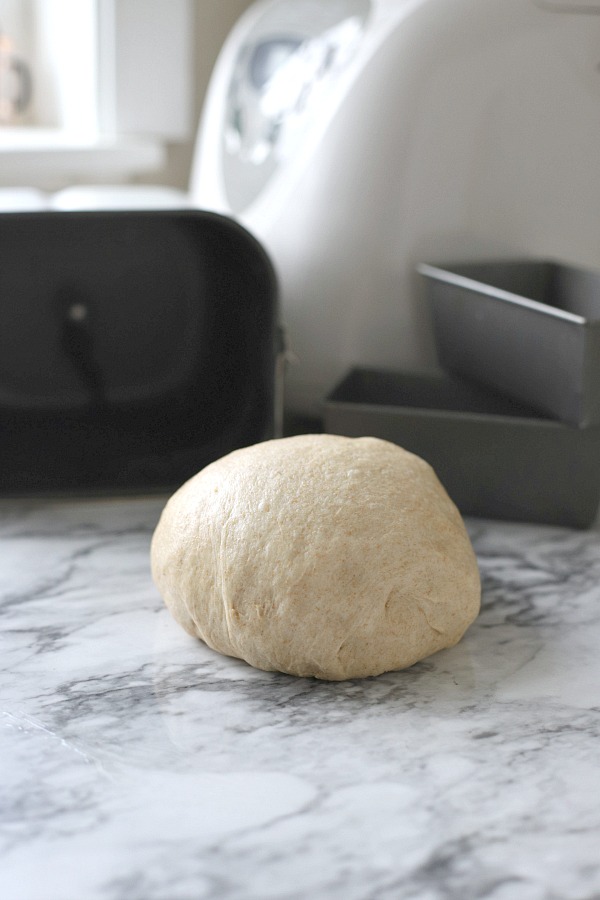
Shaping the dough
When the bread machine cycle is finished, remove the dough to a lightly oiled or lightly floured surface. (I prefer to work the bread on an oiled surface but either works)
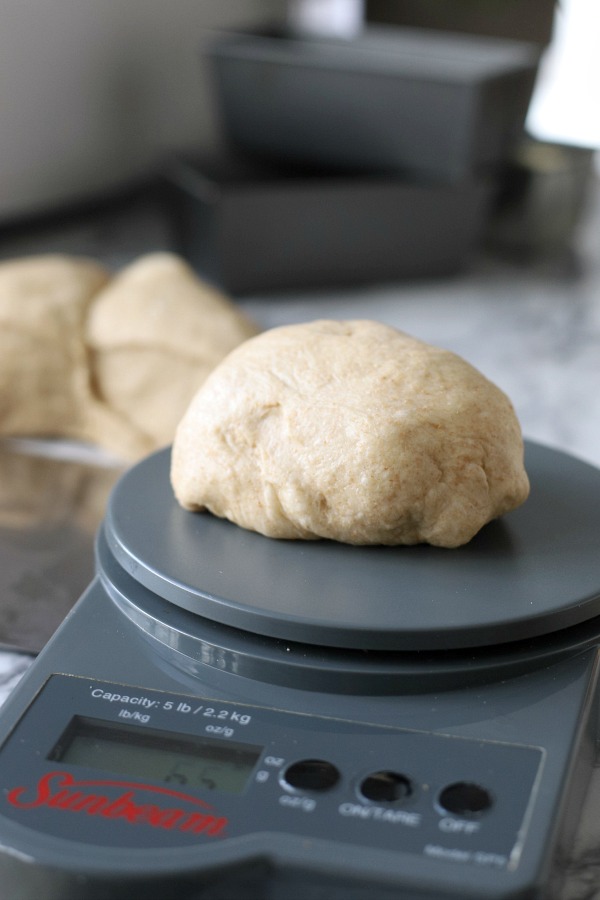 Using a knife or a bench scraper, divide the dough in half or into thirds. You can use a kitchen scale to ensure that the pieces of dough are exactly even.
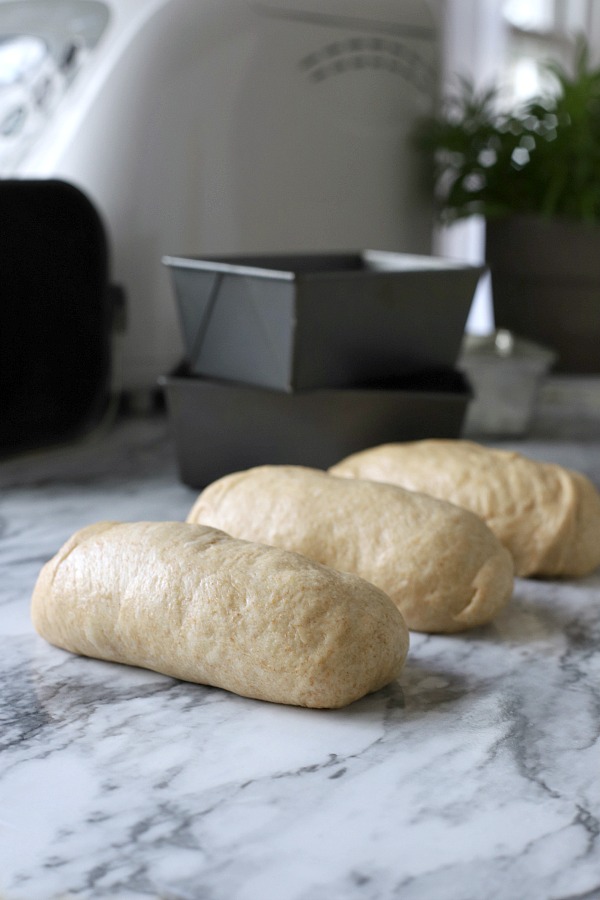 Knead a few times and shape the dough.
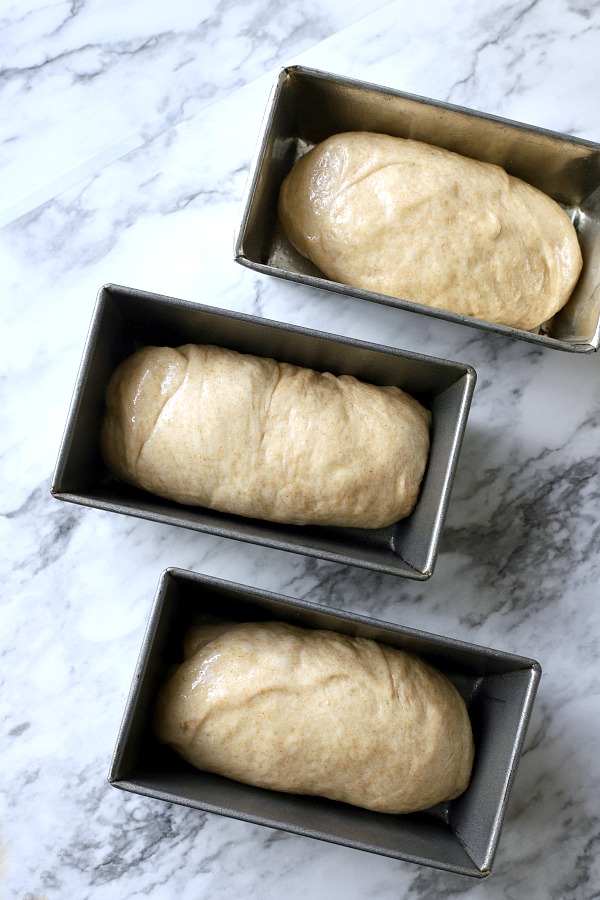
Transfer to the Pan
Repeat the shaping process with the other pieces of dough. Then, cover the pans of dough with a lint-free dishtowel or a piece of plastic wrap that’s been sprayed with cooking spray.
The Second Rise
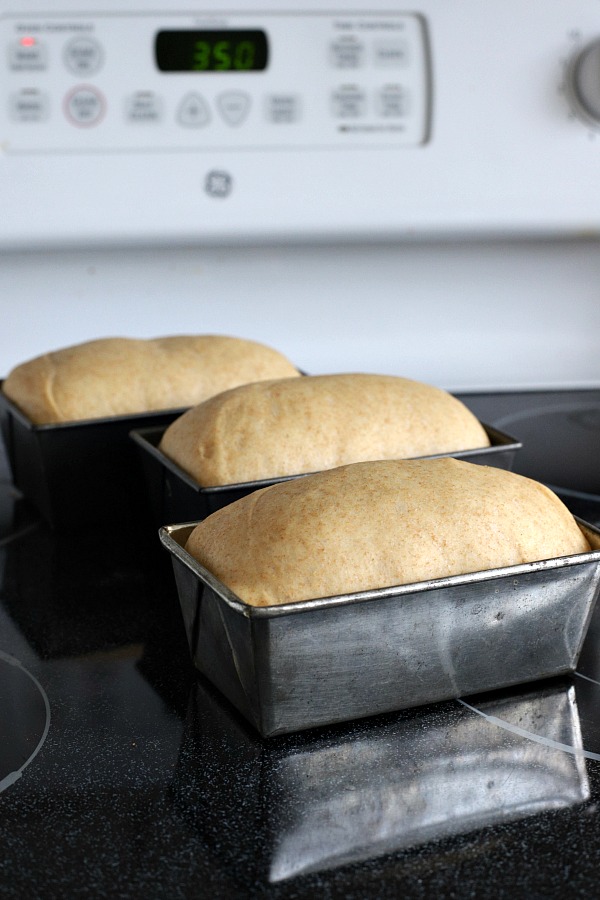
Allow the dough to rise in a warm space for 45 minutes to an hour and a half, or until it is doubled in size and it has risen just past the top of the pans.
Bake in a preheated 350F degree oven about 25 minutes and the crust is browned and firm.
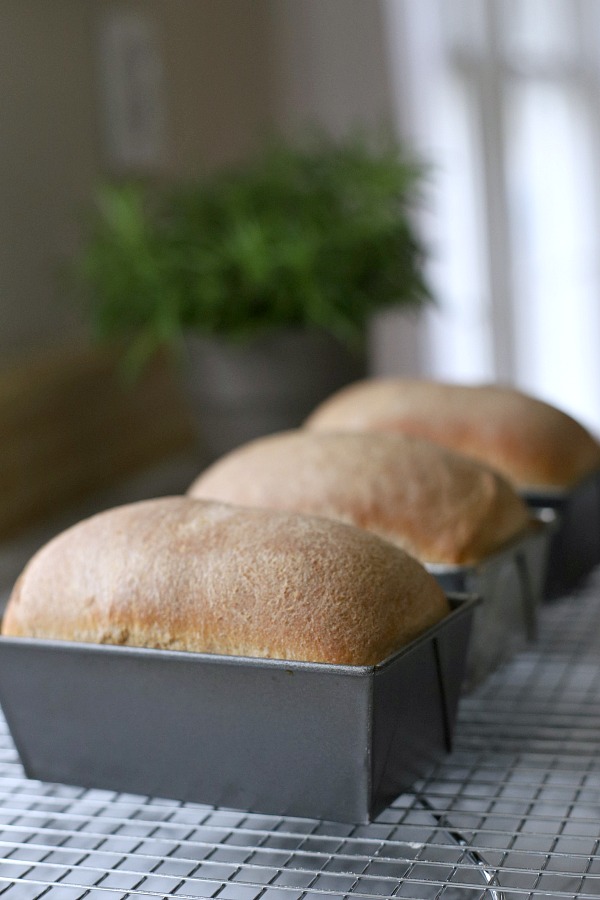 This is how the bread looks right out of the oven.
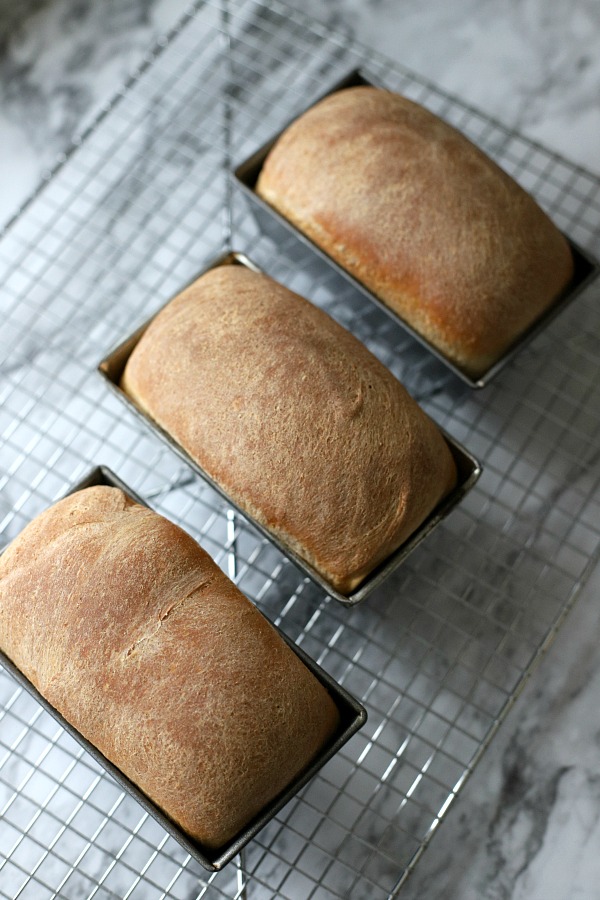 Let the bread rest a few minutes before turning from pans to a cooling rack.
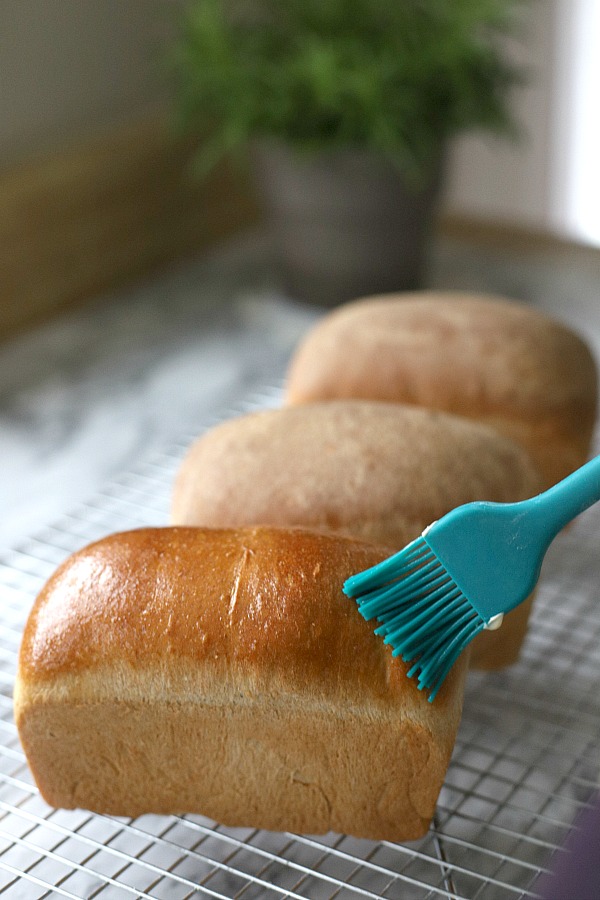 If desired, brush warm loaves with softened butter.
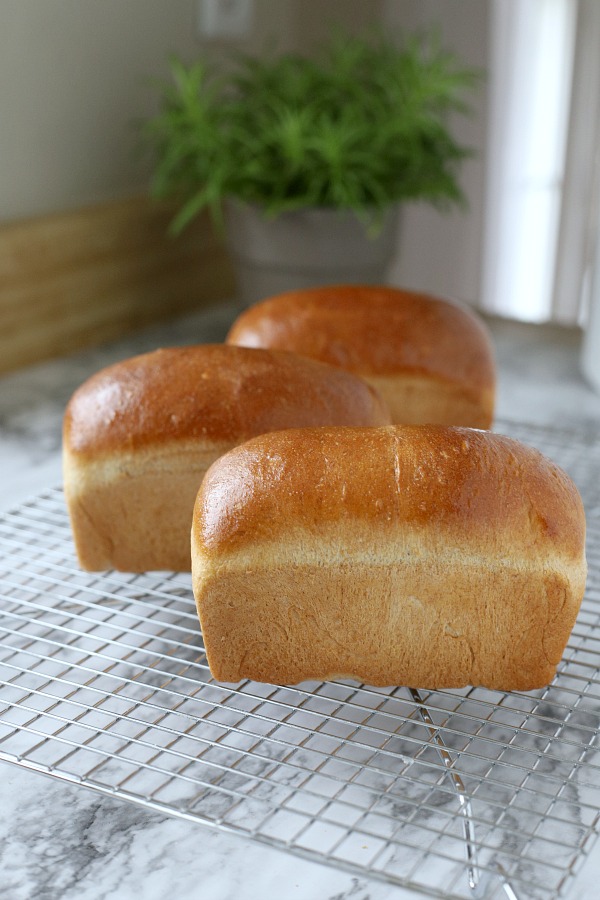 You can see that the butter gives the loaves a lovely, glistening appearance.
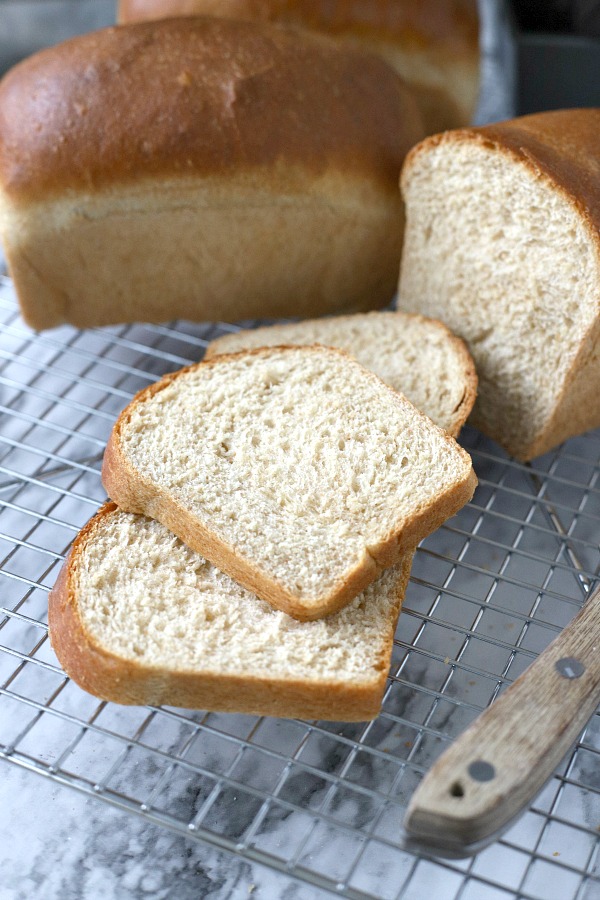 For best results, allow the bread to cool completely before slicing.
Try Amazon Prime 30-Day Free Trial
Loaf pan sizes
I have mini loaf pans I use frequently for both yeast and quick breads. During the holidays or when I am making multiple batches to freeze or give as gifts, these pans are great. Sometimes I even use them all at the same time.
One is a set of 4 individual mini loaf pans, each measuring 5.75-inch by 3.25-inch by 2.25-inch. They were used in the photos in this post.
The other is a set of 4 mini loaf pans that are attached together. I have had this set for years and it has worn well. Each pan measures 5.25 x 3 x 2.25 inches and the full length of set measures approximately 15 x 5 .25 x 2.25 inches.
The bread can also be made making two loaves. Bake them in 8.5-Inch Loaf Pans.
Honey Whole Wheat Bread
Makes 2 medium loaves or 3 mini loaves
INGREDIENTS
- 1/2 cup milk, lukewarm
- 1/4 cup water, hot from the tap
- 1 Tablespoon butter cut into small pieces
- 1/4 cup honey
- 2 teaspoons salt
- 1 large egg, at room temperature
- 2 cups bread flour
- 1 cup whole wheat flour
- 2 1/4 teaspoons rapid rise bread machine Instant yeast
DIRECTIONS
Measure ingredients carefully and add to bread machine pan in order specified by owner’s manual. Usually the liquid and butter followed by the dry ingredients and finally the yeast.
Choose the dough setting on machine; press start.
Shaping the dough
When the bread machine is finished, remove dough to a lightly oiled or lightly floured surface.
Using a knife or a bench scraper, divide the dough in half or into thirds. You can use a kitchen scale to ensure that the pieces of dough are exactly even.
Knead a few times and shape
Transfer to the Pan
Repeat the shaping process with the other piece(s) of dough. Then, cover the pans of dough with a lint-free dishtowel or a piece of plastic wrap that’s been sprayed with cooking spray.
The Second Rise
Allow to rise in a warm space for 45 minutes to an hour and a half, or until it is doubled in size and it has risen just past the top of the pans.
Bake in a preheated 350F degree oven about 25 minutes and the crust is browned and firm. Remove from oven and let rest a few minutes before turning from pans to a cooling rack. If desired, brush warm loaves with softened butter.
You might also like…
Honey Banana Whole Wheat Bread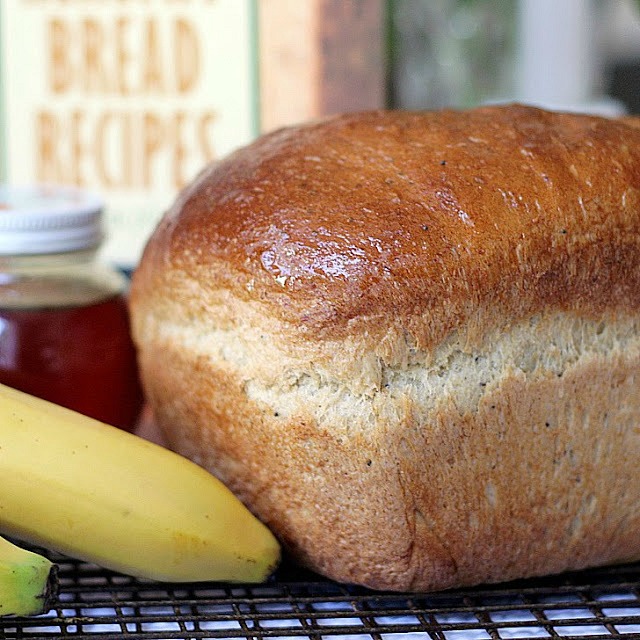
 Our Newsletter is published once every three weeks. Each issue is timely and helpful, jam-packed with food, crafts, occasional DIY, gardening and faith resources. Relevant and seasonal posts to inspire and guide you with current trends. Available only to those who request it, so please accept our invitation to stay connected and join the Grateful Prayer Thankful Heart community. Just click the subscribe button below.


It looks yummy, perfect loaf. Can I make it without a bread maker? I would really want to try it.
Hello Roda,
I did a search on the internet on how to convert a bread machine recipe to an oven one. I hope this is helpful to you:
Step 1: In a large bowl, dissolve the yeast in warm water (110° to 115°).
Step 2: Add any of the wet ingredients such as eggs, additional liquid, sugar, honey, herbs, salt and most of the flour. (Be sure you’re measuring your flour correctly for the best results.) This will be a sticky dough to start with.
Step 3: Beat until smooth. You can do this by hand or with a mixer, whatever is easiest for you.
Step 4: Add enough remaining flour to form a soft dough that pulls away from the sides of the bowl. This can vary depending on the humidity levels in your home.
Step 5: Turn your dough out onto a lightly floured surface, then knead it until smooth and elastic.
Step 6: Place the dough in a large bowl coated with cooking spray to keep it from drying out, turning once to coat the top.
Step 7: Cover with plastic wrap and let rise in a warm place until doubled
Step 8: Punch dough down (hint: you’re just removing the air bubbles) and shape the dough accordingly. Let it rise one last time and then pop it into a preheated oven to bake as directed in the recipe.
IF you should give it a try, I’d love to hear back from you
Kindly, Lorraine
Jethro’s birthday bread looks delicious! I am Pinning it to try when life slows down a bit.
Lorraine- I can almost smell it from here!!! What a wonderful treat for Jethro and anyone else that loves bread. I hope he had a wonderful birthday and so glad that you were able to get to the aquarium with him. That is a great picture!!!
Oh this looks so good. I have pans just like those at work that I use all the time. I love those
Absolutely looks perfect, I can only imagine how it tastes, thank you for sharing your recipe.
Happy Birthday to Jethro, I think it is wonderful that he got to celebrate it twice,
blessings,
Sue