Many, many years, the girls would roll out of bed, wrap up in a blanket and head over to church with their dad for Sunrise Service.
Not me. I waited for the 11 o’clock service that we all attended as a family.
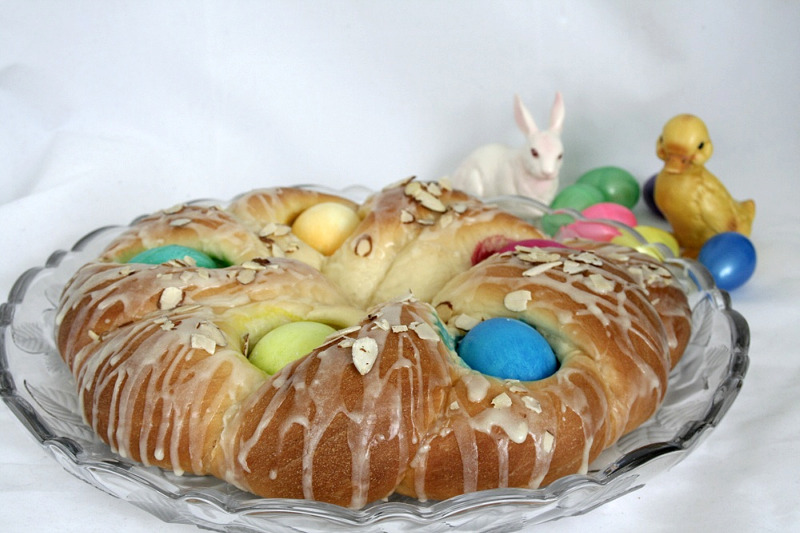 Jill makes it each year for her family now although they prefer it
without the eggs. (see photo at bottom of post)
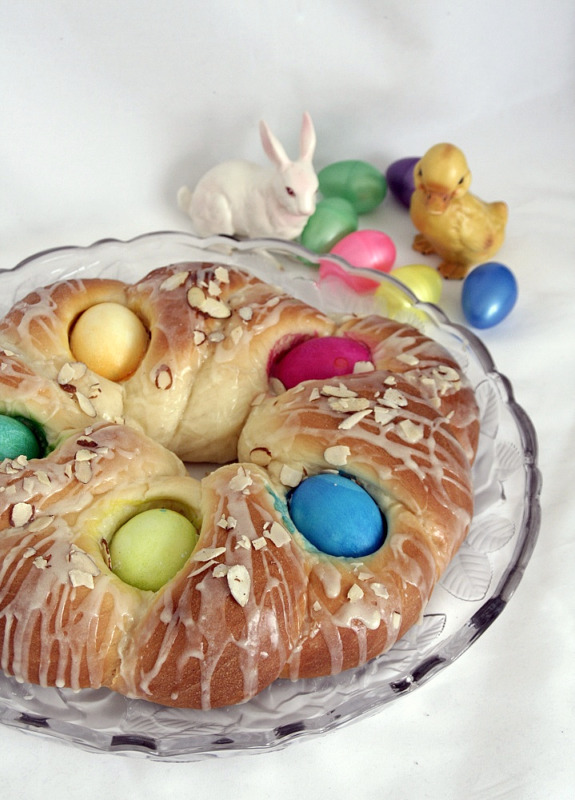
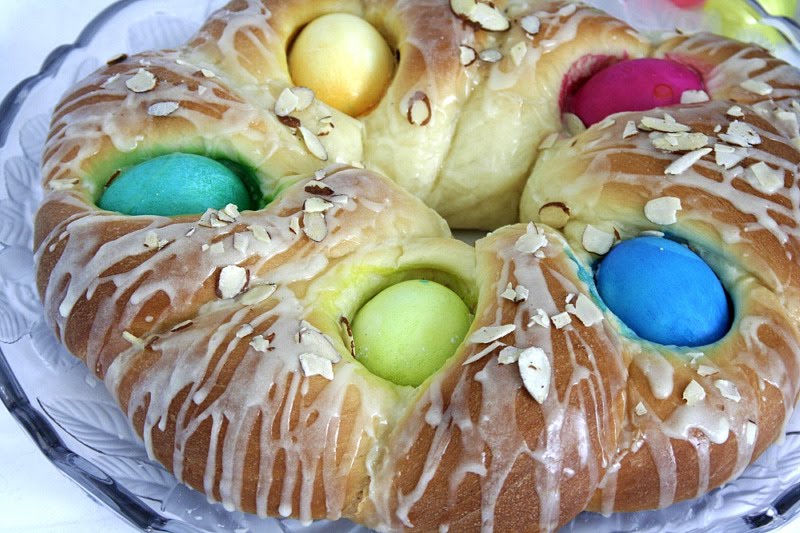
Abbey says it isn’t Easter Bread without the eggs and
I think it is much more festive with them.
besides… I love playing with these beautiful dyes! 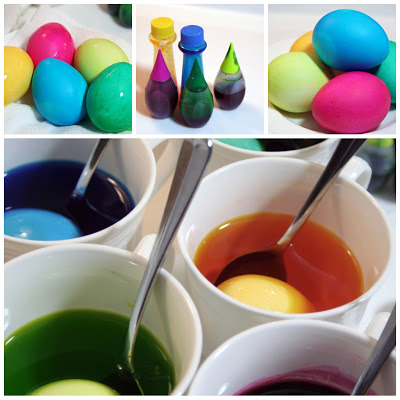

♥
Here is my recipe
Dough Ingredients:
1 large egg plus enough water to equal 1 cup 2 Tablespoons
1/4 cup butter at room temp.
1 1/2 tsp. salt
3 cups Bread flour (add a little more if dough seems too wet)
3 tbsp. nonfat Dry milk
5 tbsp. sugar
2 tsp. bread machine yeast 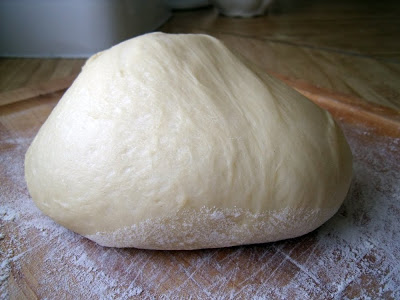 Dough from the bread machine
  Cover with an inverted bowl and allow dough to rest 15 minutes
 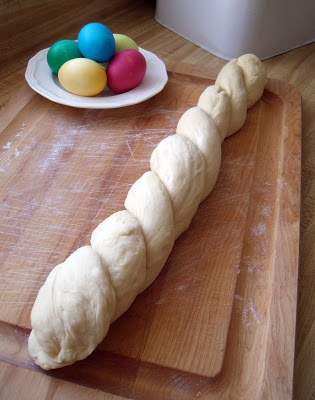 Divide dough into two equal pieces and twist each piece over the other to form braid
  Form braid into a ring
 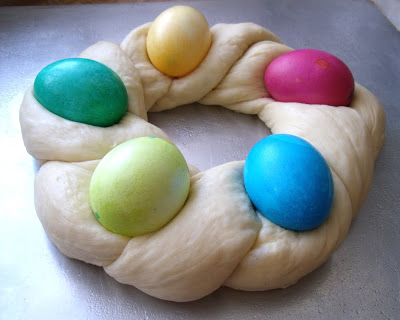 Nestle eggs into the dough
1 large egg plus enough water to equal 1 cup 2 Tablespoons
1/4 cup butter at room temp.
1 1/2 tsp. salt
3 cups Bread flour (add a little more if dough seems too wet)
3 tbsp. nonfat Dry milk
5 tbsp. sugar
2 tsp. bread machine yeast
If Desired: 5 raw eggs, dyed and brought to room temperature (I have found if the eggs are cold, they will not cook completely during the baking time for the bread)
Dough Instructions:
- Place dough ingredients in bread pan in order listed above
- Set on Basic Dough
- When cycle is completed, remove dough from bread pan onto a lightly floured board.
- Cover with inverted bowl and allow to rest 15 minutes.
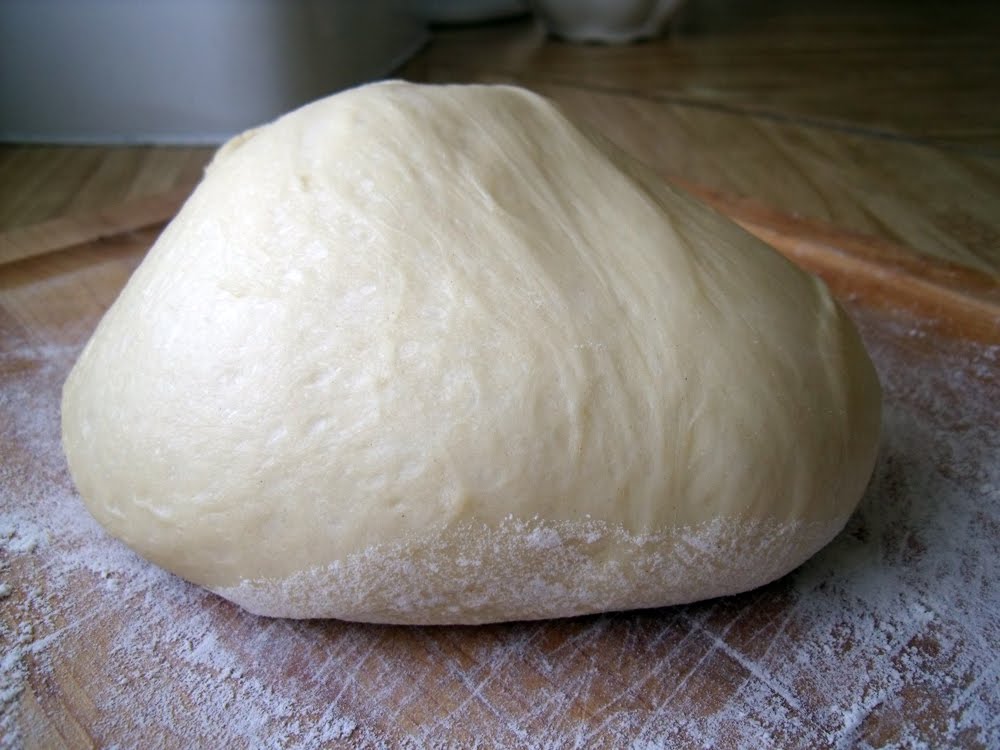 Dough from the bread machine
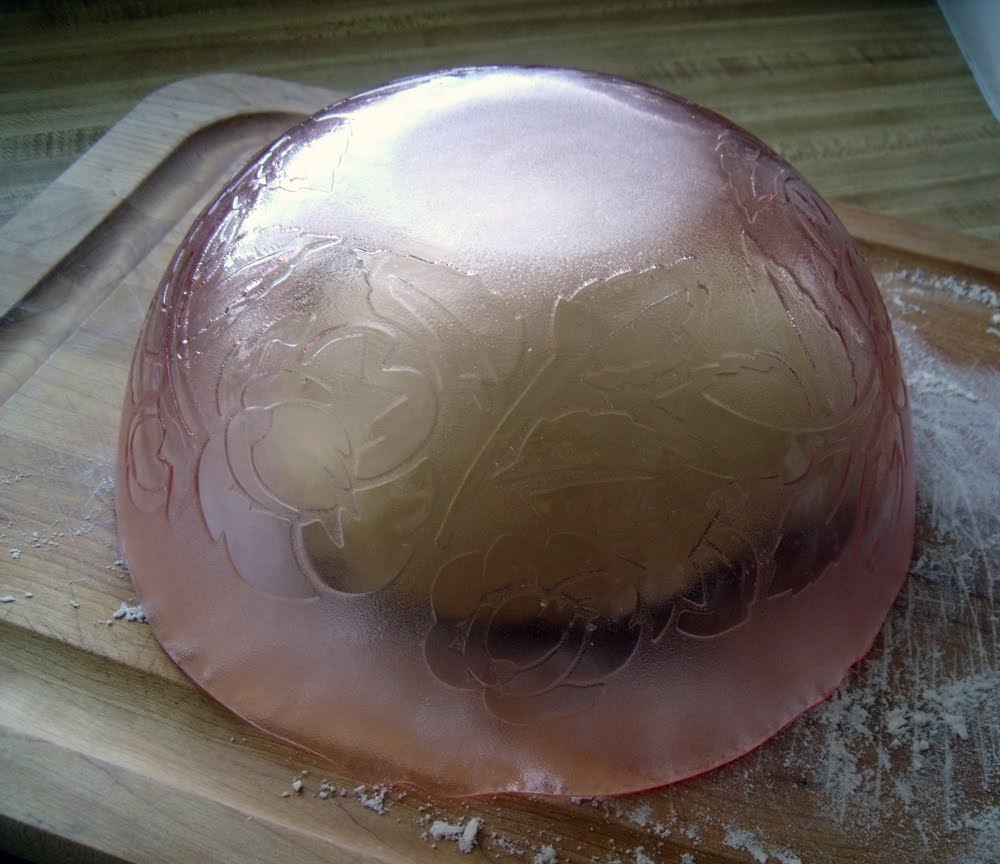 Cover with an inverted bowl and allow dough to rest 15 minutes
 Divide dough into two equal pieces and twist each piece over the other to form braid
 Form braid into a ring
 Nestle eggs into the dough
- Divide dough in half.
- Roll each piece into a log about 24-inches long.
- Pinch top edges together and begin braiding each piece over the other.
- Form into a circle and pinch ends together.
- Transfer to a baking sheet sprayed with PAM.
- Gently snuggle each egg into the dough. It helps to make an indentation with your fingers so the egg sits deep enough.
- Cover; let rise in a warm, draft-free place 1 hour or until double in size.
Baking Directions:
Bake at 350 degrees for 30-35 minutes until golden brown. (I usually tent mine with foil during the last 15 minutes to prevent over browning.
In addition, you may want to drizzle on a glaze made of 1/2 cup confectioners sugar, 1/2 tsp. melted butter, splash of almond extract and a few grains of salt stirred with a bit of water or orange juice to desired consistency.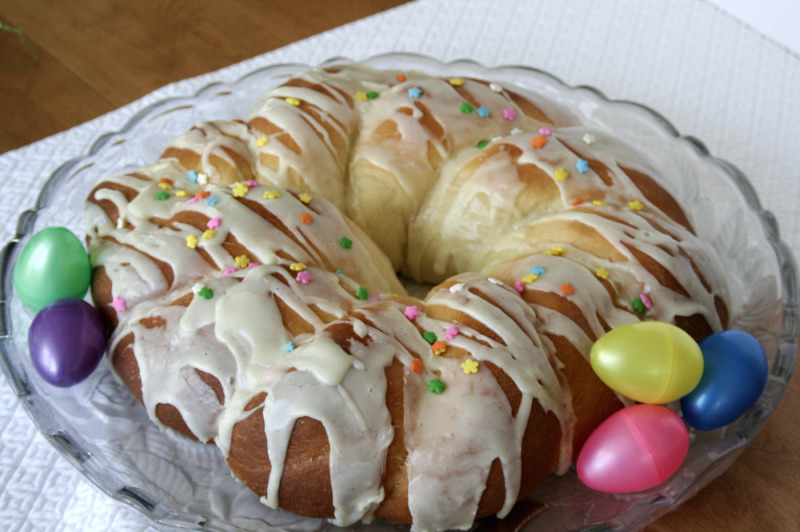
A loaf is in my bread maker now. I hope I'm doing it right. I have the option of basic bread or dough. I selected dough. I'm so looking forward to impressing some family with this one. They look better that the cake boss's Easter beads! Love them and hoping mine turns out just as well. Thanks for sharing
Lol mine looks horrible compared to yours. I needed to make the dough longer before braiding it. It has a wonderful brown color and smells delicious. I can't wait to cut into it. Thanks again for sharing this with be one to do again.
I wished I had seen this earlier! I have saved it for next year, awesome! Joan
Oh, wow! What a beautiful tradition!
~Kurious Kitteh
Hello LDH,
Your Easter bread looks fantastic! Easter bread has been a tradition in our family for generations. I am not even sure how far back. After my grandmother passed away, the baking of the Easter bread fell to me. I am hoping that one day my sons' wives will carry on the tradition. I am trying to teach my oldest son's wife some of our family traditions that have been carried down for generations but she really is not much for cooking and leaves all that to me.
I hope you have a fabulous Easter!
~ Tracy
So pretty! Always wanted to try this but never have. I'll bookmark this for sure!
Happy Easter,
Elaine 🙂
Beautiful bread, enjoy!
What a wonderful tradition. I'm sure your daughters appreciate the fond memories of those bread rings. jan
It is beautiful either way, but I have never seen bread with the eggs made in it. What a great tradition!
Oh my goodness, what a wonderful recipe! Your Easter bread looks just scrumptious and oh so pretty!
Have a wonderful Easter.
Nancy
I love it!! Thanks for the recipe and beautiful photos of your special Easter bread! So special:)
Have a wonderful Easter weekend with your family!!
Hugs,
Linda
I've seen these and always thought they were so pretty and have wanted to try making one but just never did get around to it.