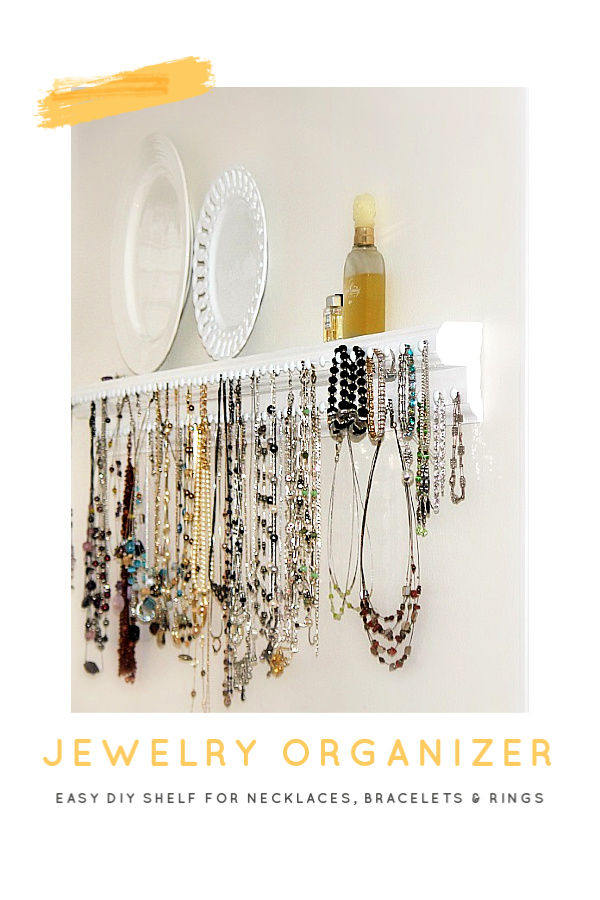
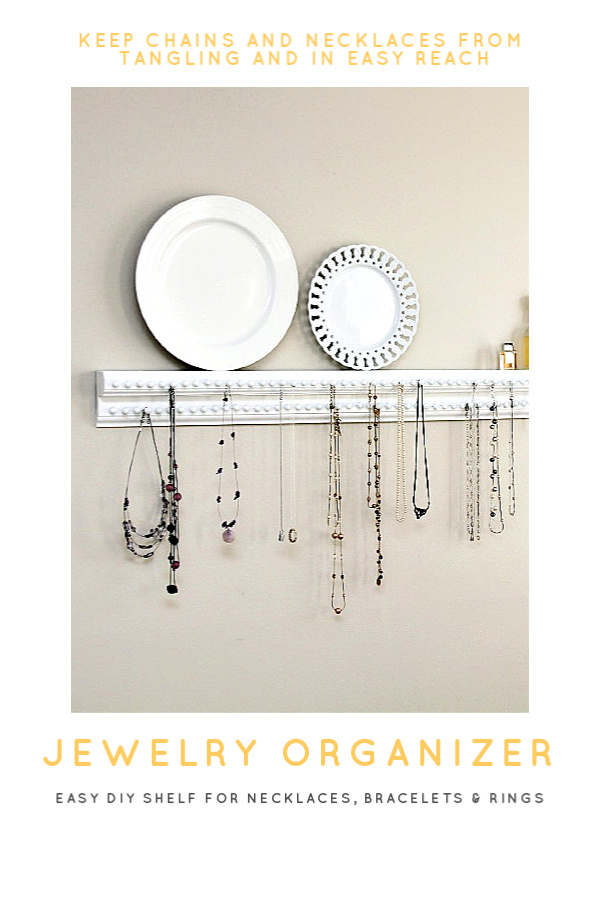
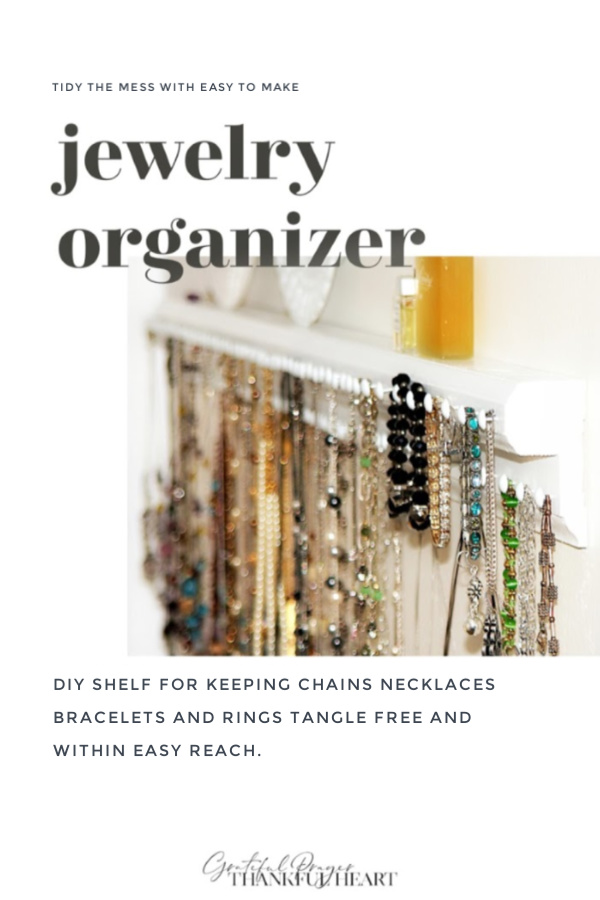
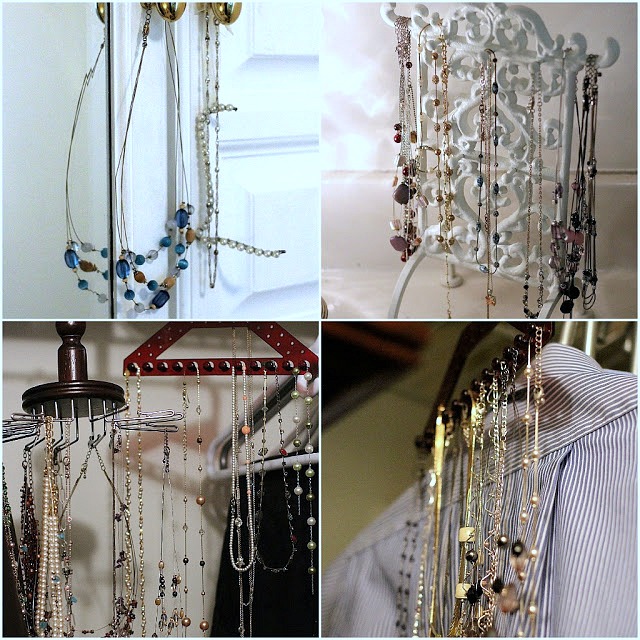
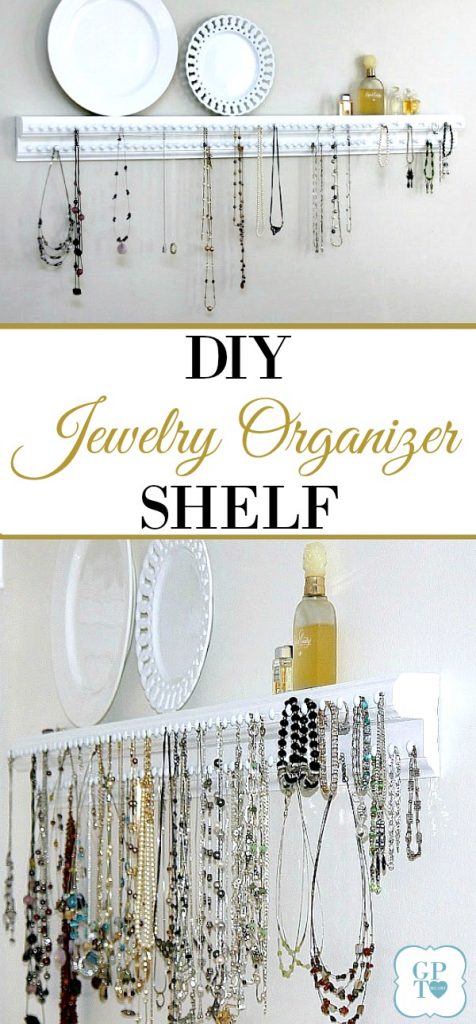
 Necklaces and accessories are fun to wear and can really dress up an otherwise plain or casual outfit. But how to keep those pieces organized and easy to reach? This jewelry organizer works for me.
Grateful Prayer Thankful Heart is a participant in the Amazon Services LLC Associates Program, an affiliate advertising program designed to provide a means for us to earn fees by linking to Amazon.com and affiliated sites. We will only recommend products we use, love or think are informative and helpful.
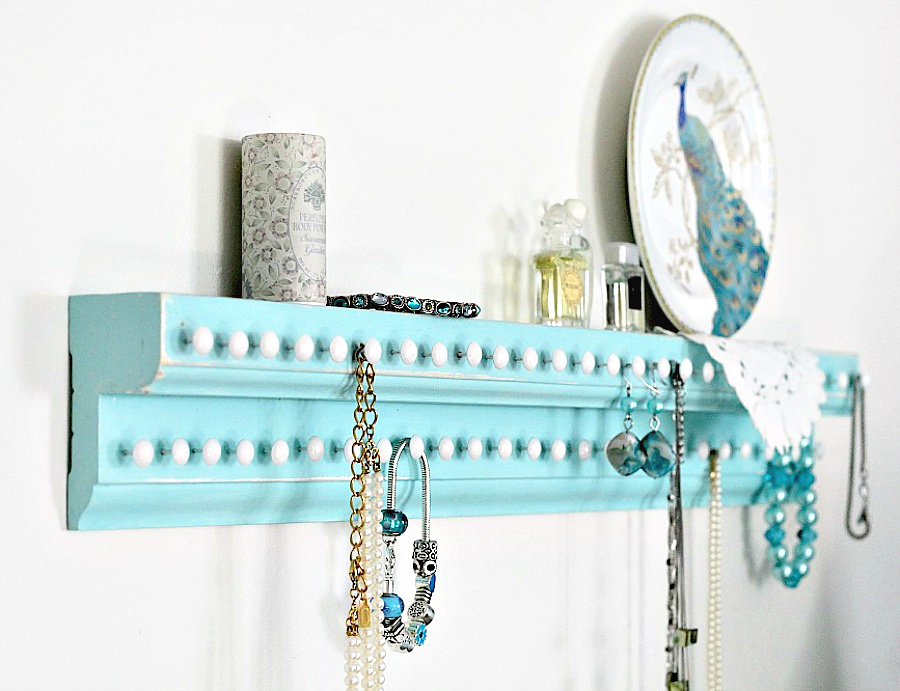
Wall-mounted jewelry organizer
Painting the jewelry organizer
Try Amazon Prime 30-Day Free Trial
How to make a wall-mounted jewelry organizer
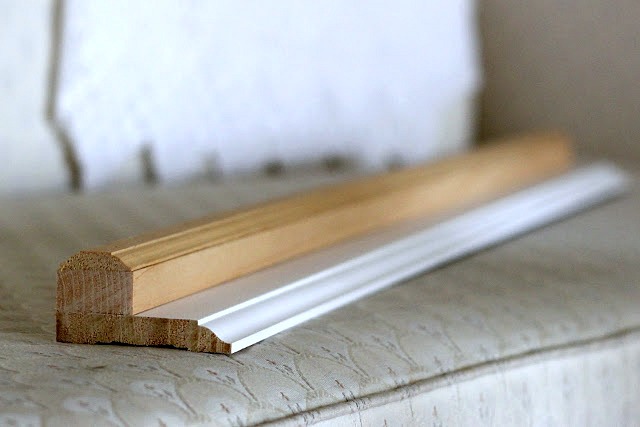
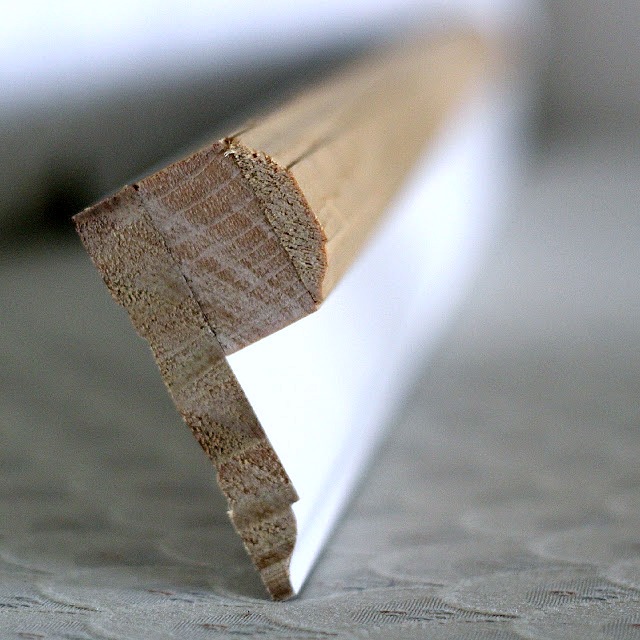
When the wood pieces are attached, sand smooth and apply a coat of primer. Paint in desired color and it is ready to add hooks.
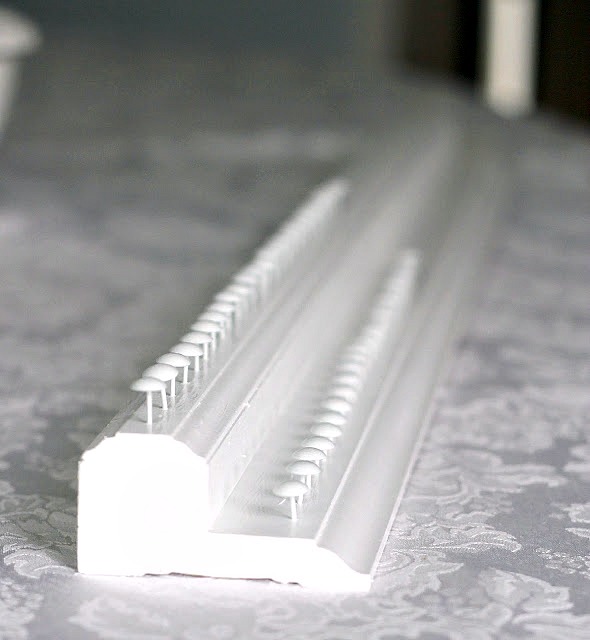
I found large white upholstery tacks and using a magnetic tack hammer, nailed them about an inch apart across most of the shelf and a little further apart at the opposite end to accommodate wider bracelets.
 The top ledge of the shelf gives additional space for small perfume bottles, rings, earrings or decorative accents. It is wide enough to stand these plates on.
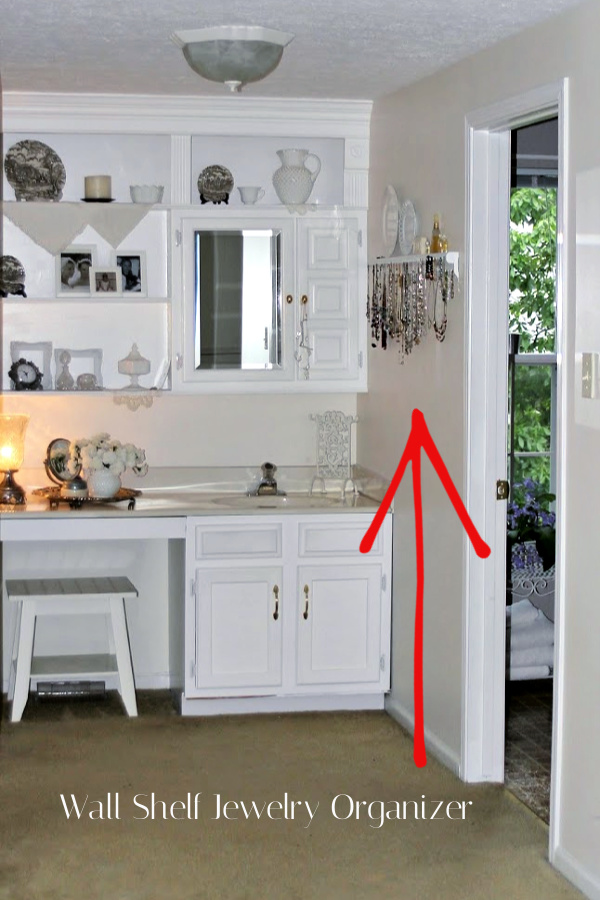 I intended to hang my shelf on a wall in my walk-in closet but thought it pretty enough to display in my dressing area with my necklaces right at my fingertips.
You might also like…
Refinished Cedar Chest with Chalk Paint
French Country Bedroom Makeover
How-to for Re-Purposed Frame Chalkboard
Repurposed Curtains for the Patio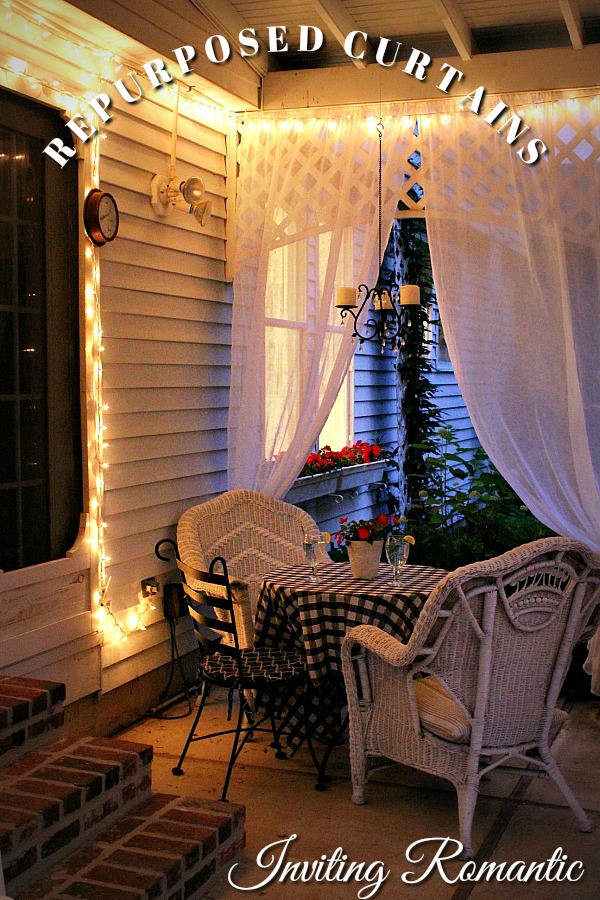
 Our Newsletter is published once every three weeks. Each issue is timely and helpful, jam-packed with food, crafts, occasional DIY, gardening and faith resources. Relevant and seasonal posts to inspire and guide you with current trends. Available only to those who request it, so please accept our invitation to stay connected and join the Grateful Prayer Thankful Heart community. Just click the subscribe button below.


Such a pretty idea! =)
You are so clever! Such a pretty addition to any bedroom 🙂
I showed this to my husband and asked him to please make one for me. What a great idea!!! Such a pretty way to keep jewelry organized. You are a most gifted friend!
I love this idea! So pretty and clever!
Hugs,
Patti
This is such a clever idea and you photographed it so well too!
Fabulous idea! I'm thinking I would need enough to span the entire room. Ha! Happy holidays. Tammy
Such a neat idea! Looks great!
Were you reading my mind, my friend? I was just looking at ideas for organizing and storing jewelry. I'm so tired of tangled necklaces and things hidden away where I forget to look for them. This is a cute idea. I may have to 'borrow' the idea for my tiny, little closet. You are always an inspiration to me.
~Adrienne~
What an adorable idea…
"O, Mr. Sweeeet…….where are you.? I have a tiny job x 3 for you…"….come out, come out, wherever you are."
Love this idea