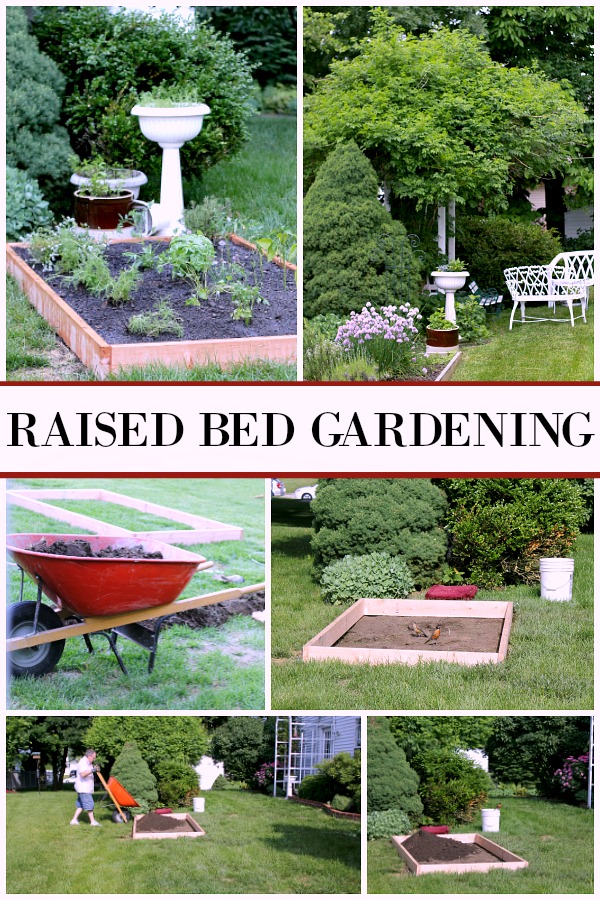
There are many reasons for having a garden. There are many types of gardens depending on your needs, location and enjoyment. I really enjoy keeping a small raised bed for both fun and to provide fresh herbs for cooking. If this interests you too, check out these raised bed gardening tips.
Grateful Prayer Thankful Heart is a participant in the Amazon Services LLC Associates Program, an affiliate advertising program designed to provide a means for us to earn fees by linking to Amazon.com and affiliated sites. We will only recommend products we use, love or think are informative and helpful.
If I had the space and the resources, I would have a lovely English herb garden with the intricate sculpted boxwood creating a work of art around a huge variety of herbs and plants. It would fit right in with my formal Georgian or Victorian style home. But since I have neither the home nor the garden, I have a just-right for me, raised bed in which I grow herbs and whatever else catches my fancy.
Raised Bed Gardening Tips
Advantages of raised bed gardening
You can grow herbs, veggies, and flowers in a tighter, more nutrient-condensed space.
You are able to fill your raised bed(s), with various types of soil to suit the plants you plan to grow you don’t have to deal with trying to amend existing soil.
A framed bed gives a well-defined, tidy look to the herb garden and attractive appearance.
Where to place your raised bed
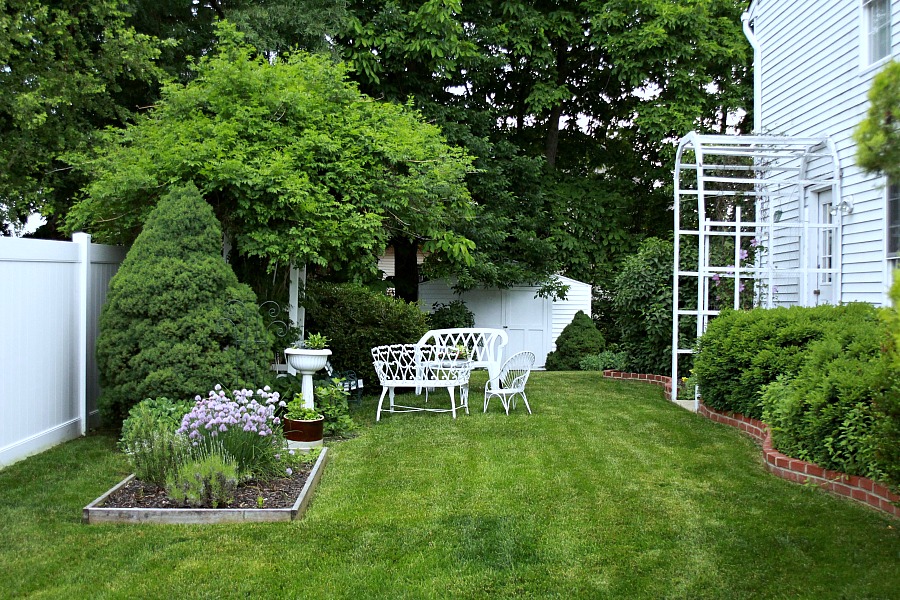
Choose a location that gets at least six hours of direct sunlight each day. If possible choose a place that is easy to access. Our herb garden raised bed is just a few steps from the door near the kitchen making it easy to snip a few stems when cooking.
Raised bed frame
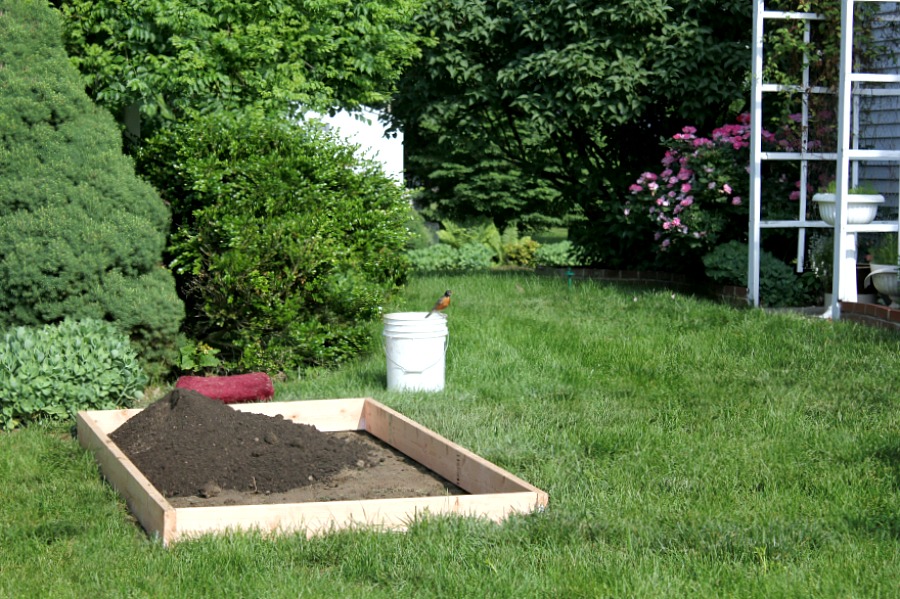
You can tackle building a raised bed or opt for the easier route and purchase a pre-made frame. The bed can be any size and can be made of wood, stone, brick or cinder blocks.
Raised beds are relatively easy to construct on your own. That is what we did. For ease of access when weeding or working, don’t make the bed wider than 4-feet (2 if you can only access from one side)
Our frame is 4-foot by 8-foot. I wanted to place two raised beds short sides together with a three-foot space between then. The plan was to use one for herbs and the other for a flower cutting garden. We haven’t got to the second raised bed yet but maybe one day
DIY Raised Bed Frame
Here are John’s instructions.
To make 1 – 4′ x 8′ bed you need:
- 3 – 2″ x 8″ x 8′ pressure treated* boards.
- 12- 1/4″ x 3″ galvanized hex head lag screws
DIRECTIONS
Cut 1 board in half to make the 4′ end pieces.
Using 3 bolts (top, middle, bottom) connect one long side to one short side so the bolts are on the outside of the long side.
Connect the other short side to the other end of the same long side.
Then connect the remaining long side to the 2 ends of the short sides.
You will end up with a 4′ x 8′ rectangle.
* There are many articles written about concerns using pressure treated wood and its safety. Larry Hodgson of Laidback Gardener discusses the topic. You can do further research by searching the web.
I also read this suggestion: If the lumber surrounds a (pre-existing) vegetable garden or fruit-growing area, you can be completely sure you’re safe by digging out the soil, installing a layer of thick black plastic stapled to the lumber, and replacing the soil. This barrier will keep moisture and soil from the logs and will prevent any chemicals from leaching into the garden ground. source
Planting
Add quality soil and/or compost to the raised bed. Use a rake to level it off so the surface is smooth removing any rocks, large sticks, and other debris.
Plant your plants taking care to plant taller plants on the side where they will not shadow to shorter plants. Plant medium-sized plants in the mid-section of the bed and short plants in the front.
Generously water your new raised garden bed immediately after you are finished planting and keep an eye on them until they are established in their new home.
Pinching TIP: To keep your herbs strong, full of flavor and encourage new leaf growth, you will want to pinch the tips back regularly. Just remove a small top portion of each stem every week or so. You do this with a pinching action on the top of the stem. This prevents the plant from producing flowers and going to seed sooner than you would like. Pinching and harvesting do not damage your herb plants.
Read more at Gardening Know How: Making Herbs Bigger Through Pinching And Harvesting:
Mulch
I do not use mulch in my herb garden and work at keeping the weeds out manually. It is a chore but it works for me. You can mulch with straw, grass clippings, leaves, or wood chips after planting your garden. This will reduce the amount of weeding you’ll have to do and keep the soil moist. Let me know if you found something that works for you!
Favorite herbs
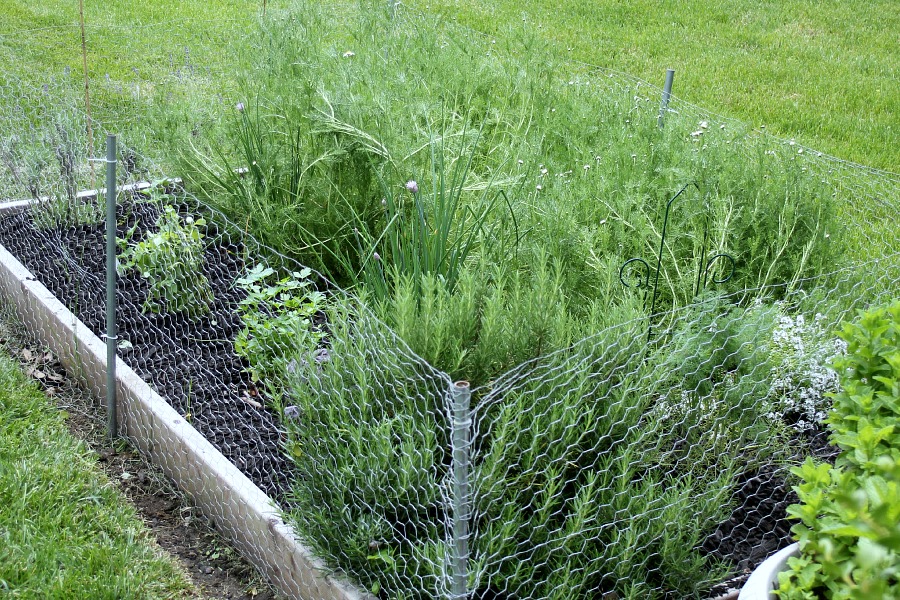
If rabbits are a problem, protect your herb garden with chicken wire.
Through they years I have tried many different herbs in my raised bed. I have listed below my favorite and the ones I grow just about every year.
Perennial herbs (return year after year)
- rosemary
- oregano
- thyme
- sage
- chives
- lavender
- mint (spearmint, peppermint, other mints)
Annual Herbs (die when frost hits)
- parsley
- basil
- sage
- dill
- chamomile
Flowers in the raised bed
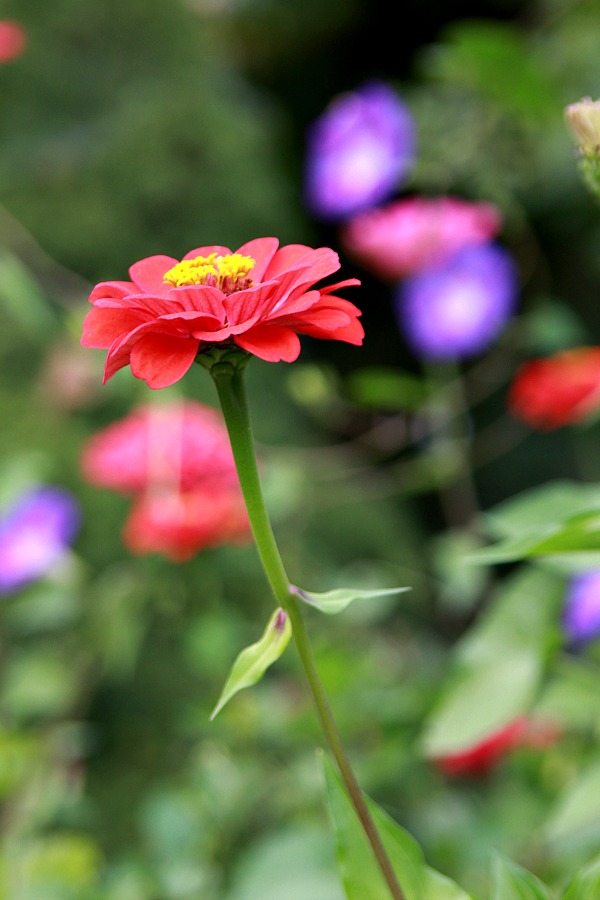
I like to keep one side of my raised bed for flowers. I have really enjoyed growing zinnia as well as Morning Glory there.
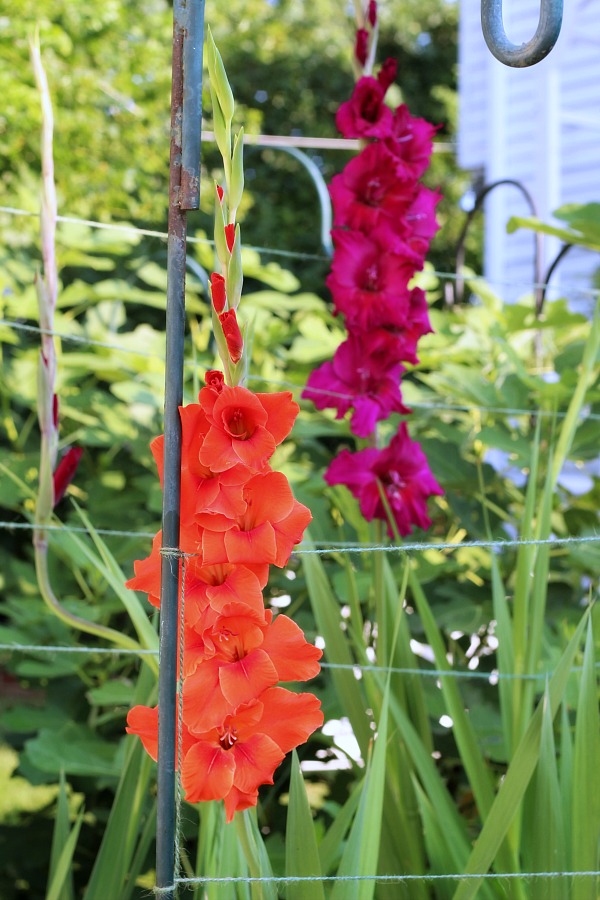
Early spring I picked up a bag of gladiola bulbs and since it is my birthday month flower, I thought it would be fun to grow them this year. They are just beginning to bloom.
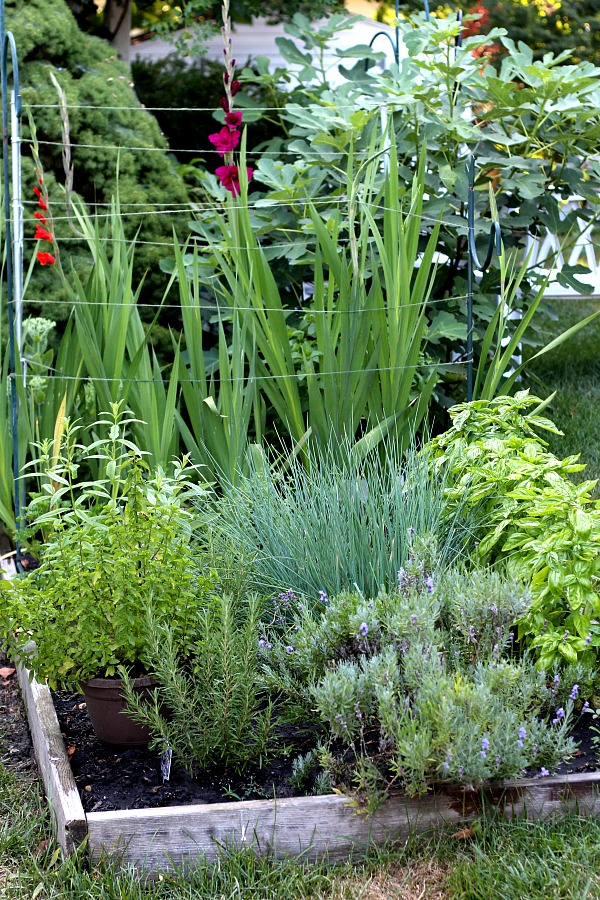
Notice the fig tree in the top right of the photo (growing outside of the raised bed). It is in its third season and loaded with figs. We recently noticed and treated for large white fly-type insect and they seem to be gone.
Harvesting herbs
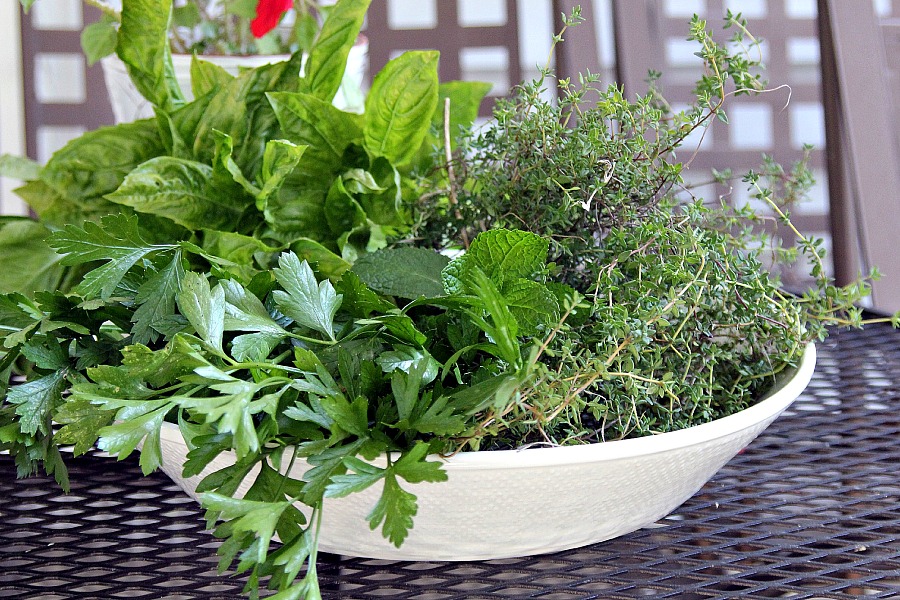
Enjoy the fruit, or in this case, the herbs of your labor. The best way to use and enjoy the flavor of herbs is to use them right from the garden immediately before cooking. The best time of day to harvest herbs in the morning after any dew has dried off, but before the intense midday sun.
Raised bed and herb gardening shopping guide
Check out these helpful gardening items. I especially love the garden kneeler and seat. My youngest daughter gave me one as a birthday gift several years ago and my knees are most grateful.
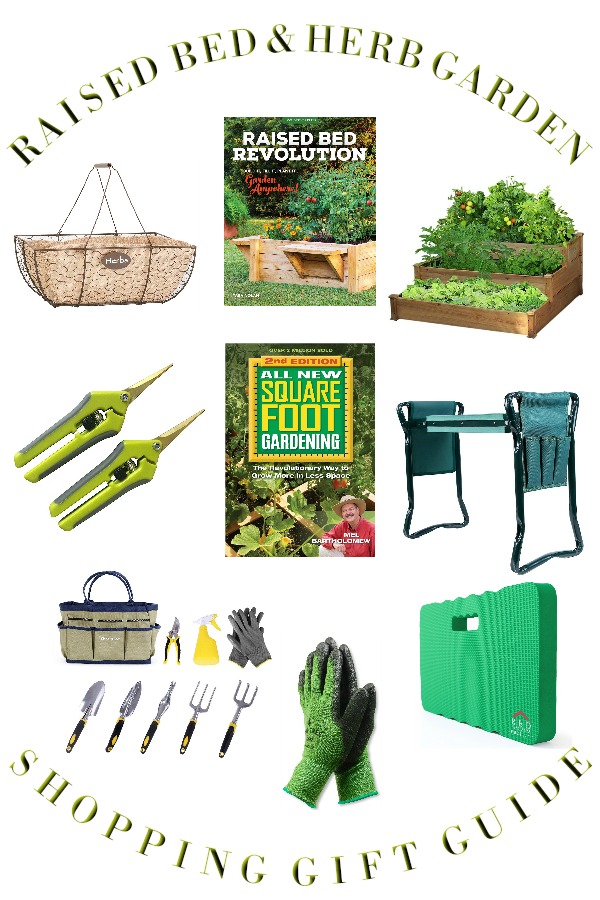
- 14″ Herb Basket with Burlap Liner Rust
- Raised Bed Revolution: Build It, Fill It, Plant It … Garden Anywhere! book
- 3 Tier Wooden Elevated Raised Garden Bed Planter Box
- Curved and Straight Blade Micro Tip Raised Garden Bed
- Square Foot Gardening II
- Garden Kneeler and Seat
- Garden Tool Set and Garden Tote
- Ultimate Barehand Sensitivity Work Gloves for Gardening
- Thick Kneeling Pad
You might also like…
How to Grow and Harvest Leaf Lettuce in Containers and Pots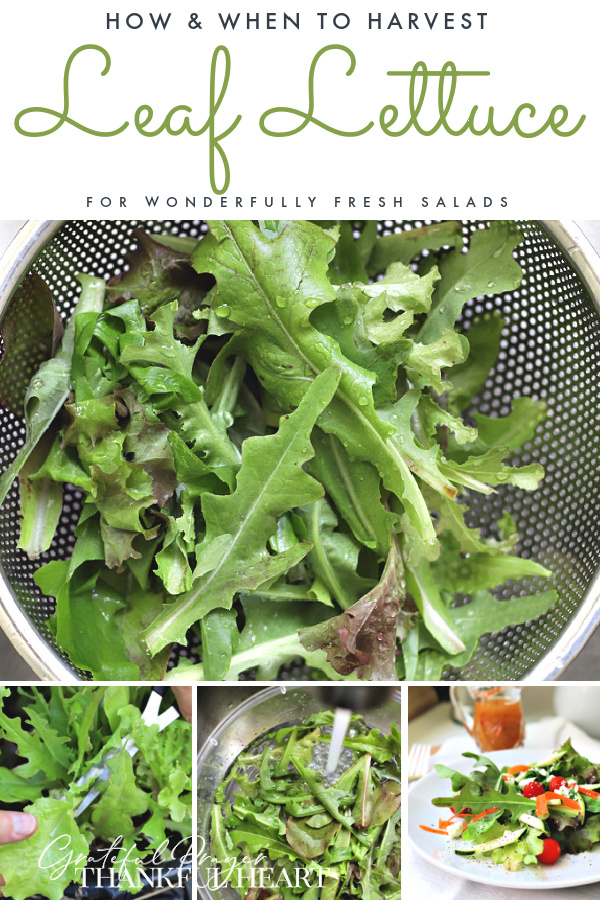

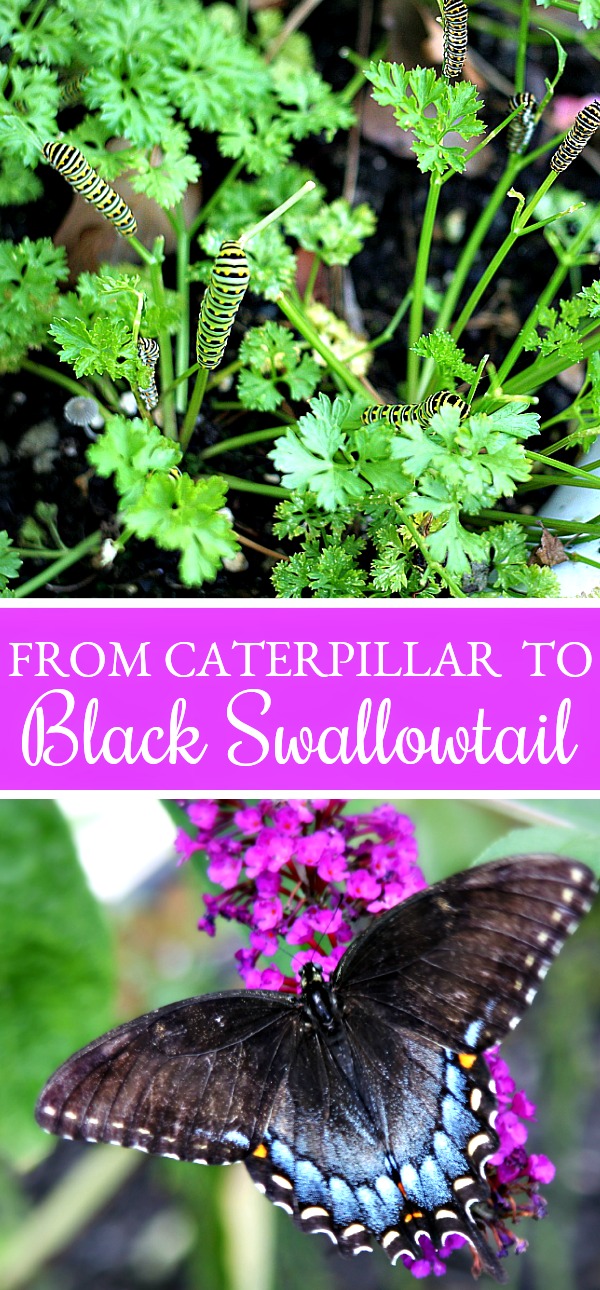
Eastern Black Swallowtail Caterpillar
 Each issue of our Newsletter is timely and helpful and jam-packed with food, crafts, occasional DIY, gardening and faith resources. Relevant and seasonal posts to inspire and guide you with current trends. Available only to those who request it, so please accept our invitation to stay connected and join the Grateful Prayer Thankful Heart community. Just click the subscribe button below.


Raised beds are a great idea. You have many of the herbs that I enjoy. I do not have good success with zinnias but they make such a pretty cut flower for vases. Oh, and looks like your parsley is attracting lots of caterpillars. Your yard is so very pretty and inviting. I adore your glads!
Your yard is beautiful. I wish I had a green thumb but I have never been any good at gardening. Most things I plant end up dead real quick