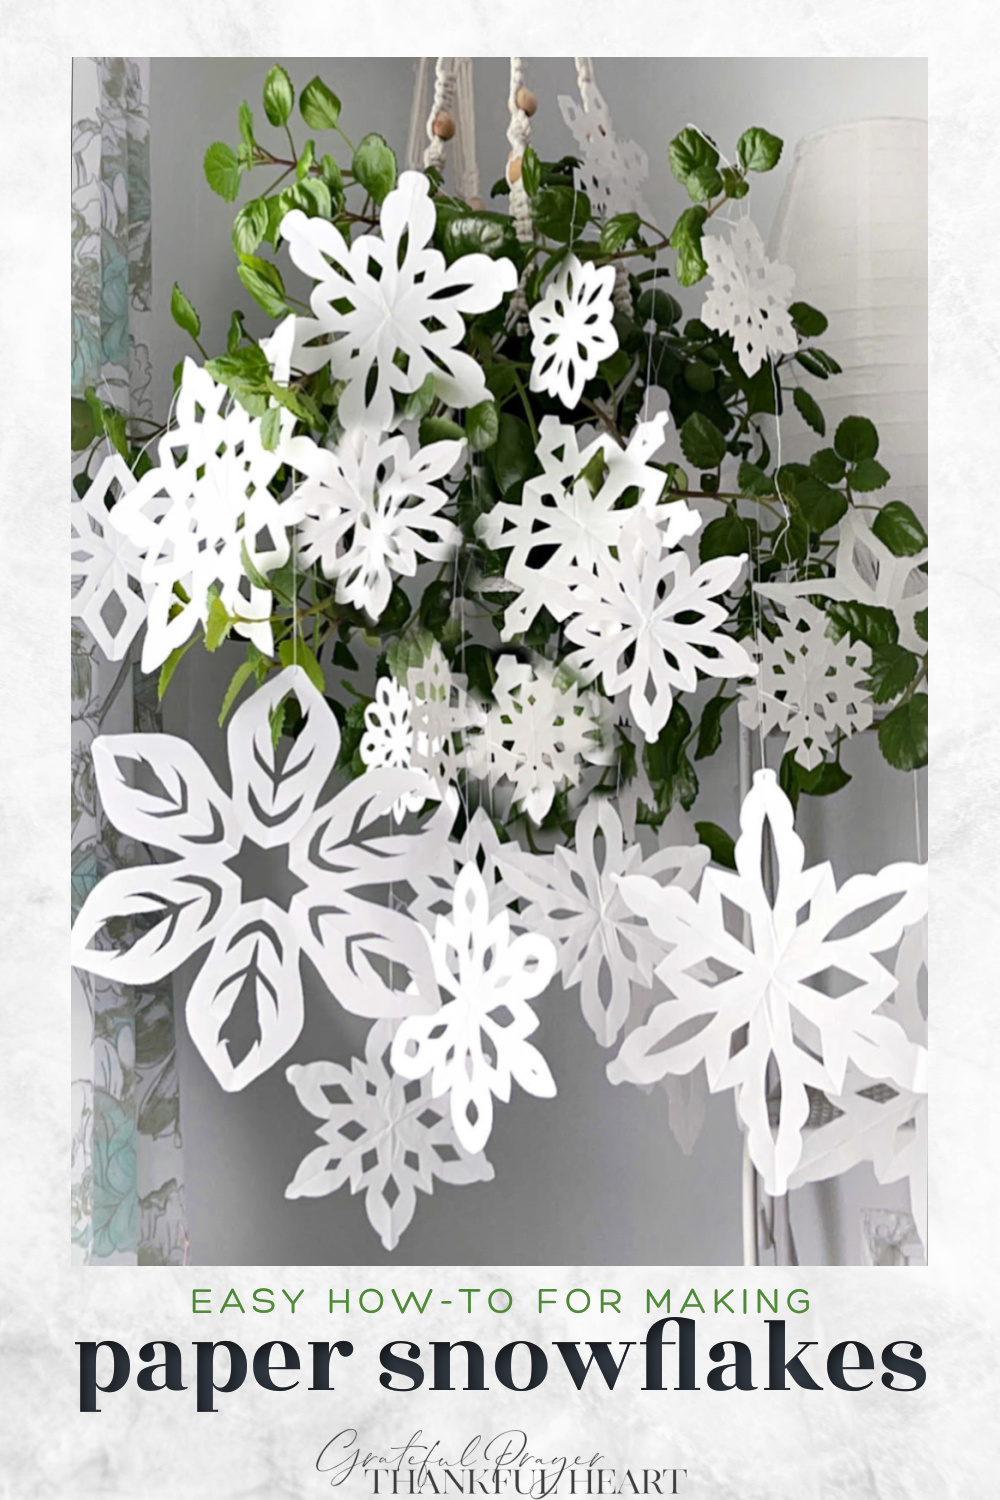
Pretty paper snowflakes are so easy to make and almost as fun as their real life counterparts. All you need is some paper and a pair of scissors to make a heap of snowflakes that you won’t need to shovel out of your way.
Grateful Prayer Thankful Heart is a participant in the Amazon Services LLC Associates Program, an affiliate advertising program designed to provide a means for us to earn fees by linking to Amazon.com and affiliated sites. We will only recommend products we use, love or think are informative and helpful.
Editor’s note: This is an updated version of an article originally posted December 2009 with better photos and additional information.
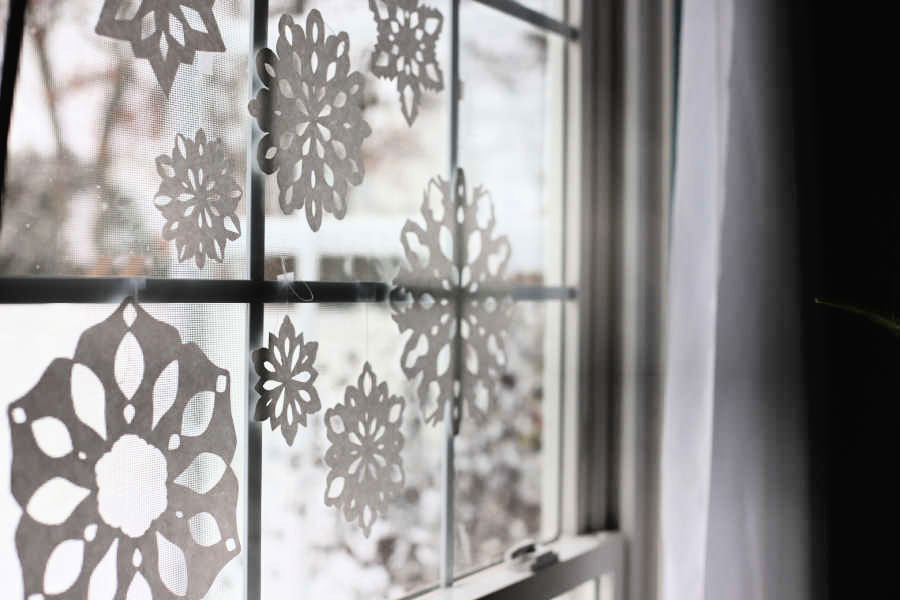 If you live in a part of the world that has cold winters, you probably get to experience a snow storm. Whether it is just a coating or a storm with lots of accumulation, that first snow of the season is magical.
Besides the possibility of a day off from school, kids anticipate sledding, snowman building and even friendly snowball fights.
Decorating with pretty paper snowflakes
When our daughter was in the hospital delivering one of her babies, the two oldest siblings stayed at our home. I hung lots of snowflakes from the ceiling giving the room they slept in a whimsical feel.
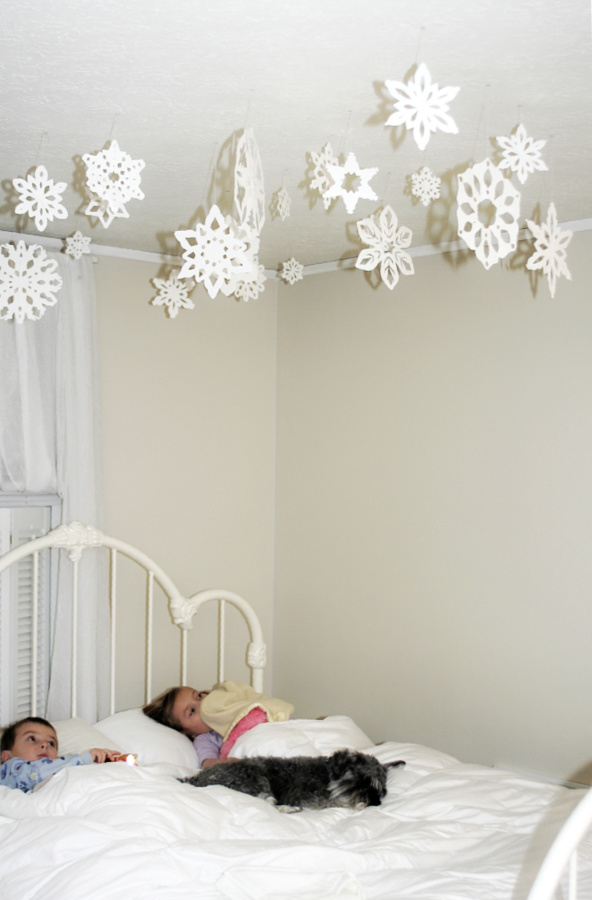
This photo was taken in 2009 when the kids were still so little and we had our sweet miniature schnauzer that loved them.
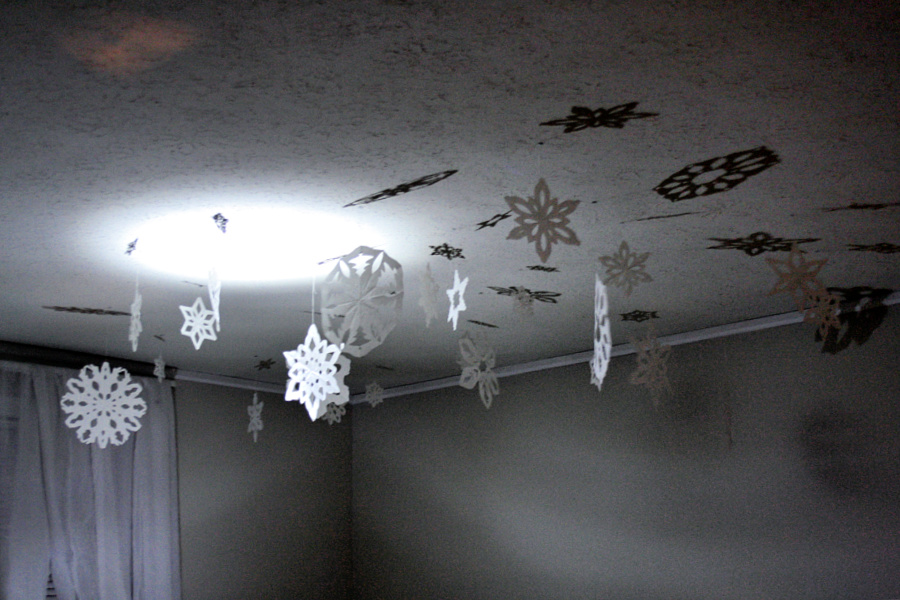
You can imaging the delight as Noah used his flash light to illuminate the ceiling creating all of those snowflake shadows dancing above them!
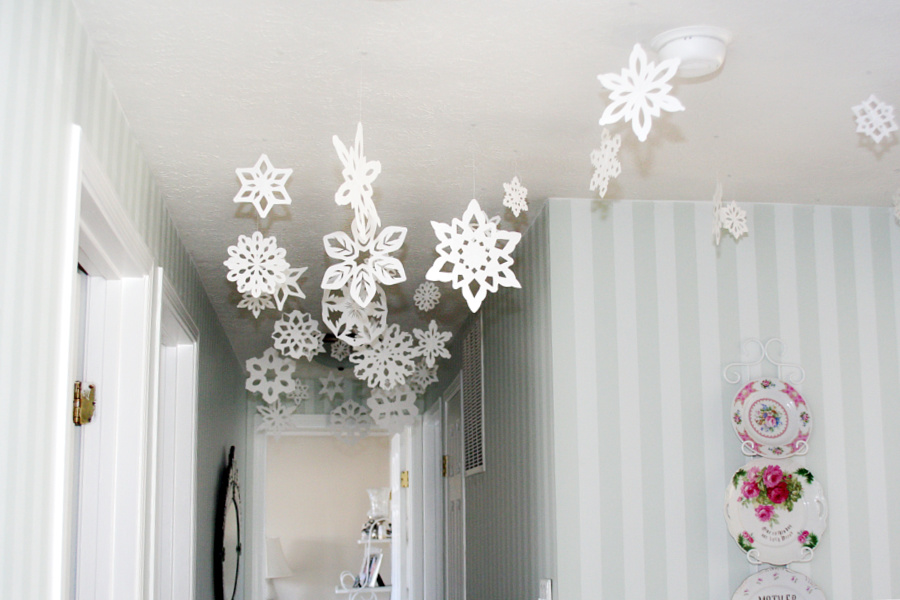
You can keep the paper snowflakes from year to year. I still have the original snowflakes made way back in 2002! At the end of the season, I carefully remove them from the ceiling and store them layered in a ziplock bag.
How to make paper snowflakes
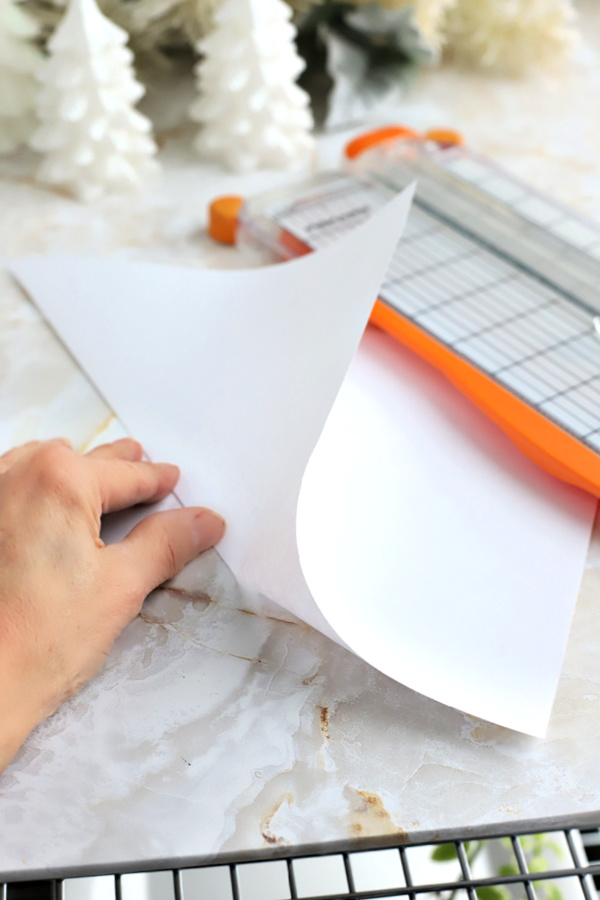
To make the paper snowflakes, you need to begin with a square piece of paper. I use standard computer paper. Simply fold a standard piece of paper into a right-angled triangle; trim off excess using scissors.
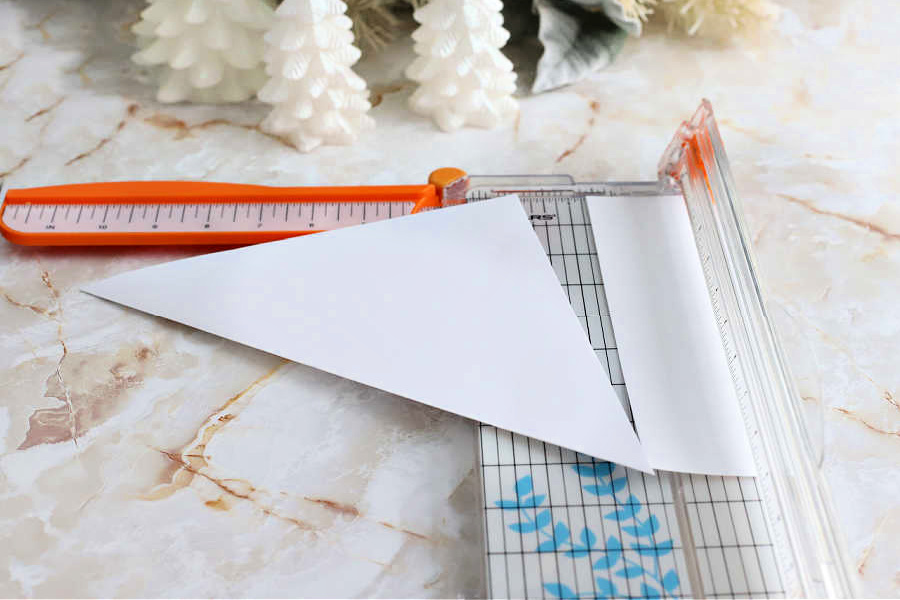 Or, use a paper trimmer and cut the square in whatever size you prefer. The smaller the square, the smaller the snowflake.
To begin the snowflake, fold the square of paper in half diagonally to make a triangle.
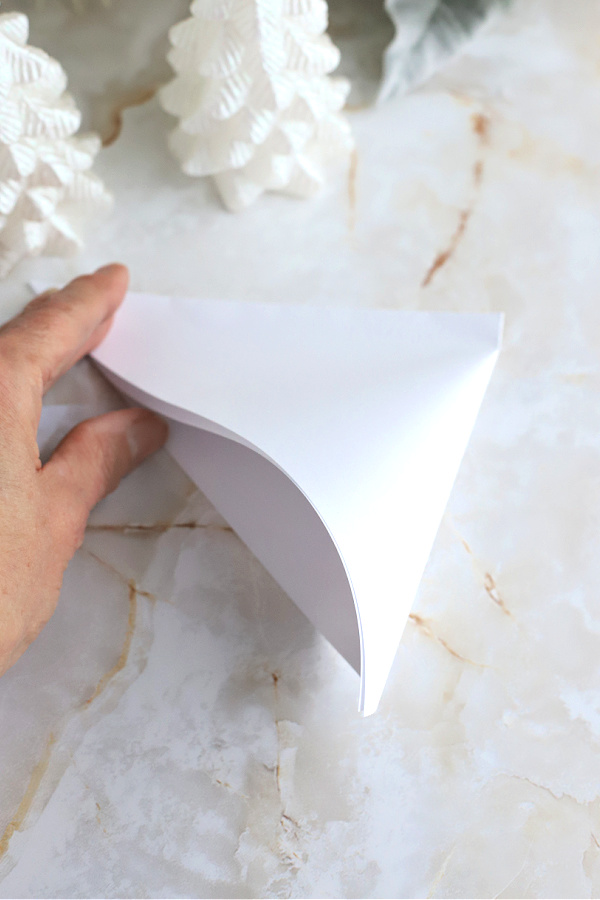
Fold the triangle in half again to make a smaller triangle.
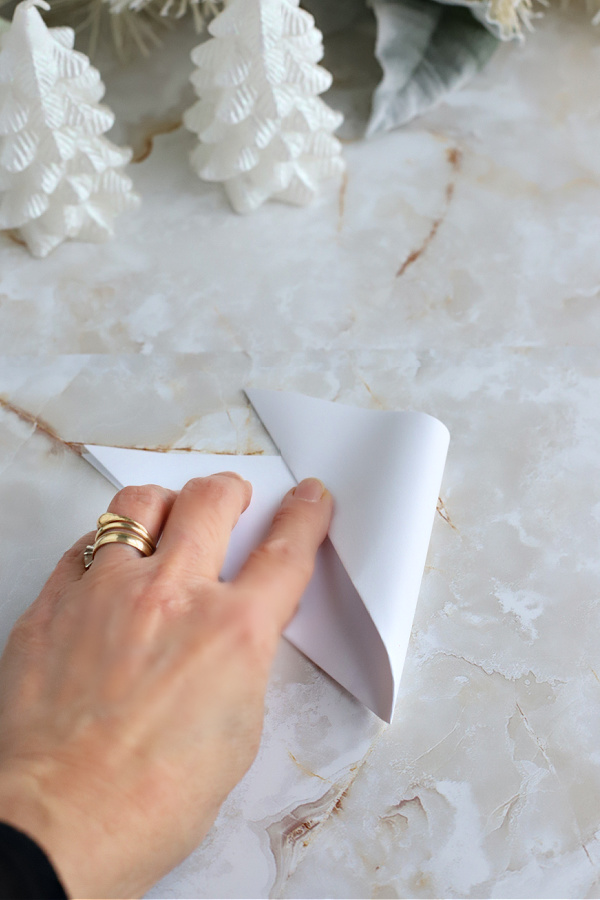
Fold this smaller triangle into thirds. Start by bringing the right point towards the left by one third, trying to make it as even as possible.
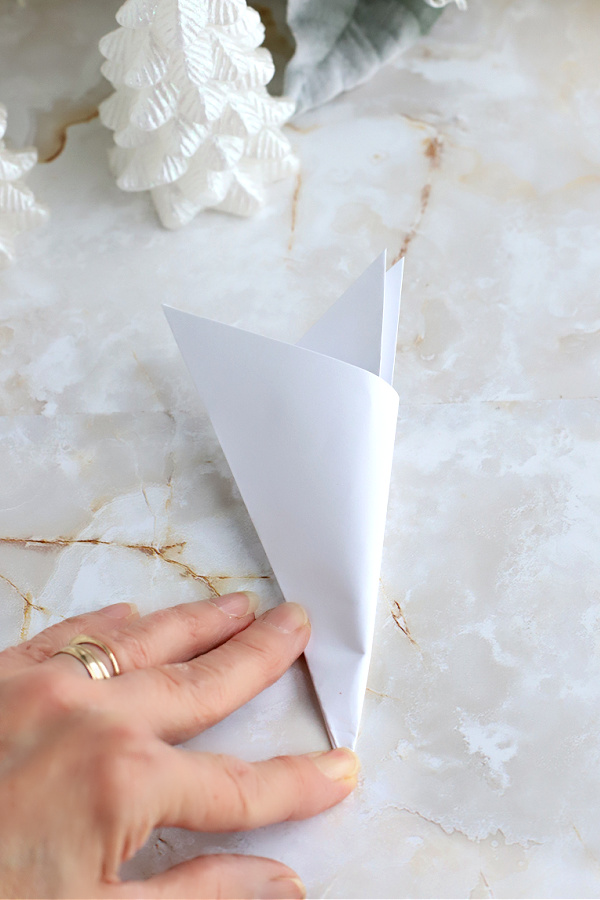
Then bring the left point towards the right by one third. You might have to adjust the folds to make sure the edges line up evenly.
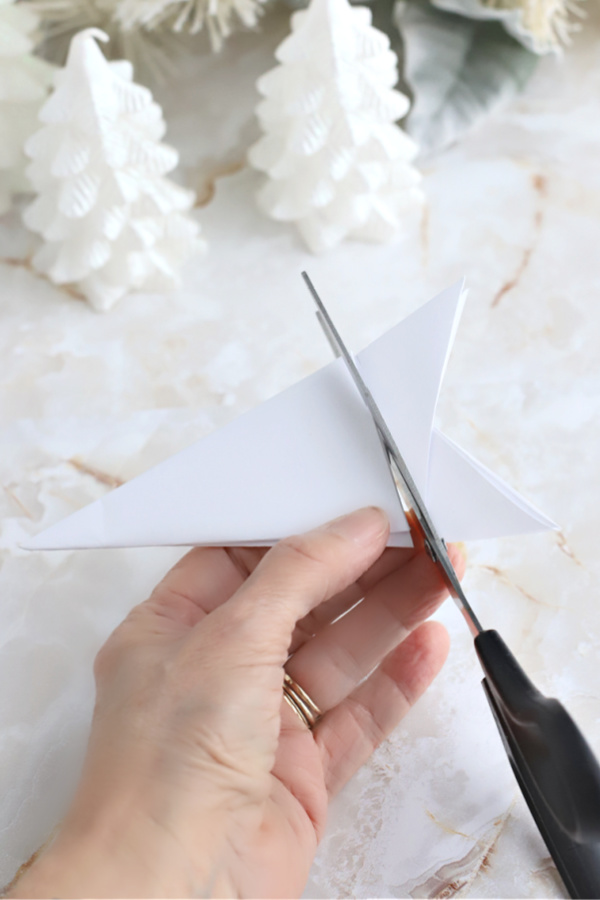
Cut off the pointed ends so you’re left with a small triangle.
Unique paper snowflakes
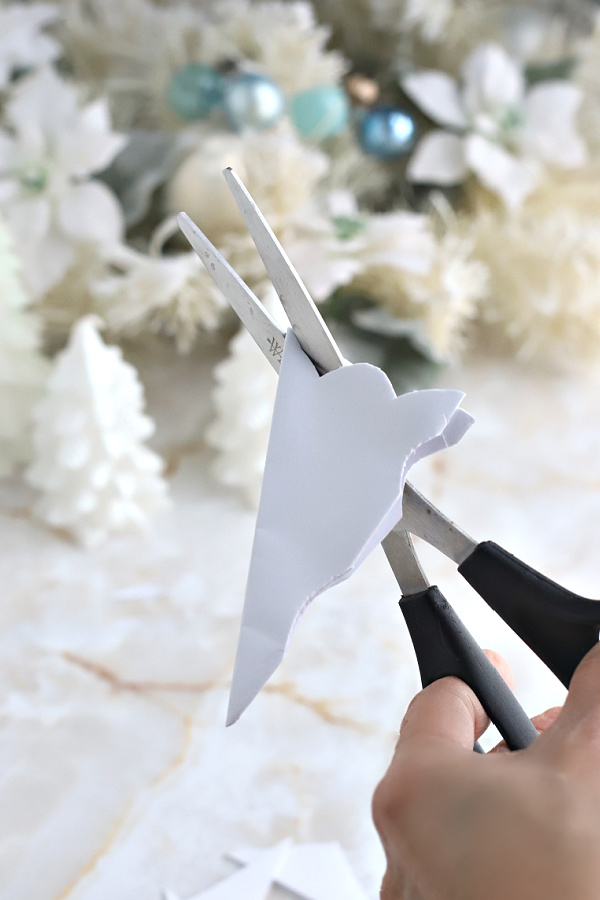
This is how you will create the various snowflake patterns. Make cuts into the sides of this small triangle. You can cut curves, triangles, diamonds, and half hearts. If you cut off the tip, you’ll have a snowflake with a hole in the center.
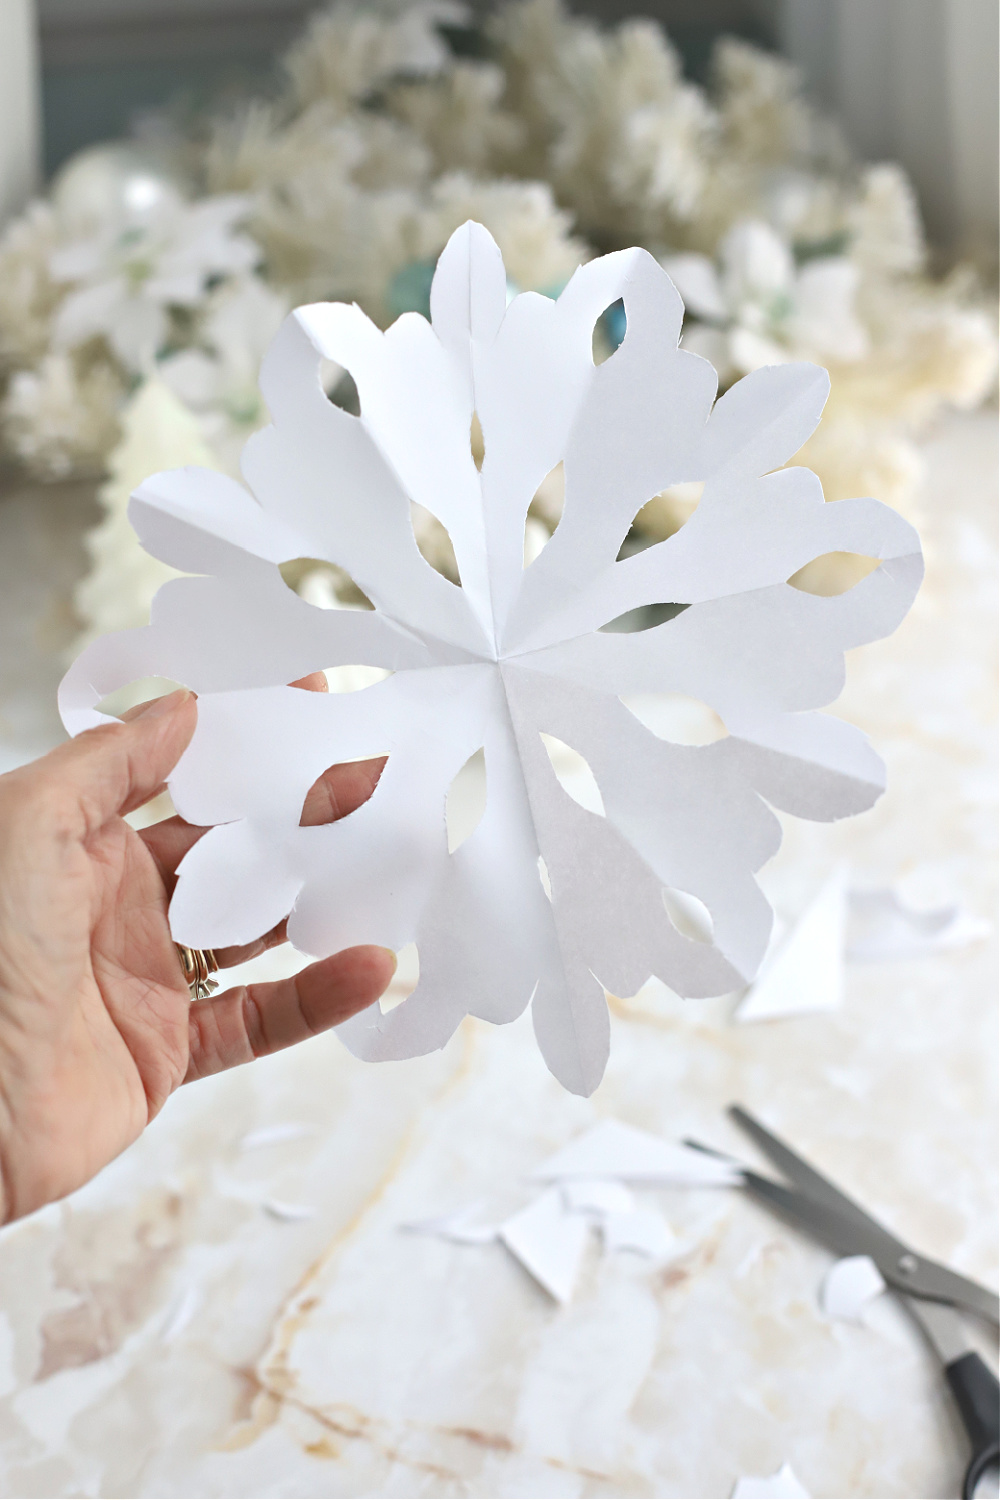 When you are finished making the cuts, gently unfold the paper. Don’t worry if your snowflake isn’t perfectly symmetrical or exact. No two snowflakes are ever alike.
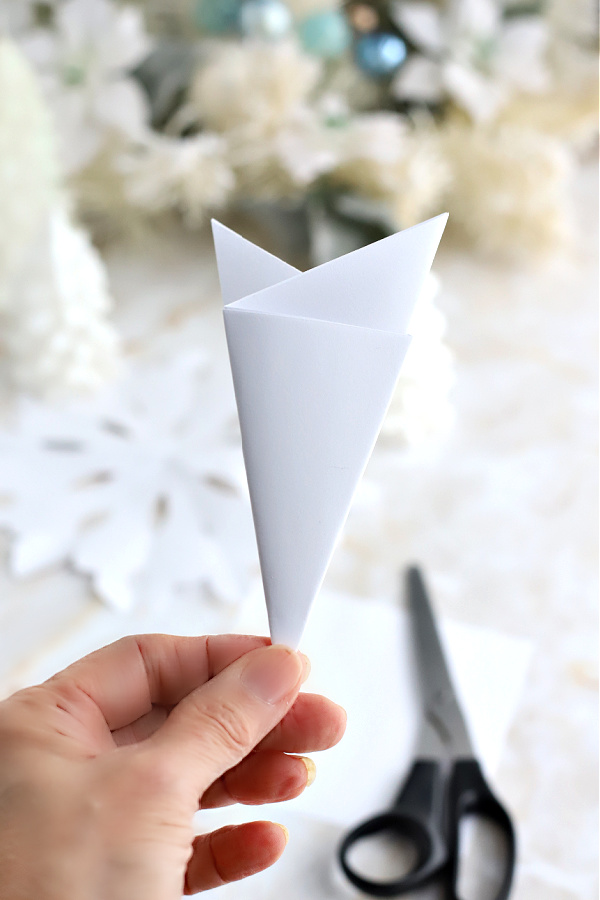
Here is another snowflake using a smaller square of paper.
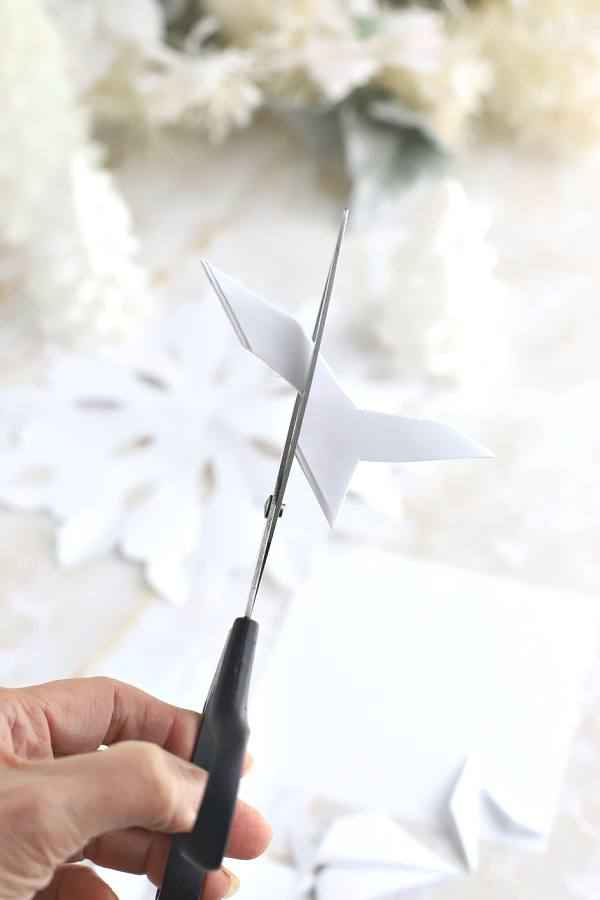
This snowflake has sharper, more geometrical cuts with no curves.
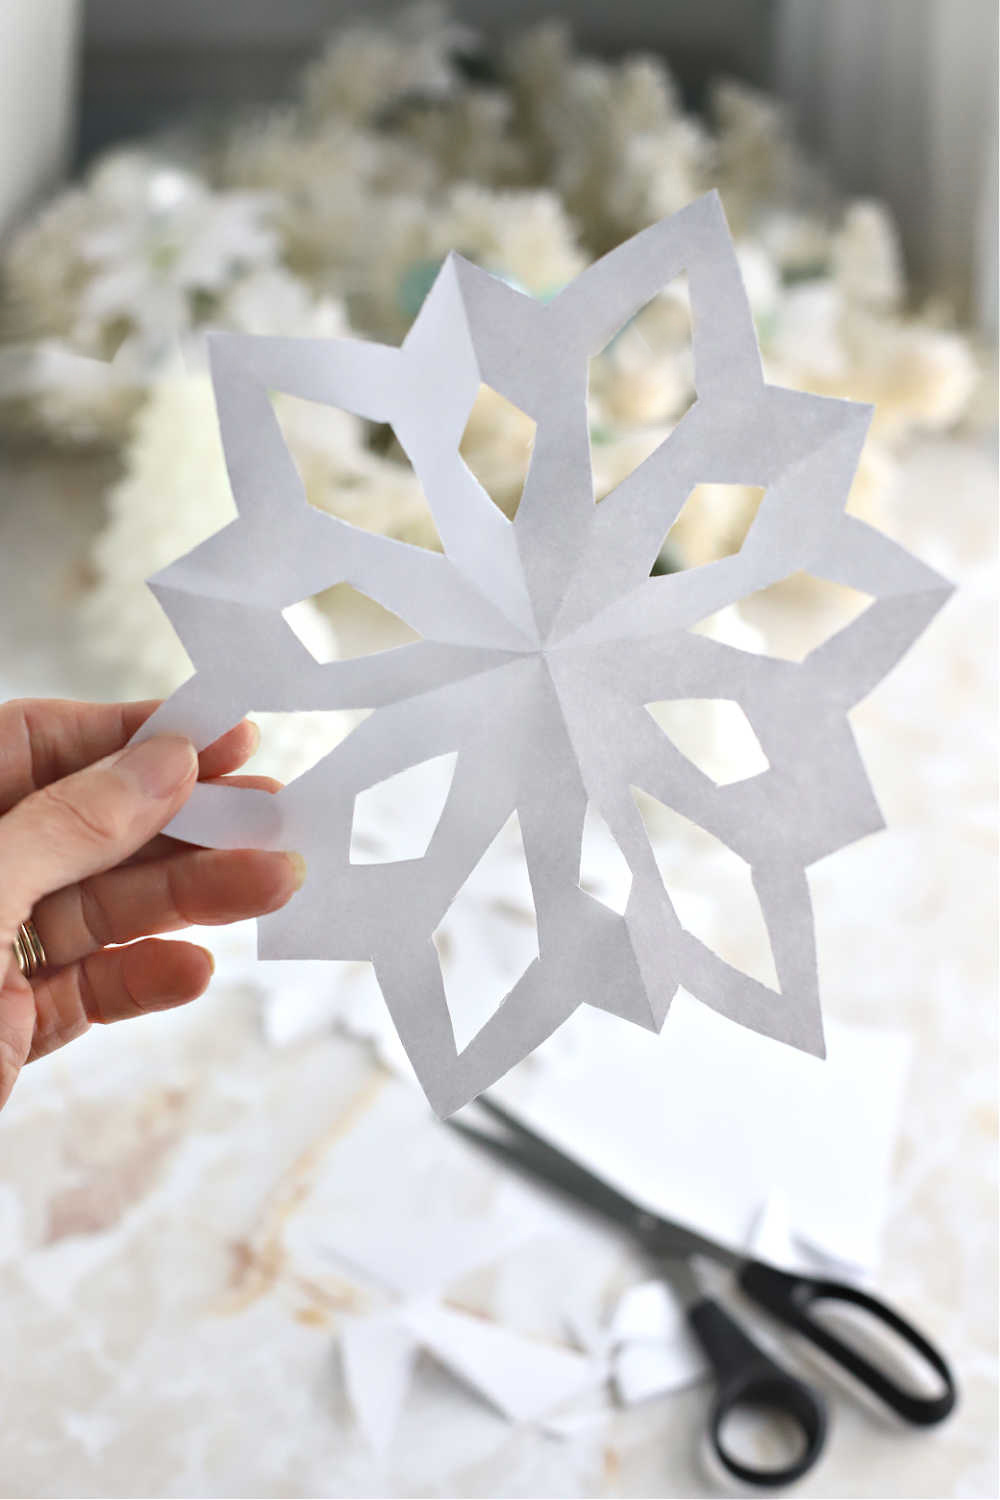
And this is the result.

One more sample… as you can see, I cut away lots of the paper for this snowflake.
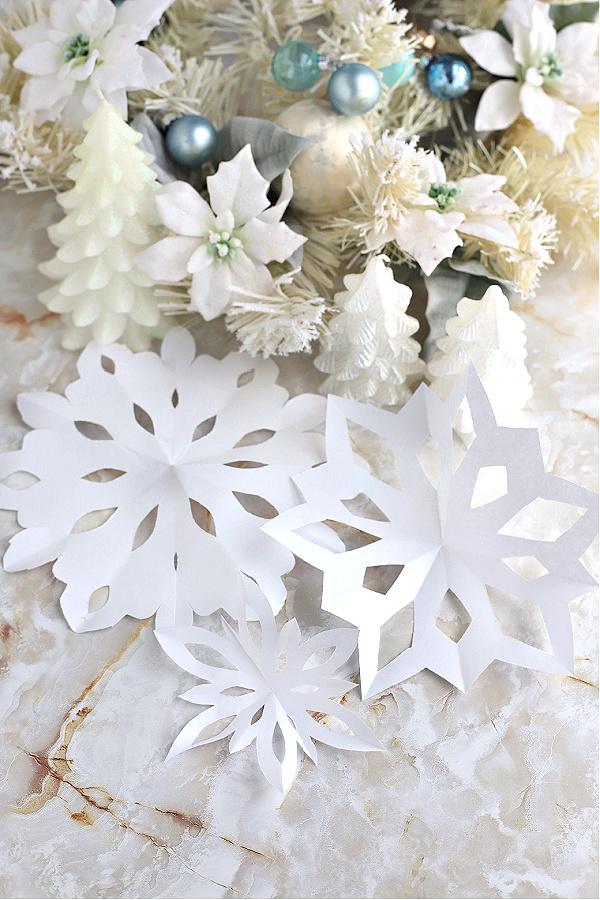
And, the result is the smallest snowflake of the three. Have fun with your cuts and enjoy the endless variety you can create!
Removing the folds to flatten your paper snowflakes
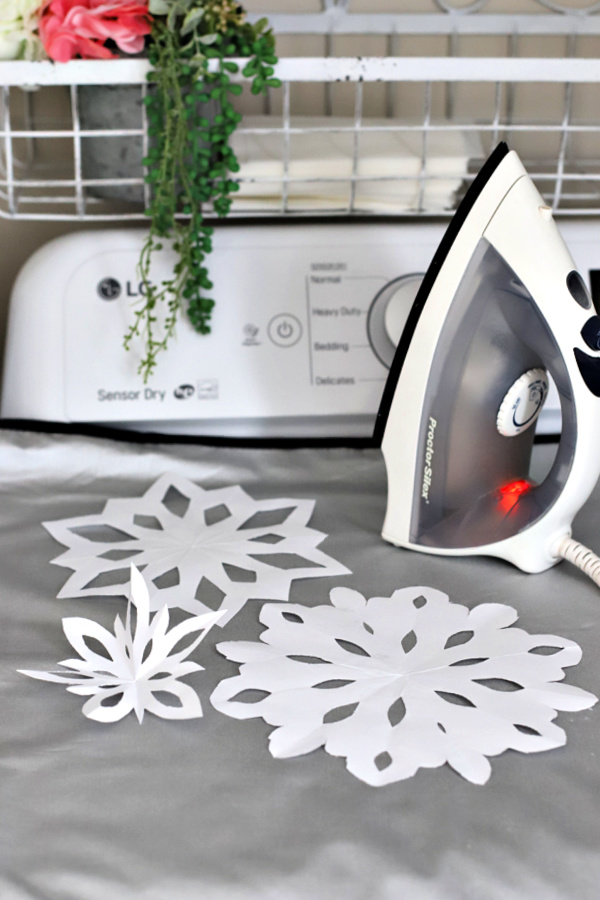
To smooth out any creases from folding, lightly iron one paper snowflake at a time on a low setting. You can also spritz a little spray starch to stiffen and flatten out the snowflakes.
Try Amazon Prime 30-Day Free Trial
Attaching a hanger to display your paper snowflakes
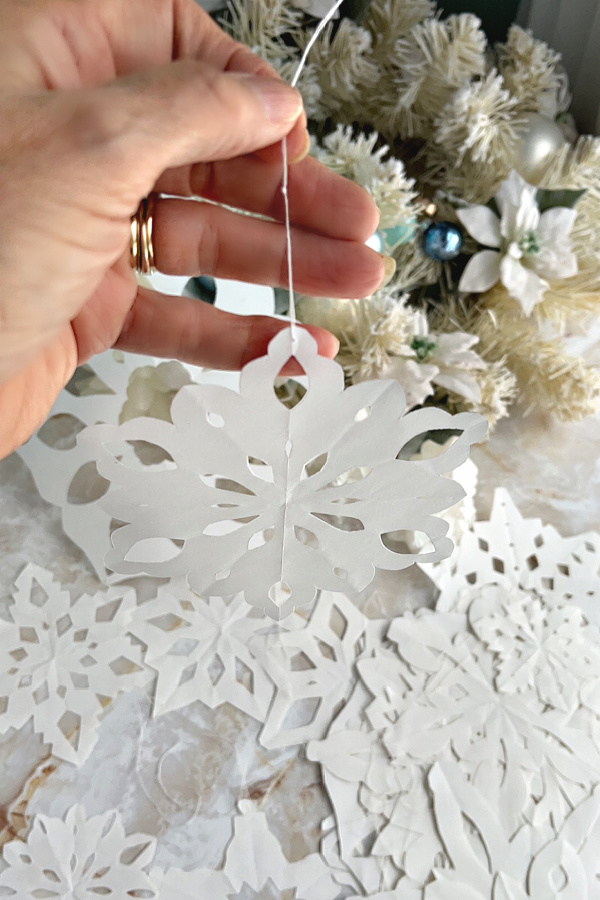
If you want to hang your snowflakes, use a needle and thread to create a loop. Push the needle through a snowflake point or a cutout near the top. Tie a knot creating a loop. Make the loops of varying lengths so they look like they are randomly tumbling from the sky.
I use white thumb tacks to attach the snowflakes. Because our ceilings have a slight textured surface and the tiny holes don’t show. Since the snowflakes are lightweight, I have also used tiny balls of poster putty with success.
More paper snowflake ideas
You don’t have to make all your cuts with the paper completely folded up. Add some interest by partially unfolding your snowflake and making additional cuts.
Use the symmetrical properties of your folds to create recognizable shapes that are also symmetrical, like hearts and Christmas trees and even faces.
Make your snowflakes any color you want. In addition to using colored paper, you can add colorful highlights to your snowflake by coloring any cut edges with a marker before you unfold it.
Give your snowflake sparkle like new-fallen snow with a little spray glitter from a craft store.
Interesting Snowflake facts
- It is estimated that approximately 1 million billion snowflakes fall every second on earth.
- It is estimated that roughly half of the people in the world have never seen snow in person.
- The largest snowflakes can be as big as a penny.
- Snow is not actually white. It is translucent. Because light cannot pass through easily, it is reflected instead, resulting in its white color to the eye.
- There has never been a report of snow falling in Key West, Florida. The temperature there has only dropped to 41 degrees Fahrenheit.
- Although made of snow, an igloo can actually be 100 degrees warmer on the inside than it is on the outside. Igloos are made from compacted snow which does not transfer heat because it is mostly trapped air.
- A snowflake’s shape is determined by the humidity and temperature when it is formed.
- Every snowflake has approximately 200 snow crystals.
- A snowflake has six sides.
- A snowflake falls at a speed of 3 to 4 miles an hour.
- Approximately 105 snowstorms hit the United States, on average, each year.
- When the temperature is near to freezing point (0 degrees Celsius), snowflakes become much larger and a lot more complex in design.
 Each issue of our Newsletter is timely and helpful and jam-packed with food, crafts, occasional DIY, gardening and faith resources. Relevant and seasonal posts to inspire and guide you with current trends. Available only to those who request it, so please accept our invitation to stay connected and join the Grateful Prayer Thankful Heart community. Just click the subscribe button below.


Leave a Reply