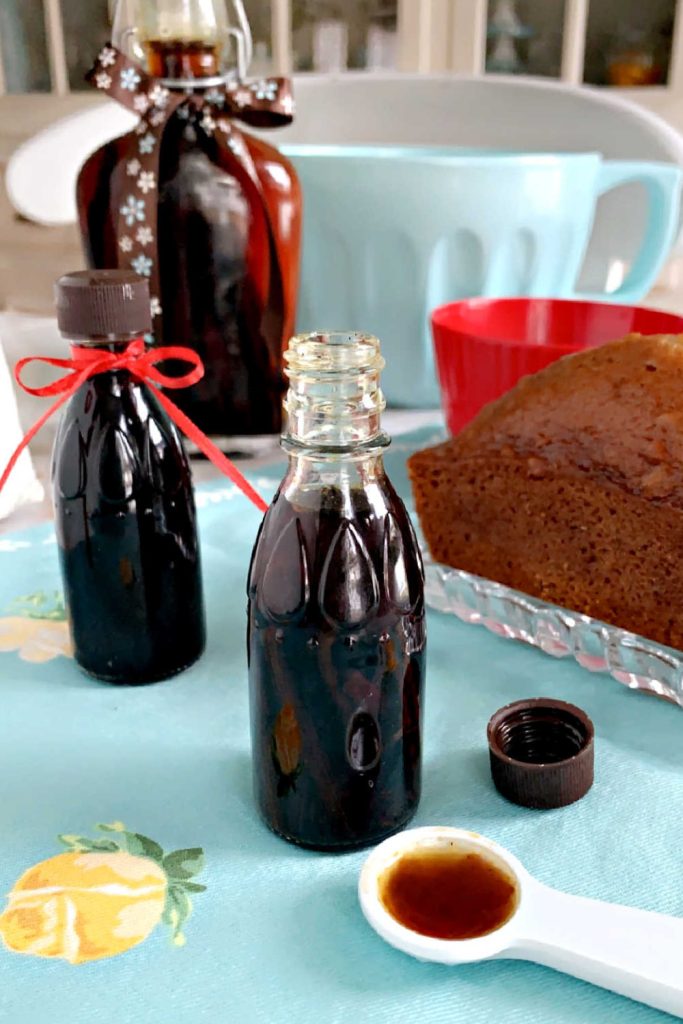
 If you do any baking at all, you know just about every recipe calls for vanilla extract. And you’re probably aware that those little bottles of extract are pretty expensive. I’m guessing you didn’t know that you can easily make really good homemade vanilla extract with just two ingredients.
Grateful Prayer Thankful Heart is a participant in the Amazon Services LLC Associates Program, an affiliate advertising program designed to provide a means for us to earn fees by linking to Amazon.com and affiliated sites. We will only recommend products we use, love or think are informative and helpful.
Vanilla beans
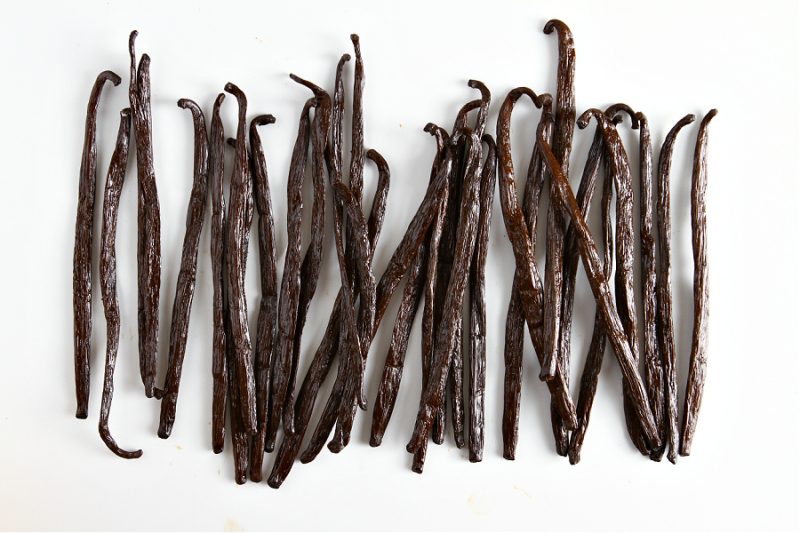 These are vanilla beans. They are the long, thin pods that are used to create that amazing fragrance and give a depth of flavor to baked goods.
What are vanilla beans
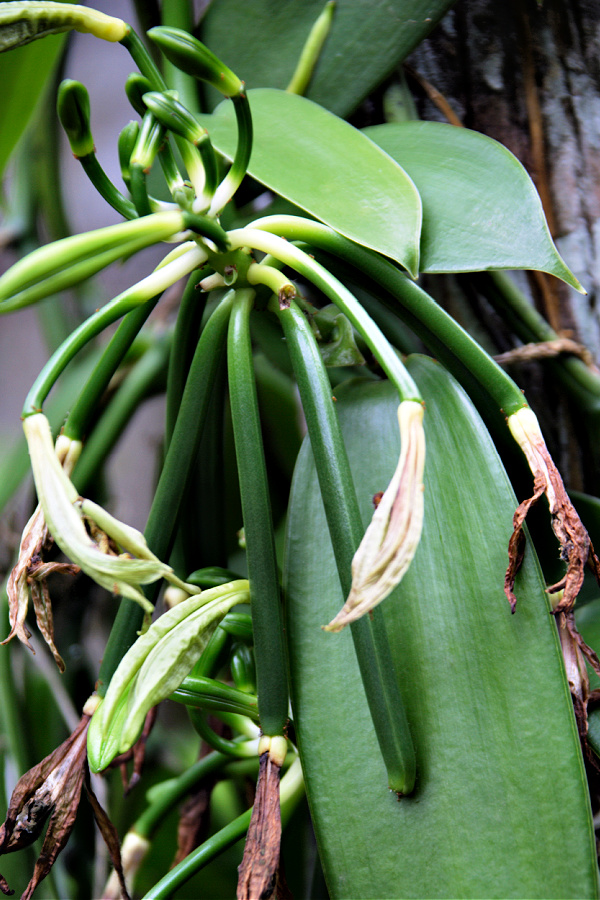 Vanilla beans are actually the pods that grow on a vine-like vanilla orchid plant. The scientific name is Vanilla planifola and it is the only fruit-producing orchid.
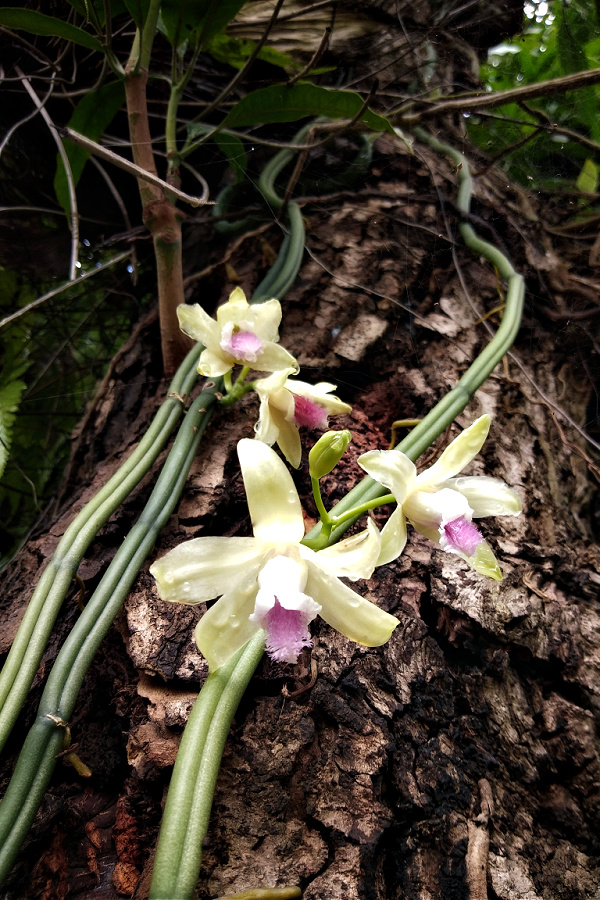 The vines, that can get to 300-feet in length, grow up trees and produce beautiful flowers along with these long pods.
Incredibly, vanilla orchids can only be grown 10-20 degrees North or South of the equator. Therefore, most plants are grown in Madagascar, Mexico, Indonesia, and Tahiti, with Madagascar producing about 80 per cent of the world’s natural vanilla.
Vanilla is a labor intensive crop
Part of the reason vanilla is so expensive is that it is such a labor intensive crop. It is one of the world’s most expensive spices after saffron, and the process is done entirely by hand.
Precise pollination requirements
To produce the fruit, the orchid flowers are hand-pollinated at a specific time of the day. Timing is critical since the flowers are open only during a short flowering period.
It is just a matter of hours on a single day. That’s how long the plant flowers for, and it’s a critical window in which the crop must be pollinated to ensure it produces beans.
Orchid pollination discovery
In nature, pollination requires a visit from a melipona bee or long beaked hummingbird. But back in the 19th century, a 12-year old slave boy named Edmond Albius made a discovery.
In 1841, he invented a technique for pollinating vanilla orchids quickly and profitably that revolutionized the cultivation of vanilla and making it possible to grow vanilla beans away from their native Mexico.
His technique involved using a thin stick or blade of grass and a simple thumb movement. Using the stick or blade of grass, lifting the rostellum, the flap that separates the male anther from the female stigma, and then, with the thumb, smearing the sticky pollen from the anther over the stigma.
This manual pollination method is still used today, as nearly all vanilla is pollinated by hand.
Harvesting vanilla bean pods
The pods, also called beans, though they are not beans at all, are ready to be hand-harvested nine months after pollination, or four to six months after the fruit appears on the vines, when the tip starts turning yellow.
The fruit is not permitted to fully-ripen since this will cause the beans to split and lose its value. The pods are green and nearly odorless when individually picked.
The process continues as the vanilla pods are blanched in boiling water, sweated for a couple of days and dried for weeks to bring out the natural flavors.
A few notes about making you own vanilla extract
- Since all the flavor comes from the vanilla, there is no need for expensive vodka. You can successfully use inexpensive vodka when making vanilla extract.
- You can also substitute bourbon or rum for slightly different flavor, but since vodka is flavorless, it offers the cleanest flavor.
- It is easy to replenish your vanilla supply. Simply add additional vodka and vanilla beans to the jar and you will always have a supply of perfect vanilla extract.
- Whichever spirit you choose, use approximately 8 ounces of at least 70-proof alcohol per 4–6 vanilla beans. This is the same standards issued by the FDA.
- Feel free to experiment with the amount of vanilla beans used for your vanilla extract to achieve your desired flavor preference. Finding out what you like best may take a few batches.
- Homemade vanilla extract makes a great gift for anyone that likes to bake.
- It is common for homemade vanilla extract to be lighter in color and more transparent than what you might purchase. The vanilla extract is just as flavorful (if not more) than store-bought, even if the color isn’t as deep.
- Do not be concerned your extract has become moldy if the vanilla beans develop a thin coating of whitish fur. It is just some of the natural sugar in the bean that has begun to crystalize and it doesn’t change the flavor or quality in any way.
- After about six months of steeping, there’s usually very little change in the strength of the extract, even if the bean is still in the bottle. Your vanilla extract will usually retain its flavor for at least a year.
How to make homemade vanilla extract
With a few fresh vanilla beans, some inexpensive vodka, a glass container, and a lot of patience, you can make homemade vanilla that is full of flavor, and perfect for all of your baking needs.
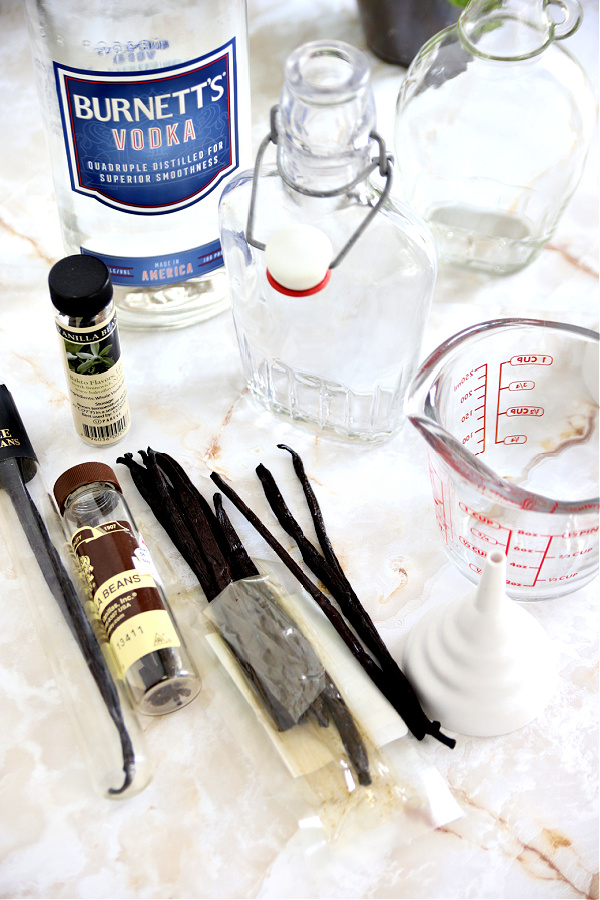
When making my vanilla extract, I purchased bean pods from Amazon and also used up some pods I had in the cupboard from Home Goods. The pods from Home Goods were older and less plump than the fresh ones from Amazon. When using older beans that feel slightly stiff or look dry, they might not have as much flavor. Just add an extra bean pod to the jar to compensate for this.
Cutting the vanilla beans
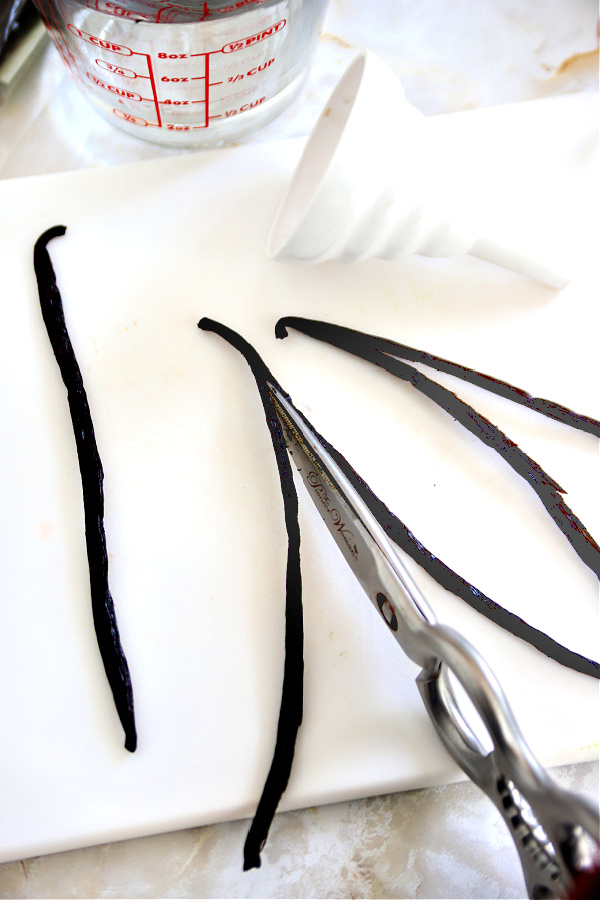
Cut 4–6 fresh vanilla beans open lengthwise, scooping out the seeds. Cut down the center of each vanilla bean to within an inch or so of the end. You can make this cut with the tip of a sharp knife but I find it easier using kitchen sheers.
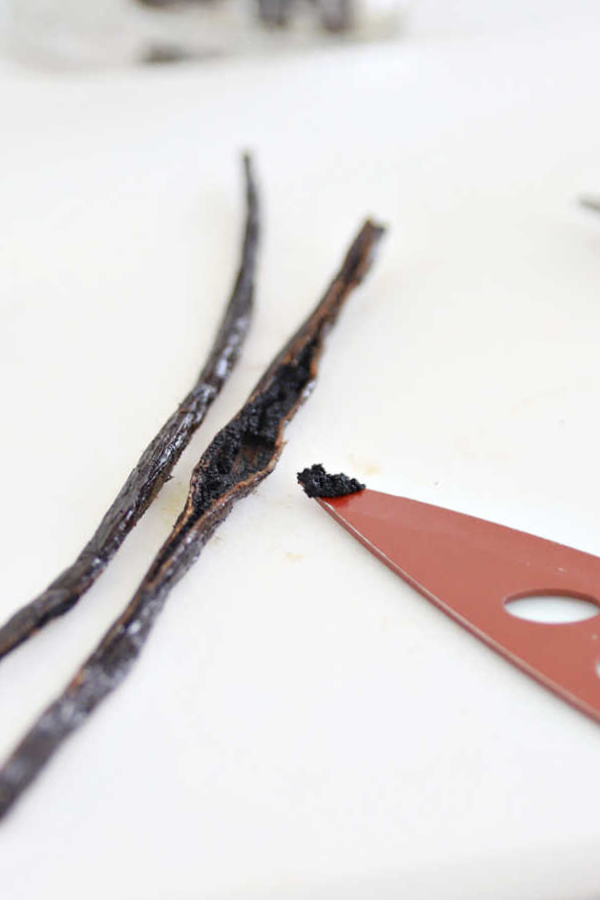
Once the bean is cut and opened, the tiny seeds inside are exposed. This is called “vanilla caviar” because it is the richest, most flavorful part of the bean.
You can decide if you want your finished extract to include the seeds or have a clearer appearance without them. Personally, I like the seeds. It is like seeing the vanilla seeds when eating Breyers vanilla ice cream
To make extract clearer, scrape out the tiny seeds after you’ve split the beans lengthwise and use the seeds for other recipes. If you remove the seeds, the vanilla extract will take longer to infuse. You can also strain out the seeds after the extract have been infused.
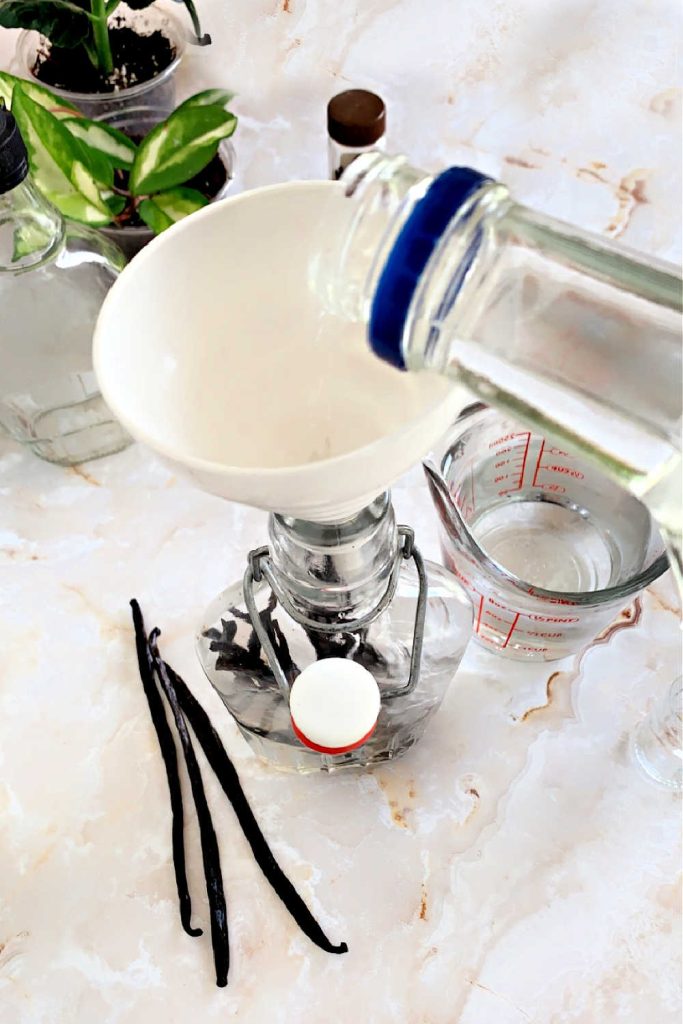
Place the vanilla beans into the jar(s), cutting as needed to fit. Pour the vodka over the vanilla beans making sure the pods are completely submerged.
Since I plan to use the vanilla extract as gifts, I used several fancy-shaped bottles, a recycled maple syrup bottle, and a swing-top bottle. If you are making the extract for yourself, you might just use a large Mason jar.
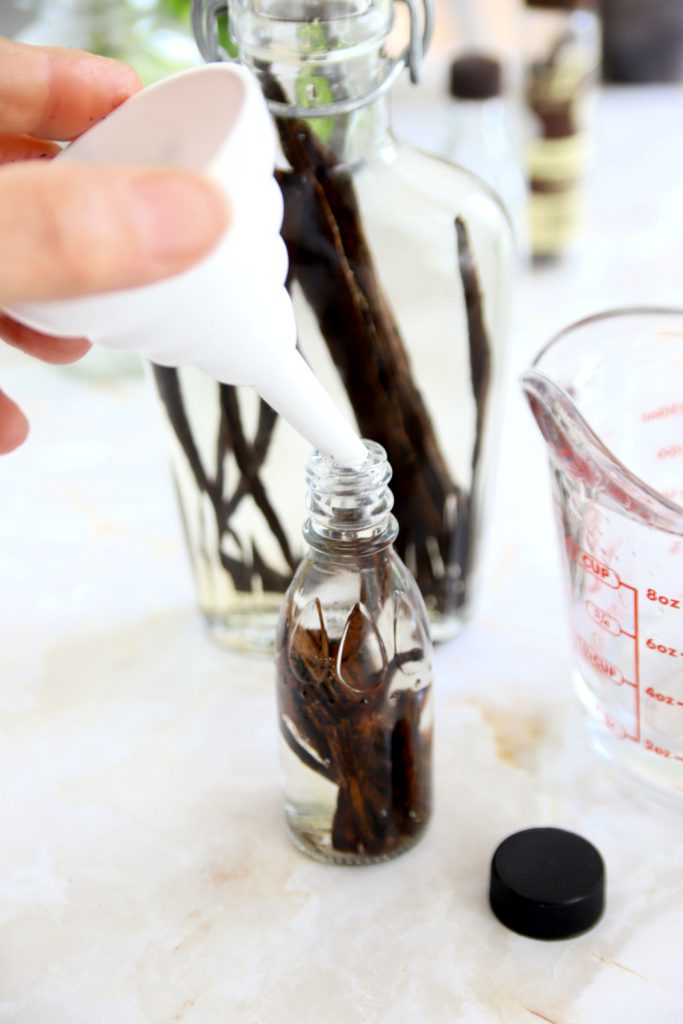
A small funnel is helpful when using little jars with a narrow opening.
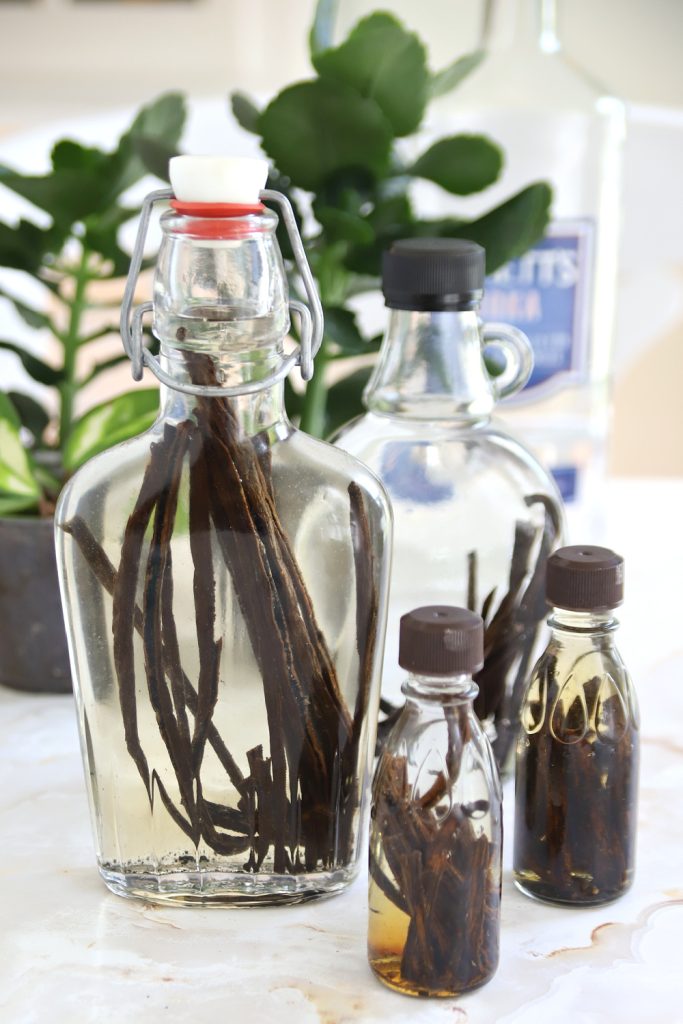
Secure the bottles with their lids, give a gentle shake and let the magic begin.
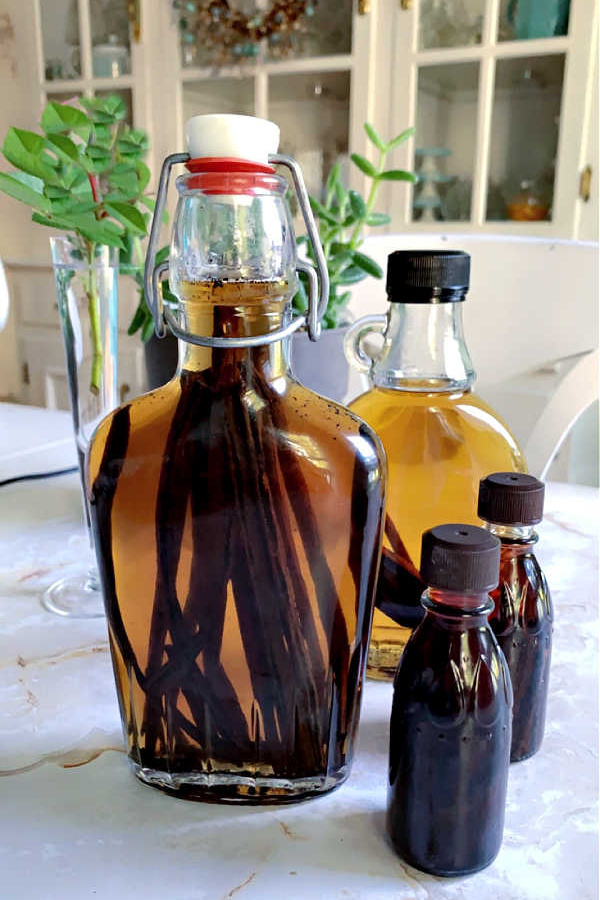
Store the bottles of vanilla extract in a cool (not the refrigerator), dark place as you wait for the flavor to develop. Each day for the first week, give the bottles a gentle shake. After that, try and give the bottles a shake once a week. This is how my vanilla extract looked after three days.
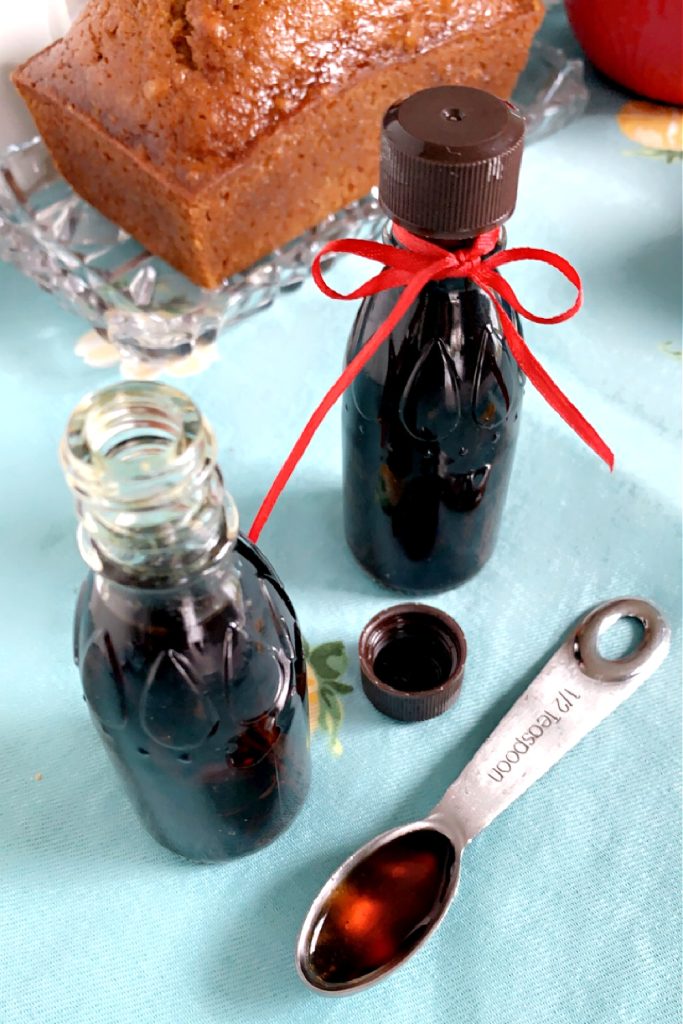
Be patient and allow the extract to infuse and the flavor to develop. Extract made from vanilla beans with their seeds will be ready in about one month. If you have removed the seeds, the extract will need at least three months to infuse. When ready, you will notice the sweet, floral vanilla fragrance.
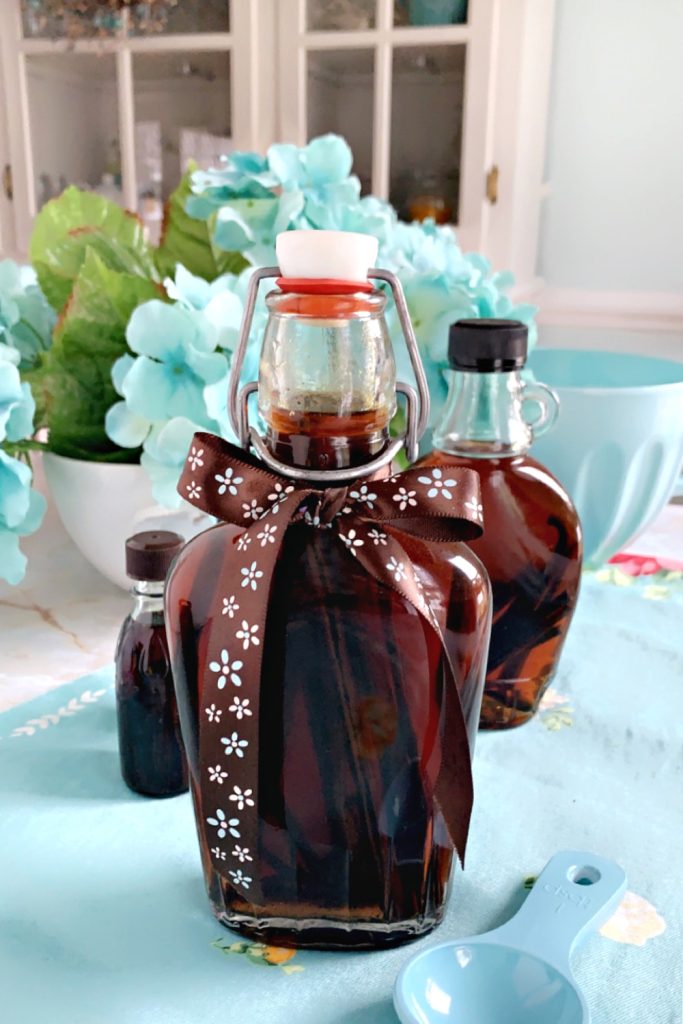
Add a pretty ribbon to the bottle and you have a lovely gift. Remove the beans if gifting the bottle so the recipient isn’t responsible for refilling with more alcohol. If the vanilla isn’t fully infused, gift with the beans in the bottle and tell the gift recipient to remove the beans once he/she begins using the vanilla.
Try Amazon Prime 30-Day Free Trial
Homemade Vanilla Extract
What you will need
- 5-6 vanilla beans or your preference. (The general ratio is to use 3 to 5 vanilla beans per 8 ounces of alcohol and multiply accordingly if making more extract.)
- 1 cup (8 ounces; 240ml) 80 proof vodka
- Glass bottle or jar with a tight fitting lid
DIRECTIONS
Using a sharp knife or a pair of kitchen shears, slit the vanilla beans so the seeds are exposed, cutting to within an inch of the end so the beans aren’t completely split in half.
If needed, cut the beans into smaller pieces to fit your bottle.
Place beans into a clean bottle or jar.
Pour the vodka into the bottle, using a funnel to help, fully covering the bean pods.
Attach the lid and give the bottle a few shakes.
Store the vanilla in a cool, dark place.
Shake once a day for the first week and then about once per week after that. Vanilla can be ready to use in about 8 weeks, but for the best flavor, allow at least 6 months. For optimal flavor wait even longer.
Unused aged vanilla extract (with the beans fully submerged) will last several years. If it still smells good, it’s still good to use!
You might also like…
Cupcakes with Cherry Buttercream Frosting 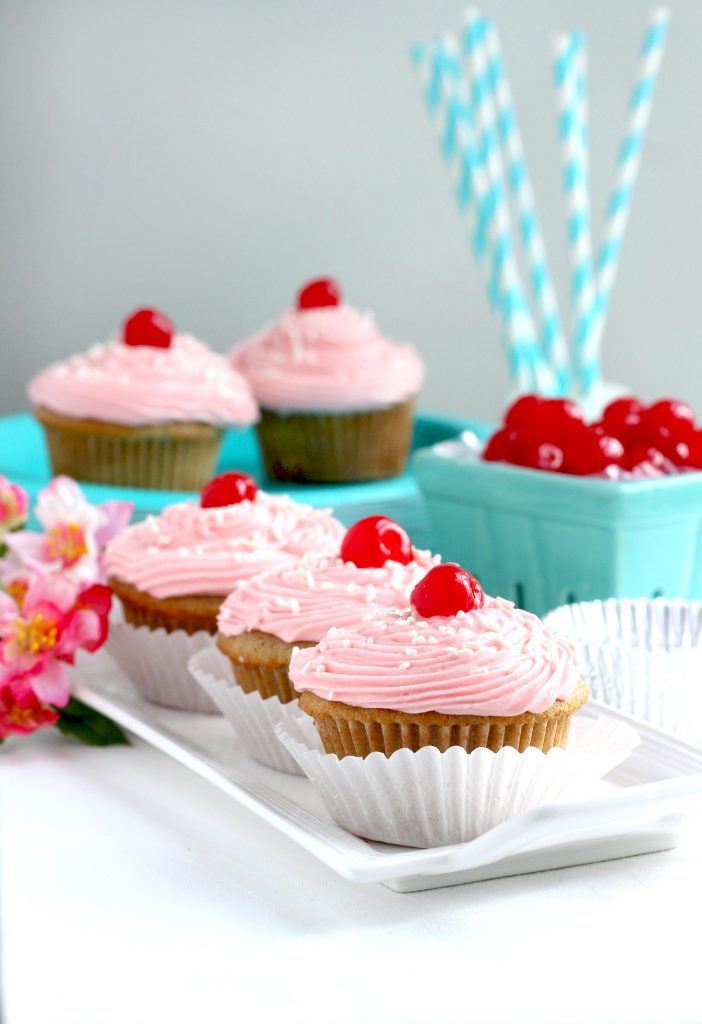
Affiliate links to bottles, beans labels.
 Each issue of our Newsletter is timely and helpful and jam-packed with food, crafts, occasional DIY, gardening and faith resources. Relevant and seasonal posts to inspire and guide you with current trends. Available only to those who request it, so please accept our invitation to stay connected and join the Grateful Prayer Thankful Heart community. Just click the subscribe button below.


Leave a Reply