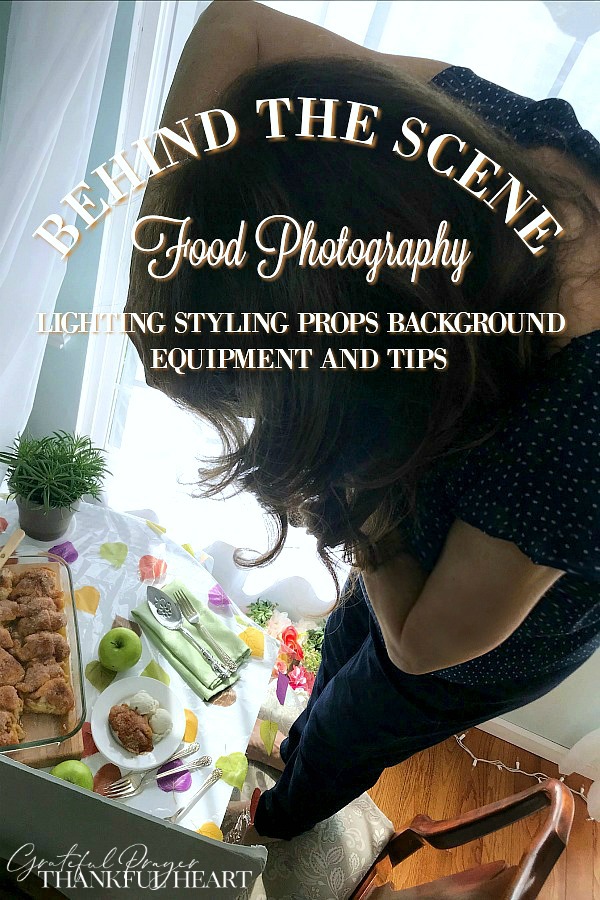
 Maybe you are scrolling through Pinterest or some other social media and you see a photo that catches your eye. You probably don’t think about the photo at all but you pin or save it because the subject interests you. Chances are that very photo that got your attention didn’t just happen. Want to learn some tips and how-to’s for creating great food photography shots? Particularly food photography but tips to help in other areas as well?
Grateful Prayer Thankful Heart is a participant in the Amazon Services LLC Associates Program, an affiliate advertising program designed to provide a means for us to earn fees by linking to Amazon.com and affiliated sites. We will only recommend products we use, love or think are informative and helpful.
So, if you are curious or want to improve your own photography, I thought I’d give you a behind-the-scenes peek of food photography here at GPTH and see some of what goes on.
Improving Photography skills
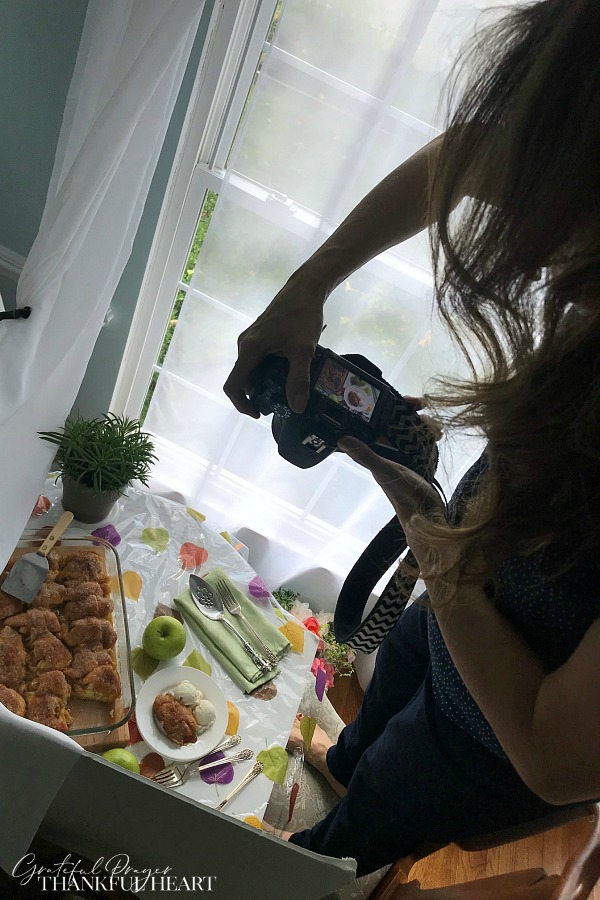 Practice, practice and more practice. Just like anything else, the more you work at something the better and easier the task will become. I continue to update older posts because, quite honestly, they have terrible photos. And no matter how delicious a food might taste, no one will be interested in making it if it doesn’t look good.
Behind the Scenes Food Photography
I am going to go over important considerations so you can get great food photography shots that look amazing. Use these behind the scene tips for styling, natural lighting, backgrounds, camera equipment and props so you can get your best photos.
Some people think that if you have a good camera you will always get good photos. It is possible to get good shots with a point and shoot type camera. But what if you want more than good photos and getting them more consistently. Well then you need to learn a little more to achieve those goals. But don’t let that discourage you. These tips will be a big help.
Getting attractive photos
Foods, like people, are not all super photogenic. Angles and lighting play an important part in obtaining a flattering photo. There have been days when I have taken three shoots of a particular dish and was not satisfied with any shots. Other times, I did one shoot and felt there were more than enough photos that I really liked.
What I have learned, is that if I think ahead and plan, those redo shoots become less and less. I also made the decision, after three attempts, I will just make the best of what I have and if the food shots are not amazing, so be it.
Lighting
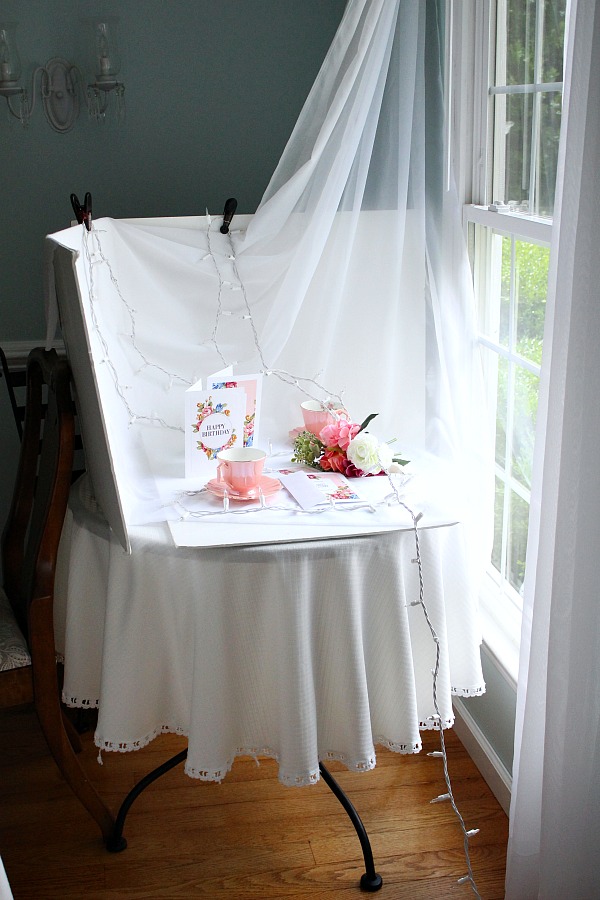
Lighting is the first consideration. I plan my editorial calendar with weather in mind. I look ahead to see what days will be bright and which ones will be cloudy and dark. That is because I only shoot with natural lighting. The use of a flash causes shadows and a harshness that does not make food (or other subjects) look its best.
You will want to find a bright window for your setup. Our home is situated in probably the least optimum exposure for natural lighting. The kitchen is a western exposure so we get afternoon light but it filtered through lots of trees. I have a setup in the dining room facing south that works well.
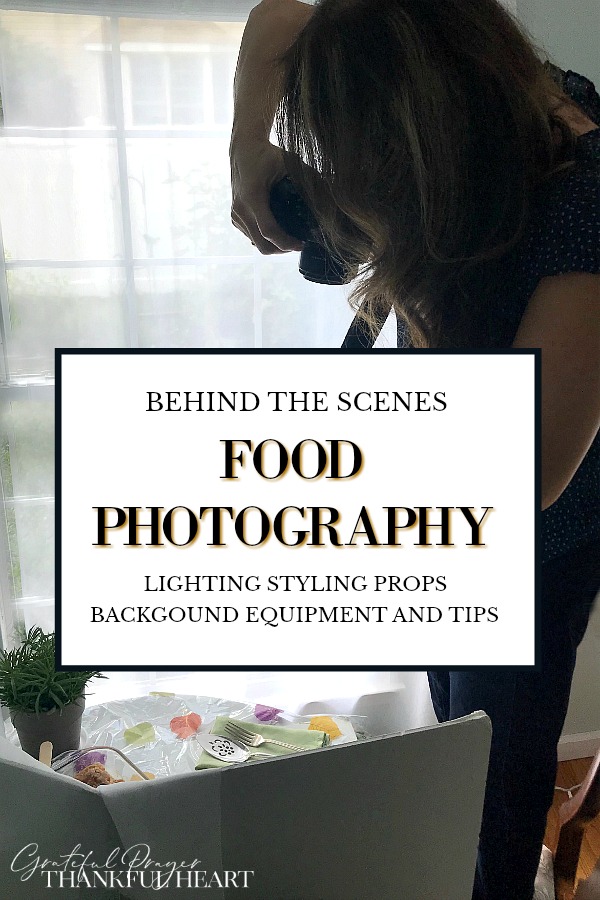
To reduce a dark, shadowy side on the subject, a white foam board works great. Shown in the photo are two white foam board taped together with white duck tape. There is a little give so that I can bend it into a V-shape giving the prop the ability to stand on its own. Though sometimes a little support is needed if you want to avoid it toppling over onto your food. Ask me how I know this frustrating situation 😉
Natural Light Photography
The weather doesn’t always provide perfect light at the right time. Low light is an issue but strong direct sun is also a problem. In this situation I draw the sheer curtain across the window eliminating the sun from shining directly onto the area.
Moving the table setup a foot or two before, after or away from the window can be helpful. You want to get the area in the brightest position but not in the direct rays of the sun to avoid harsh shadows and glare-ish photos.
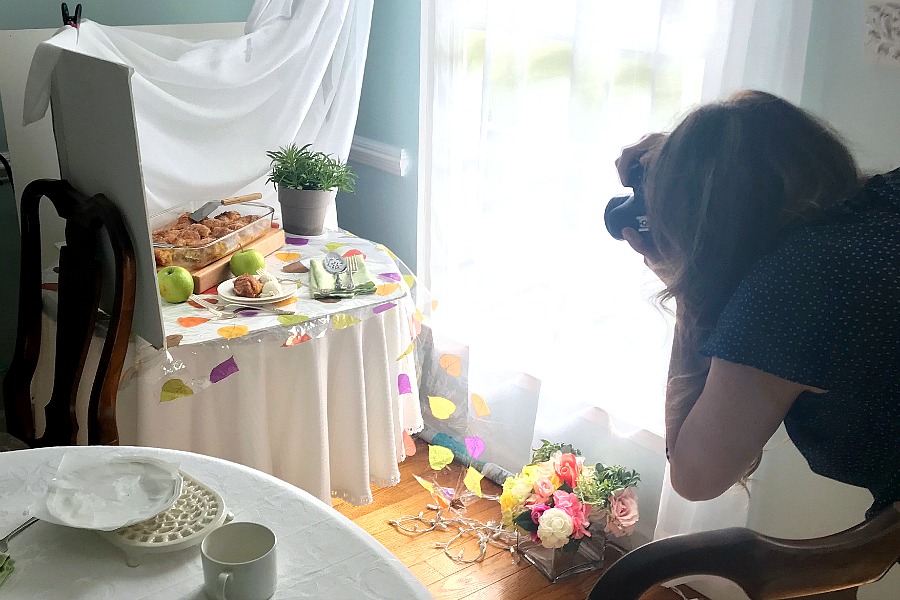 Direct sunlight on your subject will not have a pleasing effect. Sometimes I have to pause for a cloud to pass in front of the sun to get a good shot or I will pull a sheer curtain in front of the window diffusing the light and eliminating harsh shadows.
Backgrounds
It is good to keep the background of your photo plain. A busy background can compete with the subject. A white or solid color board is a must. A 4-ft x 8-ft white board cost me $10 at Home Depot. This is different from the smaller foam boards used to reflect light explained above. I use a white board in several ways; one as a backdrop because the wall color isn’t always the best even if it is muted by a sheer curtain.
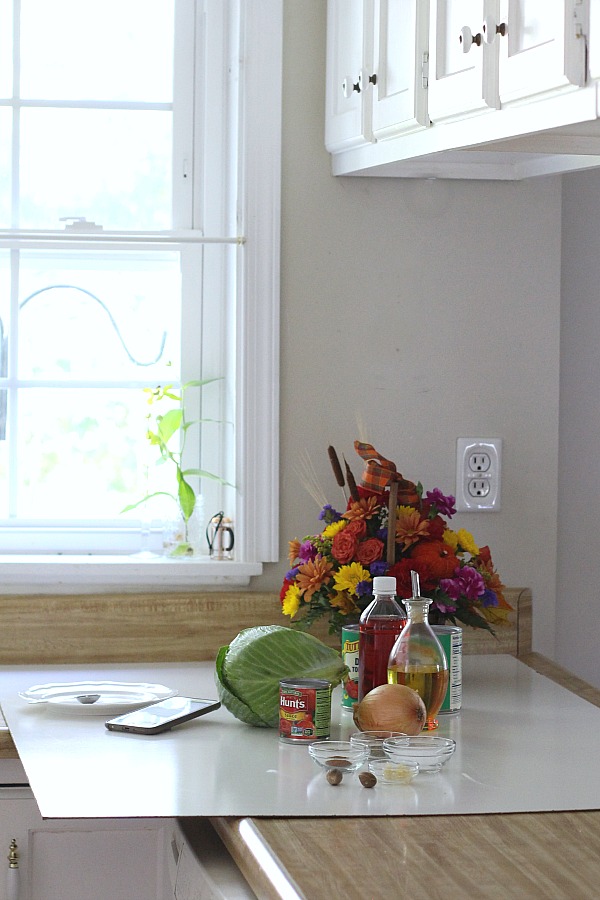 I use another white board as the base for my kitchen prep. It is reflective and brightens the work space and it is easy to wipe clean from inevitable spills and splashes. The board can be cut with a saw to the size that works for you.
Props and Styling
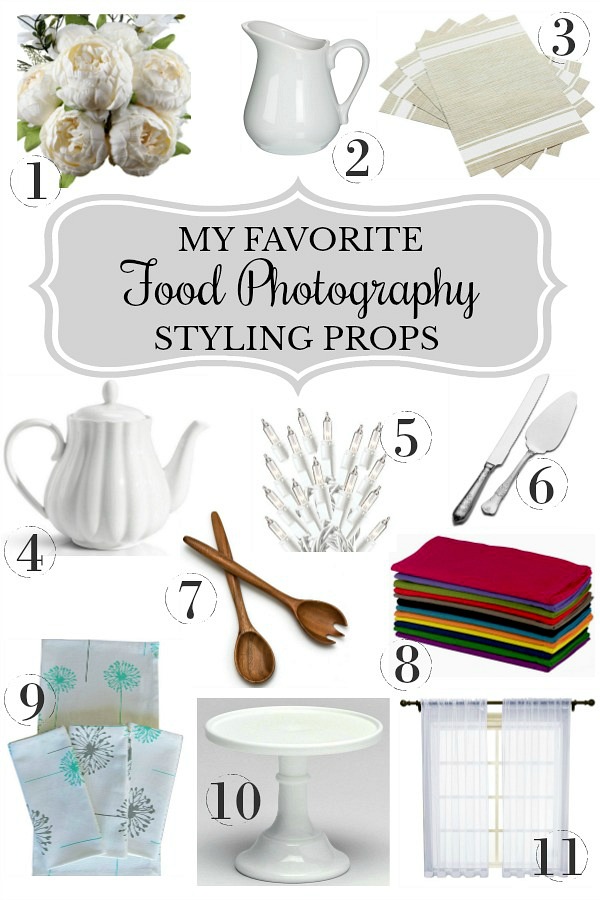 My Favorite Food Photography Food Styling Props
(click link above for items I use in food photo styling)
Always remember that the food is the star of each image. The use of props help to highlight the food and present it in the most appealing way.
Think ahead
Before popping down a plated food, give thought to what you want the photo to convey. Do you want to create a nostalgic feeling of something enjoyed in the past, a healthy and fresh new food or a festive food one might want to make for entertaining?
Also, consider the food characteristics. Does it have a dominate color or texture or is it rather plain and uninteresting?
While the recipe I just made is baking/cooling my mind jumps from the prep part to styling and set-up for photographing the final product. This is when I choose the dishes and other items to create the feel I want.
Textures, layers and styling
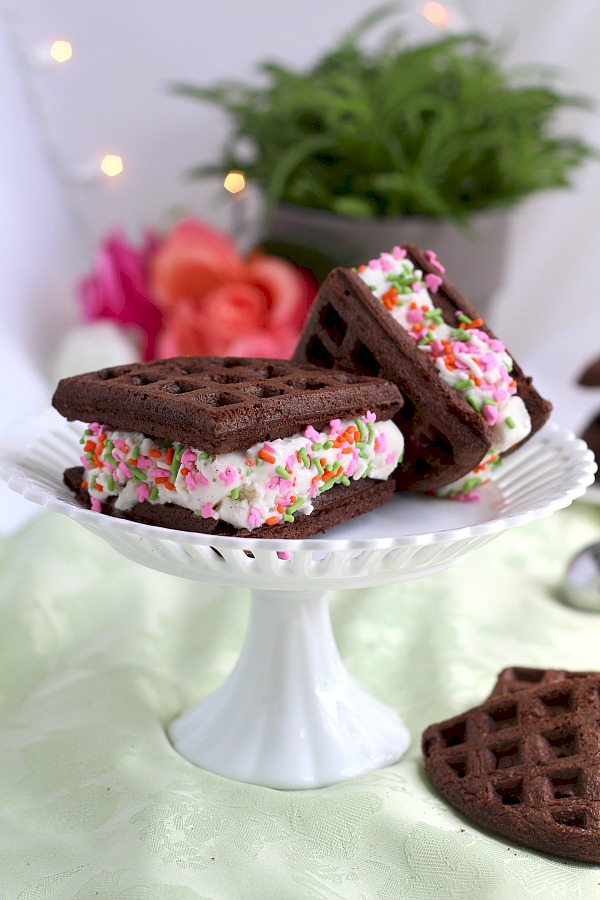
Use different levels to add interest. A pedestal cake stand is not just a pretty way to present a dessert when I have friends over but it is a great way to get added height in a photograph.
Napkins or place mats in neutral colors add texture in a subtle way. Colorful ones can compliment the food and bring to life a less exciting food that doesn’t in itself have much color.
Utensils and serving pieces contribute to the photo story or feeling mentioned above. They are important pieces in the overall image.
Other styling props you will see often in my food photos are things like a teapot or a pitcher. They give needed background height as well as relate to the food. See those bokeh lights in the photo above? I love using little twinkle lights because they add a fun element to many shots. For sure they aren’t right for every situation but they are part of my personal style. It is the same with faux flowers. Using the most life-like you can find, I think they can fill in a void space in a photo.
It is important to not use too many props and distract from the main focus. This is where each subject and your creative style comes to play. Sometimes less is more and just the food alone is your goal.
Camera and Equipment
This is the camera and equipment I use for all of my photography work. I put this stuff to hard and continuous use nearly every day for food, family, travel and everyday photography.
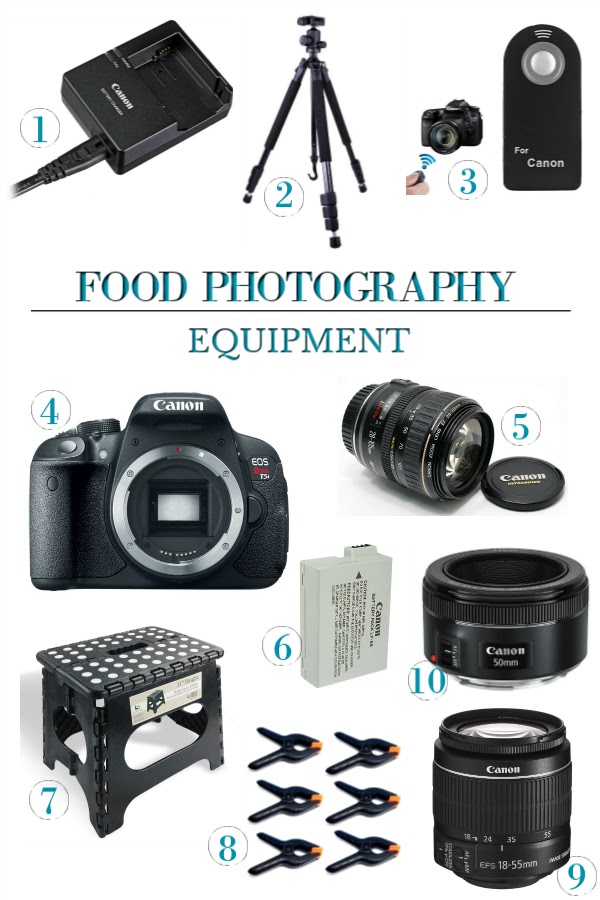
(click Link above for links to the camera equipment I use)
Quick shooting tips
Take your camera off program and shoot in manual. Learn the basics of light, speed and aperture and you will be amazed at the difference in your pictures.
Learn and develop your own photography style (your tone and voice personality). Look at and study the work of other people whose photos you admire but don’t try to recreate the same photo. Be true to yourself and your creativity.
Photo editing
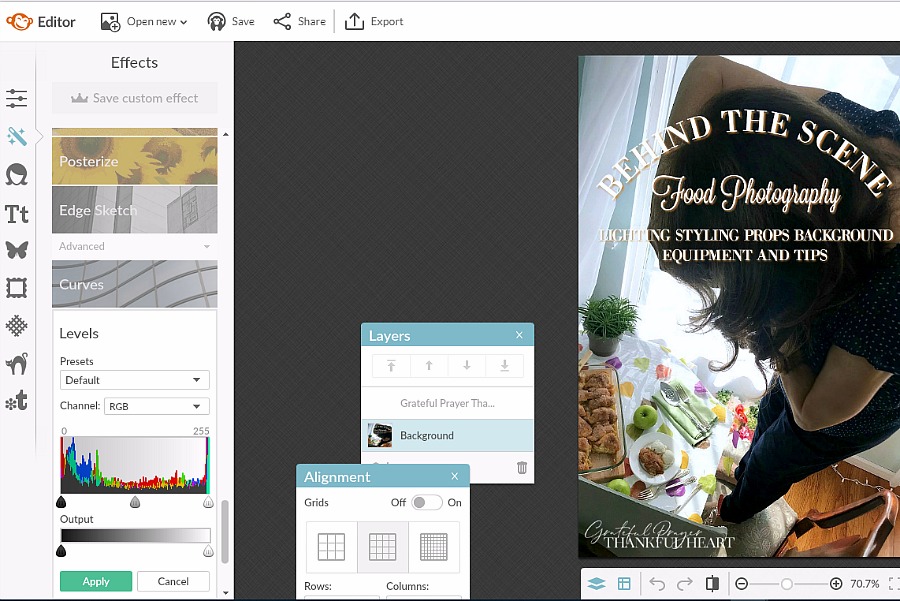
I once used Photoshop exclusively to edit my photos. But now I am thoroughly a fan of PicMonkey. It is super user friendly, and so easy to crop, resize, brighten, sharpen and all the effects I like and use while photo editing.
It doesn’t matter how perfect a photo comes out of the camera, It can be made better with at least a few edits. PicMonkey allows me to increase exposure, cool the photo for a brighter, cleaner image, sharpen the image for the best clarity, increase contrast to make the shadows and dark areas more dramatic and completely tweak the image and stamp it with my personal style.
It also has fantastic templates for creating images to share on social media and Pinterest.
I use PicMonkey for all of my personal photo editing as well. For family, kids, travel, flowers and nature shots it is easy and produces great results. Click the banner above for a FREE 7-day PicMonkey trial and see how easy it is to edit and make awesome photos.
Remember, don’t stress and have fun. Like all things, it is a process and improvement comes over time. Use these tips and try new things, new angles and always keep learning. The points shared here are just the beginning and each one could be a post in itself. But, there is a lot here that can be applied to where you are now to help you create better food photography photos to use on your blog and social media.
 Each issue of our Newsletter is timely and helpful and jam-packed with food, crafts, occasional DIY, gardening and faith resources. Relevant and seasonal posts to inspire and guide you with current trends. Available only to those who request it, so please accept our invitation to stay connected and join the Grateful Prayer Thankful Heart community. Just click the subscribe button below.


I often can’t make better photography, it is a really good way to learn
So that explains it all . . .
Your photos are always amazing.
Lorraine, this was so fun to read. Some day I just need to sign on to PicM. I’ve been using it free for years. I’ve always admired your photography and it was nice to see some of your tips!
Great tips for better photography. I often shoot pictures by a south facing window. I like the way you have your set up and I never would have thought to use the little white lights.