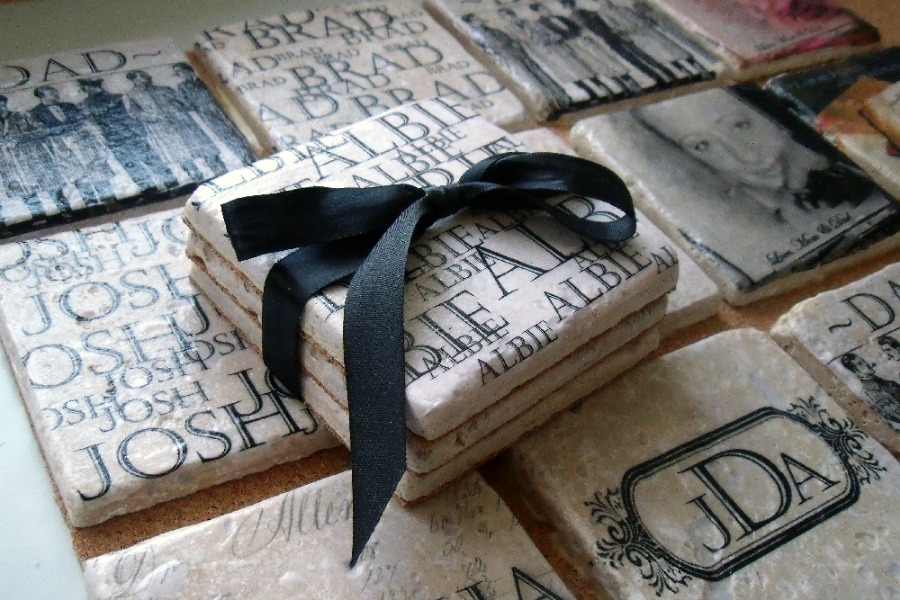
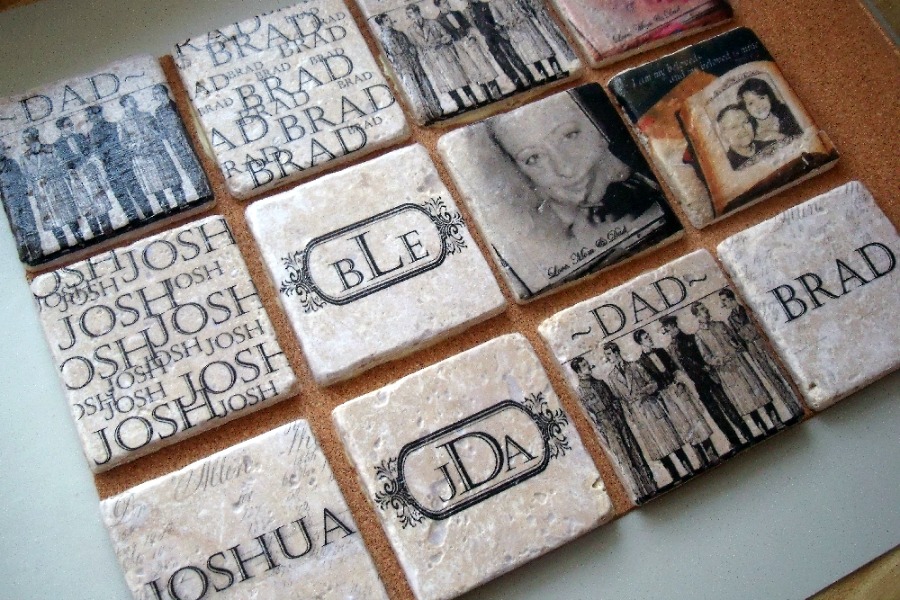
The coasters are finished by attaching a cork backing.
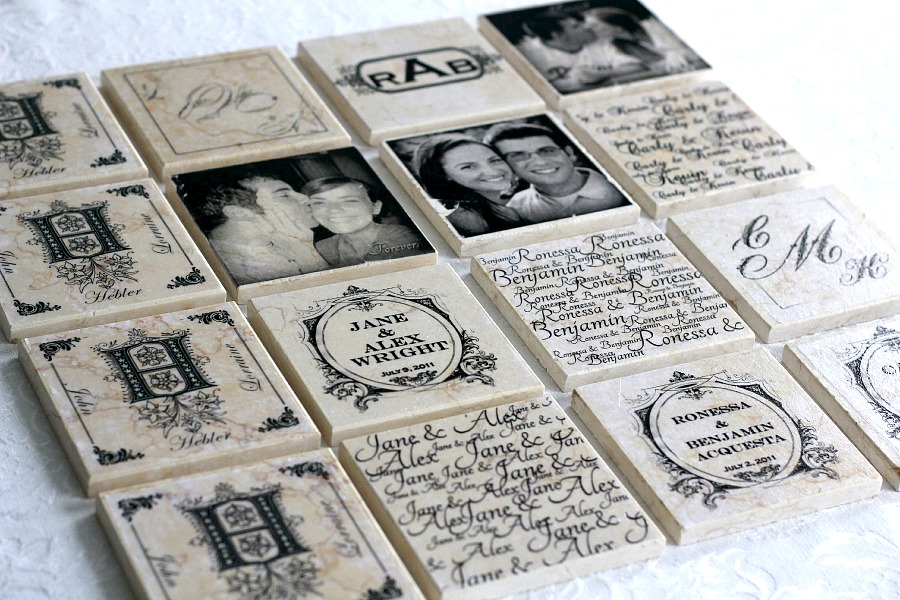
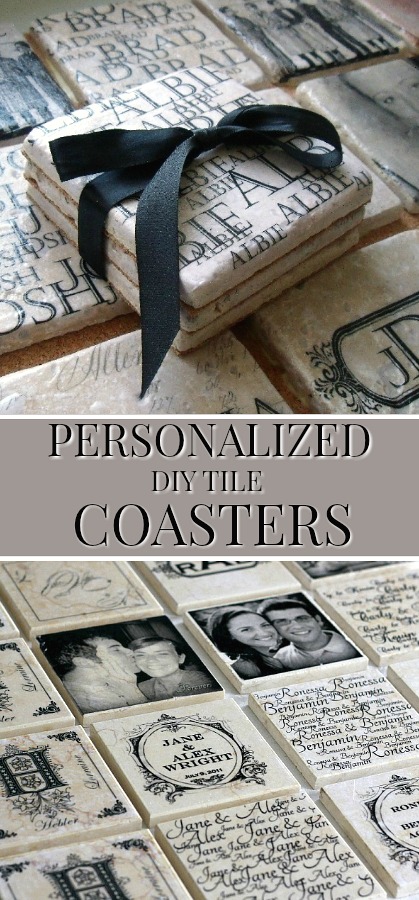
In addition to being great gifts for guys, personalized tile coasters make lovely engagement or wedding gifts marking the special day. The coasters in the photo above, were made with tiles with a smoother finish.
I wish I had a bigger photo so you can see how nice coasters with photos turn out. Those done in sepia or black & white are my favorite.
Personalized Tile Coasters
inspired by The Graphics Fairy
Supply List:
Light colored 4 x 4-inch tumbled marble tiles.
Omni-Gel Transfer Medium
Image(s) you want to transfer. Visit The Graphics Fairy for her amazing collection of images or use one of your own.
Make your own images
You can design anything you want using PicMonkey and then adding the image (jpeg) to a Word document. Make a monogram or initial of the recipient. Make a tile with multiple names. Be creative and make it anyway you like. The image (jpeg) is then inserted into a document. Make sure the image you just added to the Word document is sized to 4-inches by 4-inches.
You will need to print your image using a laser copier as Jet prints do not work well. Head to your local business supply for inexpensive copies if you do not have a laser printer.
How to make transfers:
Brush Omni-Gel in a horizontal direction on the print and let it completely dry. When Omni-Gel is applied, it will look “milky”. However, it will dry to a clear finish.
Brush a second coat in a vertical direction and let dry.
Apple a third and final coat on a diagonal and let it dry until it is clear.
Trim away extra paper leaving a 1/4-inch boarder around the image.
Place print in a bowl of water and let it soak 10-20 minutes.
Remove from water and place image-side down on a smooth surface.
Use your finger to roll away the paper from the back of the image. When the majority of the paper is gone, use a lint-free towel to clean off the rest. If there seems to be some paper remaining, carefully wet your finger and gently rub off.
Place the image on a flat surface and allow to dry. One side will be glossy and the other side matte.
Attaching the transfer to the tile
Use additional Omni-Gel as glue to attach your transfer to the tile. Spread a coat of Omni-Gel onto the tile and onto the back of the transfer. Press the transfer down and smooth out to get rid of any air bubbles. The image will look cloudy at first but will dry clear after a day or 2.
There are affiliate links in this post. That means if you buy something from that link, I will earn a small commission, but it won’t cost you anything additional.
If you like this post you might also enjoy:
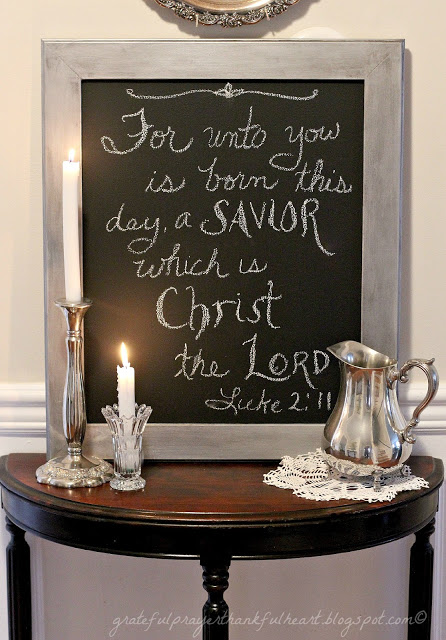
Making a Brushed Metal Look Chalkboard and Serving Tray
FREE gift for subscribers!
Don’t miss new recipes, DIY, crafts and ideas to inspire and encourage you. Join our community and receive updates by clicking the subscribe button below. We’d love to have you be a part 🙂 Don’t forget to get your FREE thank you gift!

Wow those look fantastic you did an awesome job on those I will have to peak over at that blog and see how you make them ~Merry Christmas & Blessings Heather
That is very neat gift for a guy. It is hard to come up with handmade gifts that they will really appreciate.
They look fantastic!! What a great idea, too! Eric is so particular about using coasters. I might just have to give this project a try. Thanks for sharing!
What a great job you have done with these. Wishing you a very Happy Christmas and looking forward to visiting with you often in 2010.
These are such a great gift. Personal, useful and straight from the heart!