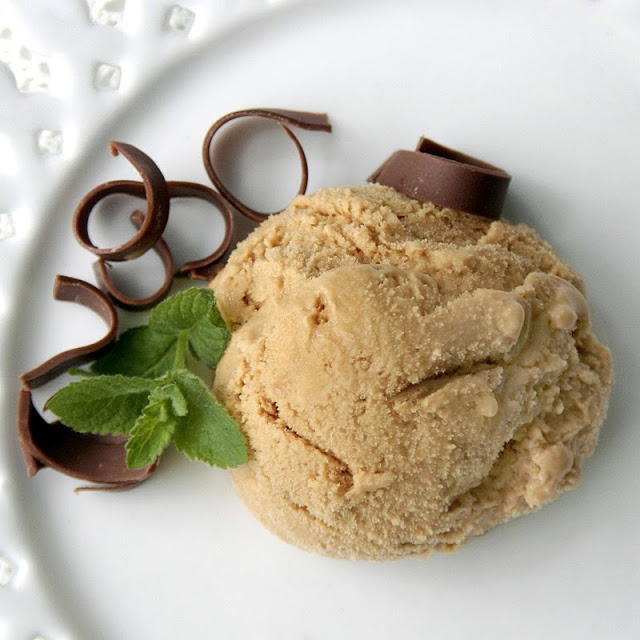
This is a very rich tasting, caramel ice-cream that was a little challenging. Not really hard but somewhat unusual for me. I have made burnt sugar before for cupcakes and frosting, but this is the first time ever making ice-cream.
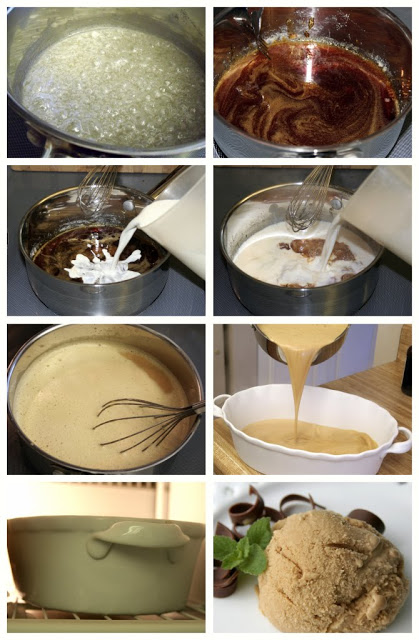
 I began by cooking the sugar and water until dissolved
Then increased the heat and cooked until a deep caramel color
I Added the milk and cream which caused the caramel to seize
Stirring and cooking until the mixture becomes smooth again and thickened. This is the part I was most unsure. Dorie says the mixture is ready when thickened to where it coats the back of a spoon and doesn’t run into a groove made by running your finger along the bowl of the spoon. She says the mixture should be between 170 and 180 degrees. I had to cook for a long time to get to the correct thickness but was afraid to heat too high. Finally got to the correct consistency.
Then the mixture is poured into a dish and placed in the freezer (or use an ice cream machine)
I removed the dish every 30 minutes and whisked so it would remain creamy
Time consuming and a lot of work, but…
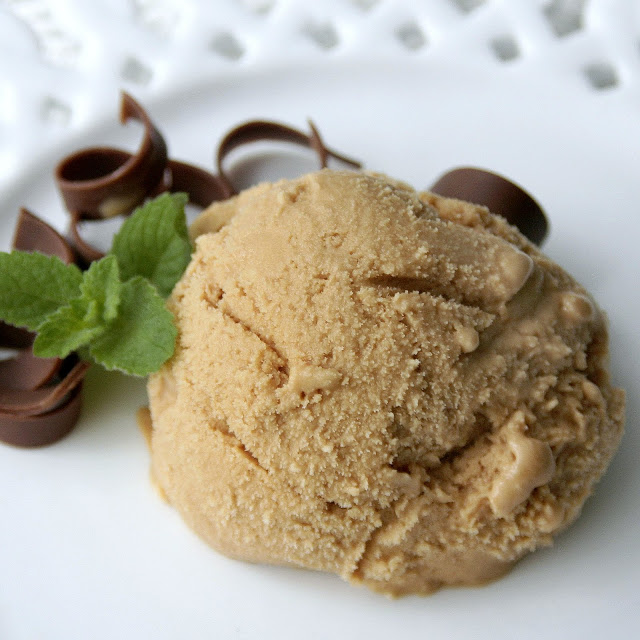
It did not freeze rock solid but still allowed ample time to eat a heavenly scoop before melting.
Burnt Sugar Ice Cream
Baking From My Home to Yours by Dorie Greenspan
The caramel in this ice cream has a slightly bitter tang, with a touch of sugar’s original sweetness. It’s a complex, interesting flavor and it’s intense, so you can serve this ice cream on its own or with a docile and doting partner. If you’re looking for supporting players, consider plain butter or sugar cookies like Grandma’s (page 146), Sables (page 131) or Lenox Almond Biscotti (page 141.)
Ingredients:
1 cup sugar
3 tablespoons water
2 cups whole milk
1 cup heavy cream
4 large egg yolks
pinch of salt
1 1/2 teaspoons pure vanilla extract
Directions:
Stir the sugar and water together in a medium heavy-bottomed saucepan. Place the pan over medium-low heat and cook until the sugar dissolves. Increase the heat and boil, without stirring, until the syrup turns a deep amber color–from time to time, brush down the sides of the pan with a wet pastry brush and swirl the pan. (Depending on the size of your pan and the intensity of the heat, it could take about 8 minutes for the caramel to color properly.)
Stand back–things can get a little wild–lower the heat and add the milk and cream. Don’t be concerned when everything bubbles and seethes and the caramel hardens; it will calm down and smooth out as you heat and stir. Continue to heat and stir and when the mixture is smooth, remove the pan from the heat.
In a medium heatproof bowl, whisk the yolks and salt together until blended and just slightly thickened. Still whisking, drizzle in about one third of the hot liquid–this will temper, or warm, the yolks. Whisking all the while, slowly pour in the remaining liquid. Pour the custard back into the pan and cook over medium heat, stirring without stopping, until the custard thickens slightly and coats the back of a spoon; if you run your finger down the bowl of the spoon, the custard should not run into the track. the custard should reach at least 170 degrees F, but no more than 180 degrees F, on an instant-read thermometer. Immediately remove the pan from the heat and pour the custard into a 2-quart liquid measuring cup or clean heatproof bowl. Stir in vanilla extract.
Refrigerate the custard until chilled before churning it into ice cream.
Scrape the chilled custard into the bowl of an ice cream maker and churn according to the manufacturer’s instructions. Pack the ice cream into a container and freeze it for at least 2 hours, until it is firm enough to scoop.
Makes about 1 1/2 pints.
Serving: If the ice cream is very firm, allow it to sit on the counter for a few minutes before scooping or warm it in a microwave oven using 5-second spurts of heat.
Storing: Packed tightly in a covered container, the ice cream will keep in the freezer for up to 2 weeks.


Excellent! looks like a great summer afternoon project. I just bought my mom a David Lebovitz desert book for mother's day- looks like i made a good decision!
Wasn't this ice cream delicious? It was time consuming making it by hand, but definitely worth it!
Wow that ice cream looks amazing!! I don't have the patience to make it though. Want to come over and make some for me? LOL
Blessings~
Now, that looks really good! I love anything with brown sugar or caramel flavor.
I love visiting blogs where I can learn new and fun to try things. This recipe looks so good. I never heard of it before, but you make it look easy. Thank you for sharing your finds with us.
Good chef u r.. have a nice week ahead!
Caramel chocolate icecream!Sheer delight!Mmmm!!
I've never attempted to make ice cream but seeing your picture makes me want to give it a try.
I know I would love this! Thanks also for the how to for those of us without an ice cream maker. As a kid, did you have to sit on the old fashioned ice cream churns while someone turned the crank??? Ha Ha (I did!)
I'm trying to figure out if I should or should not check out the recipe, so I can count the Weight Watcher points! Looks very delicious, and may well be worth a few extra points for the week. Thanks for sharing. Great pics! Mumzie
You must surely be a gourmet cook….how do you stay so slim? that looks luscious! I don't have a weight problem but would like to lose 8 pounds. Hubby keeps taking us out to eat…grin. I cut more strips for making more stars this morning. I'm sure glad for your tutorial. Just when I get it down pat…some weeks go by and I get stuck and need the tutorial again.